Custom built-in shelving transforms ordinary walls into architectural focal points while maximizing storage in living rooms, home offices, and bedrooms. For many beginners, however, the prospect of tackling custom carpentry feels intimidating. Fears of uneven cuts, expensive mistakes, and damaging structural walls often stop projects before they begin. Fortunately, creating beautiful built-ins does not require an advanced workshop or decades of woodworking experience. By breaking the process down into manageable phases, anyone can achieve a polished, high-end look.
The journey becomes even more accessible when you realize that built-in aesthetics are not exclusively reserved for homeowners. Renters face unique constraints, typically prohibited from driving heavy lag bolts into studs or altering drywall permanently. Yet, with smart design adaptations, temporary anchoring solutions, and pressure-fit framing techniques, renters can enjoy the customized appearance of built-ins without risking their security deposits. Whether you own your home outright or lease an apartment, understanding the foundational steps ensures a sturdy, safe, and visually stunning result.
Assessing Your Space and Planning the Design
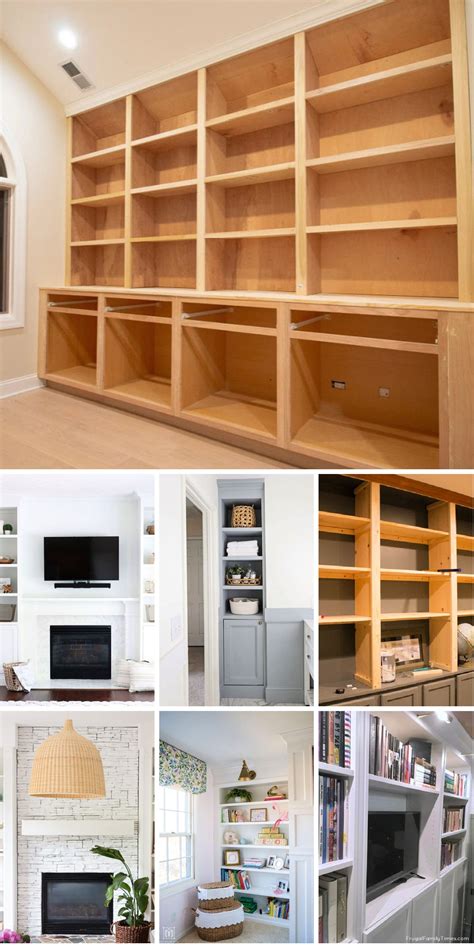
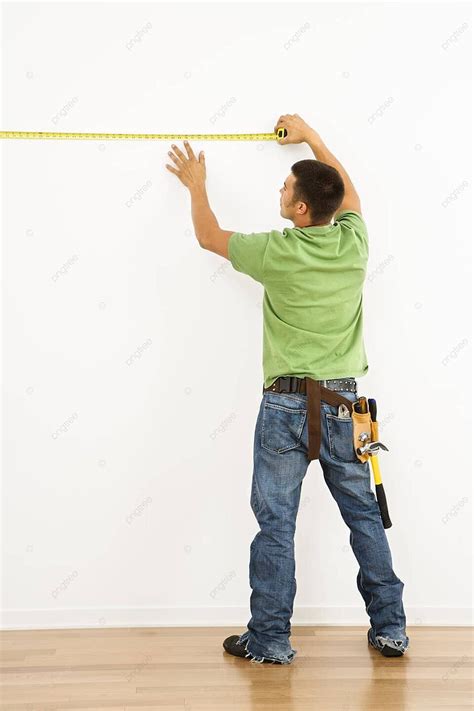
Every successful built-in project starts with meticulous measuring and spatial analysis. Before purchasing a single board of lumber, evaluate the intended wall for electrical outlets, heating vents, baseboard heaters, and light switches. Ignoring these structural elements is one of the most common beginner mistakes, often resulting in awkward gaps or blocked utility access. Grab a reliable tape measure and check both ceiling height and floor levelness, as older homes in particular frequently feature settling floors that require shimming during installation.
Next, sketch your concept on graph paper or utilize free online room-planning software to visualize proportions. Decide whether your built-in will feature open shelving, closed lower cabinets, or a combination of both. Open shelving is generally more forgiving for absolute beginners, while incorporating cabinet doors requires precise hinge adjustments. Establishing a clear scope early on keeps your budget intact and prevents scope creep halfway through construction.
Selecting Beginner-Friendly Materials and Tools
Choosing the right materials significantly impacts the ease of your build and the final finish. Standard dimensional lumber like pine is affordable and readily available at local U.S. home improvement centers such as Home Depot or Lowe’s, but it can warp or twist over time. For smooth, stable cabinet boxes and clean shelves, many builders prefer high-grade MDF (medium-density fiberboard) or paint-grade birch plywood, which resist warping and provide a flawless surface for painting.
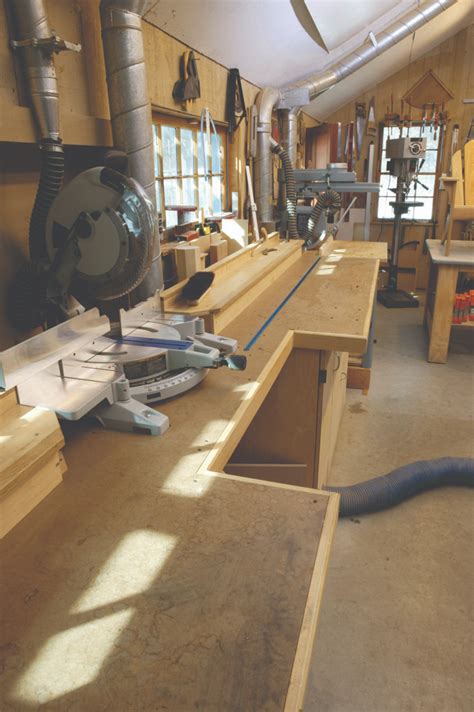
When it comes to tools, you do not need a professional cabinet shop to get started. A reliable drill, a circular saw with a straight-edge guide (or taking advantage of the panel-cutting services at your local hardware store), a stud finder, a level, and a sander form the core toolkit. Investing in a pocket-hole jig also simplifies joining boards cleanly without visible face screws, giving your handmade project a professional, factory-built aesthetic.
Permanent Homeowner Installations vs. Renter-Friendly Solutions
Permanent Homeowner Installations
For homeowners looking to anchor a permanent fixture, the process involves securing frame members directly into wall studs using sturdy wood screws and toggle anchors. Permanent built-ins often utilize trim work, crown molding, and baseboard integration to blend seamlessly with existing architecture. This method offers maximum weight capacity, making it ideal for heavy book collections, dense decor, and permanent media centers.
Renter-Friendly Temporary Built-Ins
Renters must pivot toward non-destructive alternatives that mimic the built-in look. Tension-rod framing systems, heavy-duty modular bookcases anchored minimally with Command strips or earthquake straps, and freestanding cabinet units secured to the floor rather than the wall protect your lease agreement. You can also build modular box units that stack tightly together, using gravity and interlocking cleats instead of deep wall penetrations to maintain structural integrity.
Step-by-Step Installation and Anchoring Safety
Safety must guide every phase of installation, particularly when supporting heavy loads overhead. Always locate wall studs using an electronic stud finder before driving any fasteners, and never rely on drywall alone to hold substantial weight. Mark your stud locations clearly with painter’s tape, and pre-drill pilot holes to prevent wood from splitting as you drive your screws.
Begin by securing your base frame or lowest support ledger, checking constantly with a spirit level to ensure the structure remains perfectly plumb and horizontal. If your floors slope, insert wood shims beneath the base frame to correct the angle before anchoring vertically. Once the main skeleton is anchored securely, slide in your pre-cut shelving boards, securing them with finishing nails or discreet brackets to prevent shifting under daily use.
Finishing Touches: Painting, Caulking, and Styling
The transition from a raw wooden build to a high-end custom piece relies heavily on the quality of your finishing work. Apply wood filler to all nail holes, gaps, and screw pockets, allowing it to dry thoroughly before sanding the surfaces smooth with fine-grit sandpaper. Next, run a smooth bead of paintable latex caulk along all seams where the wood meets the wall. This crucial step hides minor wall imperfections and creates the seamless illusion that the shelves were built directly into the house.
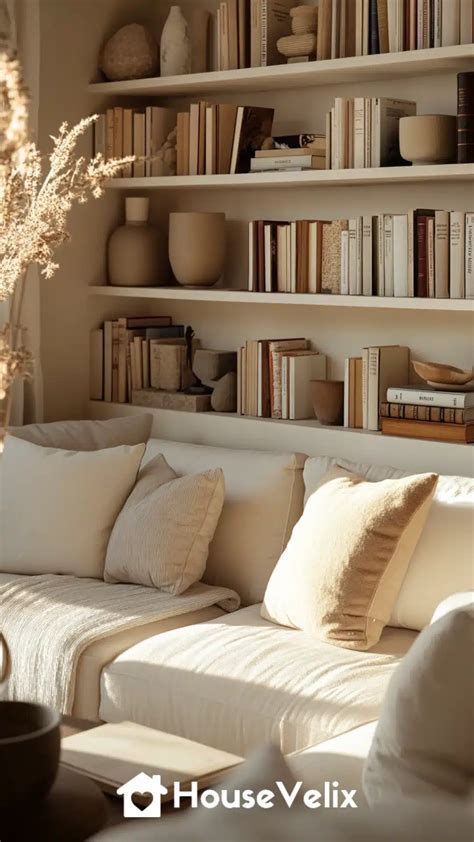
Prime your project with a high-adhesion primer, followed by two coats of durable semi-gloss or satin paint in your color of choice. Once the paint has cured for several days, you can begin styling your new built-in. Balance books, framed art, woven storage baskets, and sculptural objects across the shelves, varying heights and textures to create visual depth and a curated, designer-finished environment.
Frequently Asked Questions
How can renters build custom-looking built-ins without damaging walls?
Renters can achieve a built-in look by using modular, freestanding furniture units pushed flush against a wall, or by utilizing tension-based framing systems. Securing units with heavy-duty furniture straps to minimal anchor points—which require only tiny patchable holes—keeps the structure safe while preserving your security deposit.
What are the best beginner-friendly materials for DIY built-ins?
Paint-grade birch plywood and MDF are exceptional choices for beginners. They offer smooth, flat surfaces that resist warping compared to standard dimensional pine boards, and they take paint exceptionally well for a clean, professional finish.
Do I need advanced woodworking skills to create built-in shelves?
Advanced skills are not required. Basic built-ins rely on straightforward 90-degree cuts and simple box construction. Utilizing hardware store cutting services and pocket-hole jigs makes the process straightforward for first-time DIYers.
How do I safely anchor heavy shelving to drywall and studs in U.S. homes?
Always locate wood framing studs using an electronic stud finder and drive your primary support screws directly into those studs. For areas between studs, use rated heavy-duty drywall toggle anchors to distribute weight safely and prevent structural tipping.
What is the total estimated cost for a basic beginner built-in project?
A basic beginner shelving project using plywood, trim, hardware, and paint typically ranges from $150 to $400 in materials, depending on the wall width and lumber grade selected. This is significantly cheaper than custom professional carpentry.