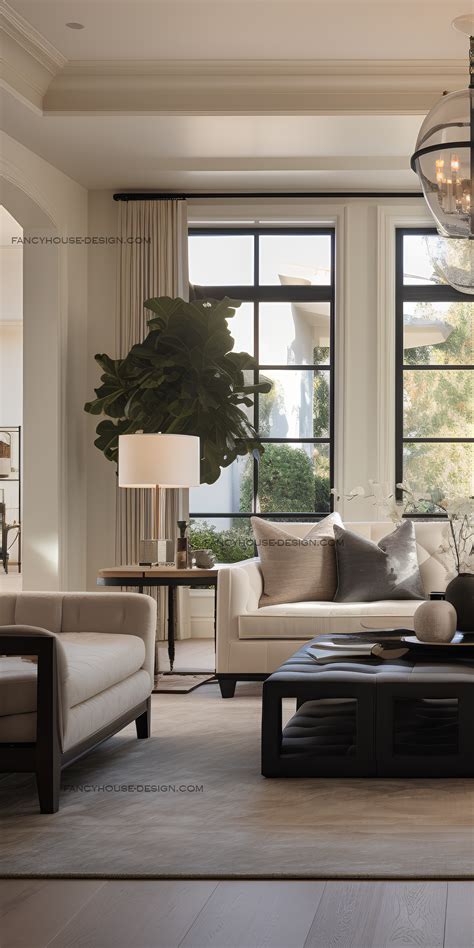
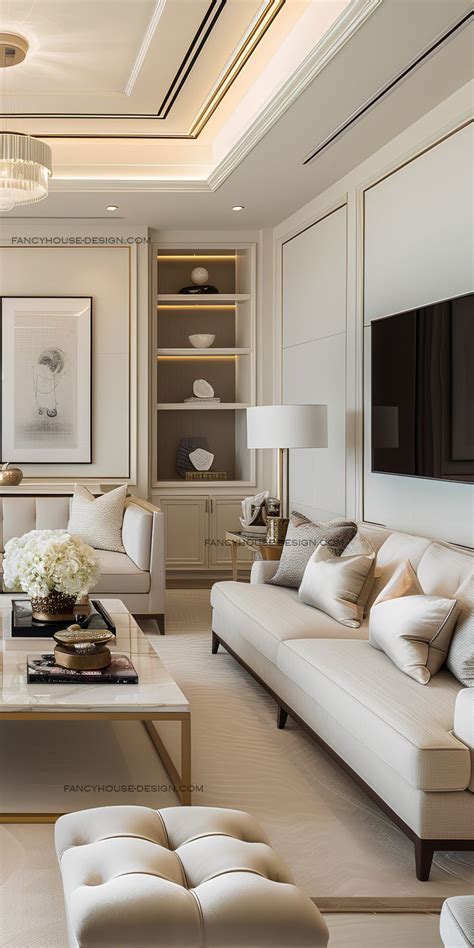
Adding architectural character and practical storage to your main gathering space is one of the most rewarding home improvement projects you can undertake. While custom carpentry often carries a steep price tag from professional contractors, tackling the project yourself allows you to achieve high-end results on a realistic budget. Whether you want to frame a cozy fireplace or maximize an empty living room wall, understanding the proper sequence of planning, construction, and finishing is the key to success.
Most residential living rooms feature standard ceiling heights ranging from eight to nine feet, making them ideal candidates for modular or semi-custom built-ins. By breaking the process down into manageable phases, even intermediate DIYers can achieve professional-looking results. The following five-step guide walks you through every stage of the transformation, from taking accurate measurements to applying the final coat of paint.
Step 1: Planning, Measuring, and Designing Your Layout
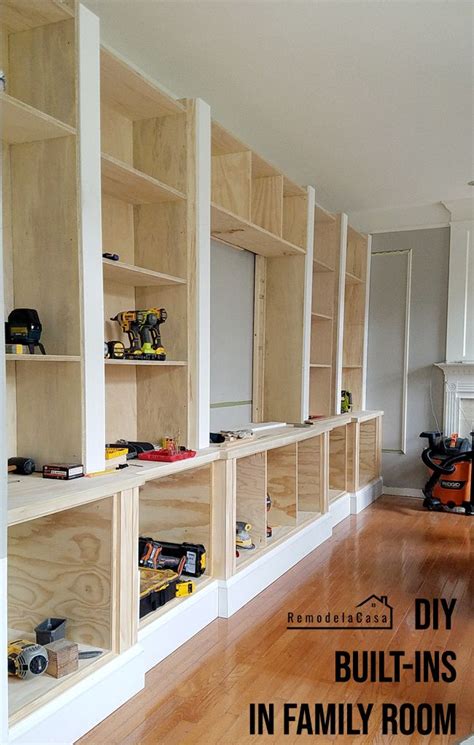
Successful built-in cabinetry begins long before you make your first cut. Start by thoroughly inspecting the target wall in your living room, noting any electrical outlets, heating vents, or baseboard heaters that might interfere with your design. Use a reliable electronic stud finder to locate and mark the vertical framing studs behind the drywall, as these will provide the crucial structural support necessary for anchoring your cabinet boxes safely.
When planning your dimensions, remember that standard U.S. residential walls and floors are rarely perfectly square or level. Take measurements at multiple points along the floor and ceiling, and always design with a slight tolerance to accommodate uneven surfaces. Budget-wise, a modest DIY built-in project utilizing paint-grade plywood, stock lower cabinets, and simple MDF trim typically ranges between $500 and $1,500 in materials, depending on the overall width of the wall.
Step 2: Gathering Essential Tools and Materials
Having the right equipment on hand prevents frustrating mid-project trips to the hardware store and ensures cleaner, safer cuts. For cabinet boxes and shelving, ¾-inch cabinet-grade plywood offers superior strength and stability compared to standard particle board. You will also need a pocket hole jig, a miter saw for precision trim cuts, a brad nailer, a reliable power drill, clamps, wood glue, and plenty of safety gear including eye protection and a dust mask.
When purchasing your lumber and sheet goods, look for straight boards free of heavy warping. For renters or those looking for a semi-permanent solution, consider building modular cabinet boxes that can be disassembled later without causing extensive damage to the underlying walls. Renters can secure modular units using heavy-duty command strips or minimal wall anchors, patching small fastener holes upon moving out.
Step 3: Building and Securing the Base Cabinets
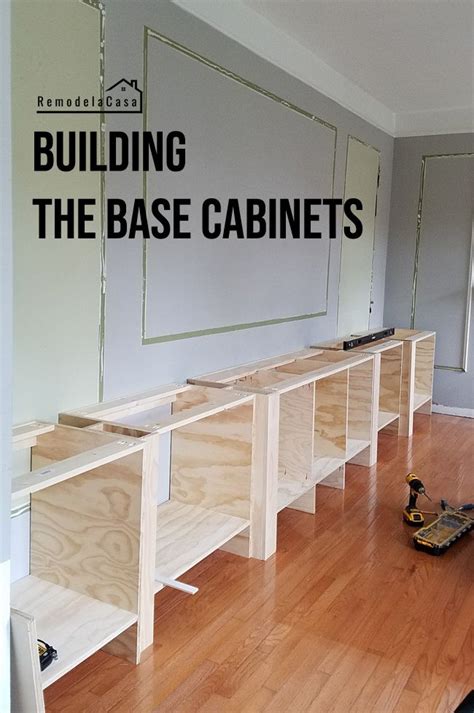
The foundation of your built-in unit relies on sturdy base cabinets that sit level on the floor. You can construct your own boxes using plywood or modify unfinished stock cabinets purchased from a home improvement center. Build a recessed platform or toe-kick base out of 2×4 lumber, leveling it carefully using shims across any low spots in the living room floor before fastening the platform down.
Once the base platform is secure and level, place your cabinet boxes on top and clamp them firmly together. Crucially, anchor the cabinets securely directly into the wall studs using heavy-duty wood screws through the upper mounting rails of each box. Skipping this step introduces serious safety risks, particularly in homes with children or pets where heavy furniture tipping hazards are a primary concern.
Step 4: Installing Shelving, Countertops, and Trim
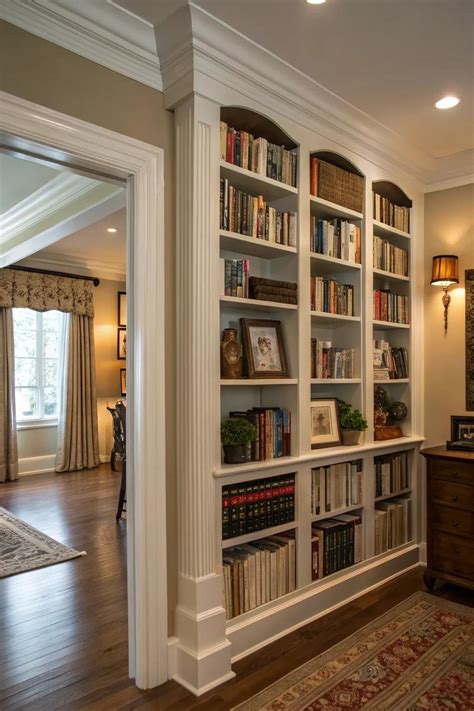
With the lower cabinets firmly in place, turn your attention to the upper shelving and decorative framework. If you are building open bookshelves above the cabinets, use solid wood or reinforced plywood to prevent sagging under the weight of heavy books and decor items over time. Secure vertical uprights directly to the wall framing or connect them securely to a sturdy back panel.
To achieve that high-end, seamless built-in look, trim work is everything. Install face frames over exposed plywood edges, and use scribe molding where side panels meet uneven walls to cover any unsightly gaps. Finish the top of your shelving unit by adding crown molding that meets the ceiling cleanly, caulking all joints and nail holes before the final painting phase.
Step 5: Priming, Painting, and Final Styling
The final phase transforms raw wood and MDF into a cohesive piece of architectural furniture. Start by filling all nail holes with paintable wood filler, letting it dry completely, and sanding every surface smooth with fine-grit sandpaper. Apply a high-adhesion primer specifically formulated for wood and composite materials to seal the grain and provide a durable base for your topcoat.
For a factory-smooth finish, apply multiple thin coats of semi-gloss or satin enamel paint using a fine-finish paint sprayer or a combination of high-density foam rollers and angled synthetic brushes. Allow adequate curing time between coats, and let the paint harden for several days before loading your new custom built-in shelves with books, baskets, and decorative accessories.
Frequently Asked Questions
How much does it cost to build DIY living room built-ins?
Materials for a standard DIY living room built-in wall typically range from $500 to $1,500. Costs vary based on the choice of lumber, whether you build custom boxes or modify stock cabinets, and the complexity of the trim work.
Do I need to anchor built-in cabinets to wall studs?
Yes. Anchoring your built-in cabinets securely to the wall studs is essential for structural stability and prevents the heavy furniture units from tipping over, ensuring safety for your household.
What materials are best for DIY cabinet boxes and trim?
Three-quarter-inch cabinet-grade plywood provides excellent strength and a smooth painting surface for cabinet boxes. Medium-density fiberboard (MDF) or select pine works well for face frames, shelving, and decorative trim.
How do I make stock cabinets look like custom built-ins?
You can elevate stock cabinets by adding a custom base platform, building unified face frames to eliminate gaps, extending shelving to the ceiling, and finishing the top with professional crown molding.
Can renters create temporary or modular built-ins?
Yes. Renters can build modular, freestanding cabinet units that anchor lightly to walls with minimal fasteners, allowing for easy disassembly and drywall repair when moving out.