Adding shelving to your living space is one of the most effective ways to combine practical storage with personalized interior design. Whether you reside in a historic American brownstone with delicate plaster walls or a modern suburban build with standard drywall, introducing handmade shelves transforms empty vertical space into a stylish focal point. Best of all, you do not need an advanced woodworking shop or professional tools to achieve a high-end look.
By selecting the right materials, understanding wall anchoring basics, and applying thoughtful finishing techniques, anyone can complete a weekend DIY shelving project. This guide walks you through beginner-friendly concepts, renter-safe solutions, and professional styling strategies to help you elevate your home decor safely and affordably.
Renter-Friendly Temporary Shelving Solutions
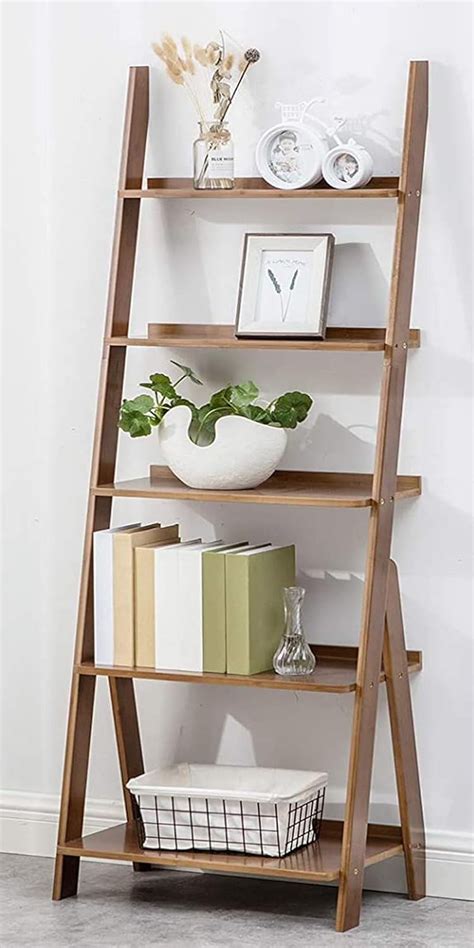
If you live in a rented apartment or home across the United States, drilling large holes into drywall or structural plaster can cause lease violations or security deposit deductions. Fortunately, renters can still enjoy beautiful display spaces without permanent wall modification. The key lies in utilizing tension systems, heavy-duty adhesive anchors designed for easy patching, or leaning ladder shelves that require zero wall attachment.
Leaning bookshelves constructed from lightweight pine or metal framing offer instant vertical storage that rests securely against the wall using gravity and rubber foot pads. For a more custom built-in appearance, modular stackable crates secured together with cabinet screws can create an eye-catching display unit. These alternatives let you customize your layout, accommodate your book collection or plant propagation stations, and pack everything up effortlessly when moving day arrives.
Rustic Wood and Bracket Shelves for Beginners
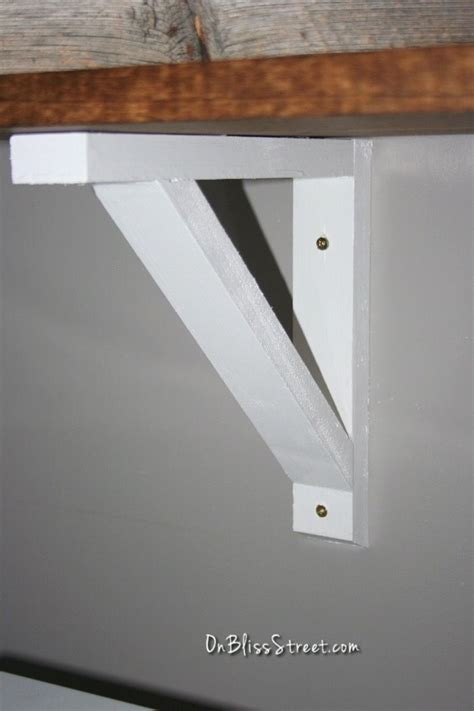
For homeowners and renters permitted to anchor items securely, classic wood boards paired with decorative metal brackets provide a timeless aesthetic. This project requires minimal cuts and lets you customize the scale of your storage to fit awkward nooks or blank kitchen walls. Standard dimensional lumber, such as kiln-dried whitewood or southern yellow pine found at local U.S. home improvement centers, serves as an economical starting point.
To make budget lumber look expensive and bespoke, skip the heavy polyurethane gloss and opt for a multi-step staining and sealing process. Lightly sanding the board edges, applying a warm wood stain, and finishing with a matte clear coat accentuates the natural grain. Pair these boards with matte black iron brackets or modern brass hardware to anchor the rustic elements into a contemporary interior design scheme.
Essential Safety and Wall Anchoring Tips
No matter how attractive your finished shelves look, structural safety must remain the top priority before loading them with heavy ceramics or hardcover books. In typical U.S. residential construction, wall studs are spaced either 16 or 24 inches apart on center. Locating these studs using an electronic stud finder ensures your primary mounting screws bite into solid framing rather than hollow drywall.
When studs do not align with your preferred bracket placement, heavy-duty toggle bolts or expansion anchors rated for drywall provide reliable weight distribution. Always verify the manufacturer weight limits of both your hardware brackets and your chosen wall anchors. Distribute heavier items toward the lower shelves and keep decorative, lightweight objects higher up to maintain a balanced center of gravity.
How to Style Your New Shelves Like a Professional
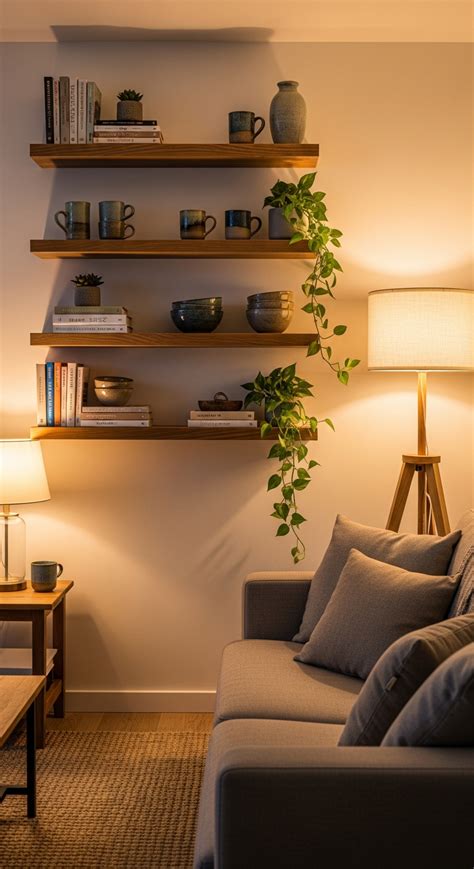
Once your DIY shelves are securely mounted, the styling phase brings your personal design aesthetic to life. Avoid cluttering every square inch by embracing negative space, which allows individual decor pieces to stand out. Group items in odd numbers—such as triads of three—and vary the heights by combining tall framed art, medium ceramic vases, and low stackable books.
Incorporate natural textures to warm up the space, such as trailing pothos plants, woven baskets for hidden storage, and metallic accents that catch natural light. Step back frequently during the arrangement process to assess visual weight and color balance, making minor adjustments until the entire display feels cohesive, intentional, and inviting.
Frequently Asked Questions
What are the best DIY shelf ideas for renters who cannot drill into walls?
Renters can use leaning ladder shelves, freestanding modular crates, or tension-pole shelving units. These options provide ample display and storage capacity without leaving permanent holes in drywall or plaster walls.
What tools and materials do I need to build basic floating shelves?
A basic floating shelf project typically requires a wood board, a sturdy internal metal bracket or mounting sleeve, a stud finder, a drill, wood screws, sandpaper, and your choice of wood stain or paint.
How do I find wall studs to ensure my shelves can hold weight safely?
Use an electronic stud finder to locate the vertical wooden framing members hidden behind your drywall or plaster. Securing shelf brackets directly into these studs provides the strongest possible support for heavy loads.
How can I make inexpensive lumber look high-end and chic?
You can elevate budget lumber by thoroughly sanding the surfaces, applying a rich wood stain or mineral-based paint, and sealing it with a matte clear coat. Pairing the wood with high-quality metal brackets also instantly upgrades the overall look.


