Adding custom built-ins to a living room instantly elevates the architectural character of a home while maximizing functional storage. Whether your goal is to flank a fireplace with classic bookcases or turn an empty wall into an organized media center, taking on this project as a do-it-yourself endeavor requires careful preparation. American homes typically feature standard eight- or nine-foot ceilings, wood or metal wall framing spaced sixteen inches apart, and baseboards that must be accounted for during planning. By breaking the construction process down into deliberate phases—ranging from initial layout measurements to the final coat of paint—you can achieve a high-end, custom look without paying professional contractor prices.
Planning Your Layout and Measuring the Space
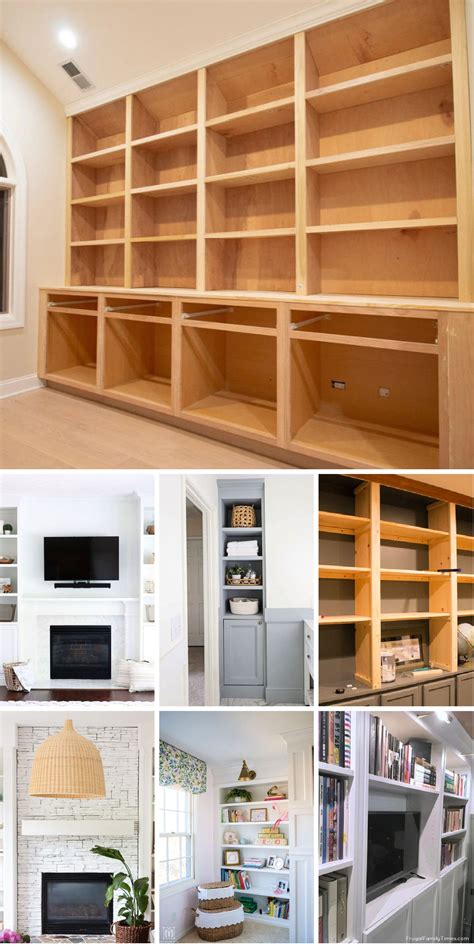
Before purchasing a single sheet of lumber or fastening any hardware, accurate measurement is the single most critical step in your built-in project. U.S. living rooms rarely feature perfectly square walls or completely level floors, meaning your design must accommodate minor structural variations. Use a digital tape measure to check ceiling heights at multiple points across the wall, and locate every wall stud using a reliable magnetic or electronic finder. Mark these stud locations clearly on the painter’s tape applied to the wall, as they represent the anchor points that will keep your heavy shelving units securely attached and prevent tipping hazards over time.
Sketch your shelving design on graph paper or utilize free online 3D modeling tools to visualize proportions. Standard base cabinets usually measure about thirty-six inches high and twelve to twenty-four inches deep, providing a comfortable counter surface and concealed storage below. For upper open shelving, a depth of ten to twelve inches is typically ideal for books, decorative objects, and framed photos without protruding too far into your main living area walkway. Take note of any electrical outlets, heating vents, or baseboard heaters that might interfere with your cabinet bases, and plan to relocate or cut out custom notches in your toe-kicks as needed.
Selecting Materials and Gathering Essential Tools
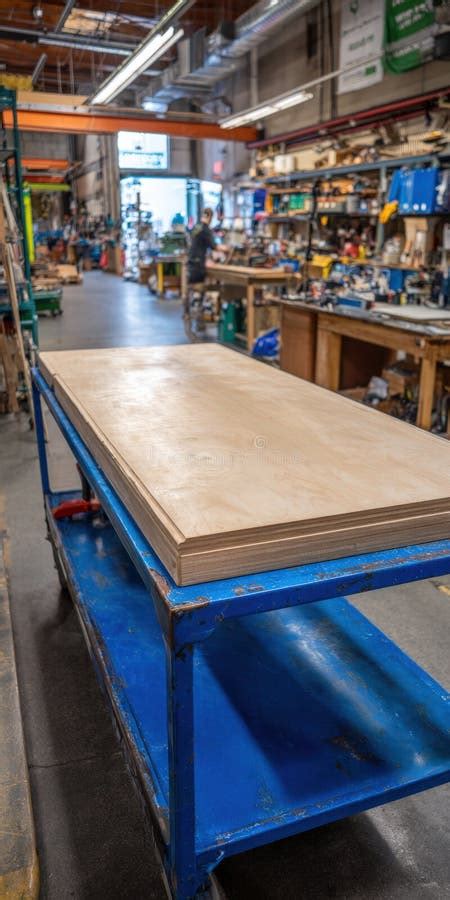
The longevity and finished appearance of your living room built-ins depend heavily on the quality of materials you choose. Medium-density fiberboard (MDF) is widely favored by woodworkers for painted built-ins because of its completely smooth surface, lack of warping, and dimensional stability. However, plywood is significantly stronger for long shelf spans that need to hold heavy loads of books without sagging. For a balanced approach, many DIYers construct the structural frames and shelves out of select pine or cabinet-grade plywood while using MDF for decorative face frames and flat cabinet doors.
Equipping your workspace properly ensures a smoother build and cleaner joints. Essential tools for this project include a miter saw for crosscuts, a table saw or circular saw with a straight-edge guide for sheet goods, a pocket hole jig for hidden joinery, an 18-gauge brad nailer, and a reliable power drill. Safety gear such as dust masks, eye protection, and hearing protection should always be worn when cutting wood and routing edges. Stock up on wood glue, paintable wood filler, fine-grit sandpaper, and trim screws to prepare for the assembly phase.
Frequently Asked Questions
Should I build my built-ins in place or construct modular units?
Constructing modular boxes in a garage or workshop and then bringing them into the living room for final assembly is usually much easier and cleaner than building entirely in place. This allows you to paint or prime the main body pieces before installation, reducing awkward overhead painting later.
How do I prevent long wooden shelves from sagging over time?
To prevent sagging under the weight of books, keep unsupported shelf spans under thirty-six inches when using standard three-quarter-inch plywood or hardwood. For wider spans, adding a solid wood front edge lip or concealing a hidden metal reinforcement bar underneath will drastically improve structural rigidity.
How do I handle uneven walls and baseboards during installation?
Gaps between your built-in unit and uneven drywall are completely normal in residential construction. You can easily bridge these minor gaps by applying flexible, paintable acrylic latex caulk along the seams before your final coat of paint, creating a seamless architectural finish.


