Finding the right balance between style and storage can feel like a constant puzzle, especially when blank walls call out for personality but rental agreements or time constraints stand in the way. Whether you want to display a rotating collection of family photos or organize everyday essentials in a compact kitchen, building your own wall shelves offers an affordable, highly customizable solution. The secret to success lies in matching your project style to your wall type, your skill level, and your commitment to hardware permanence.
For renters and homeowners alike, modern DIY shelving has evolved far beyond heavy wooden planks bolted blindly into drywall. Today’s approachable builds utilize lightweight boards, clever hanging straps, and multi-functional crates that minimize wall damage while maximizing architectural interest. Reviewing material choices, weight distribution principles, and installation mechanics ahead of time will ensure your finished display remains securely fastened and visually stunning for years to come.
Understanding Wall Types and Weight Limits Before You Build
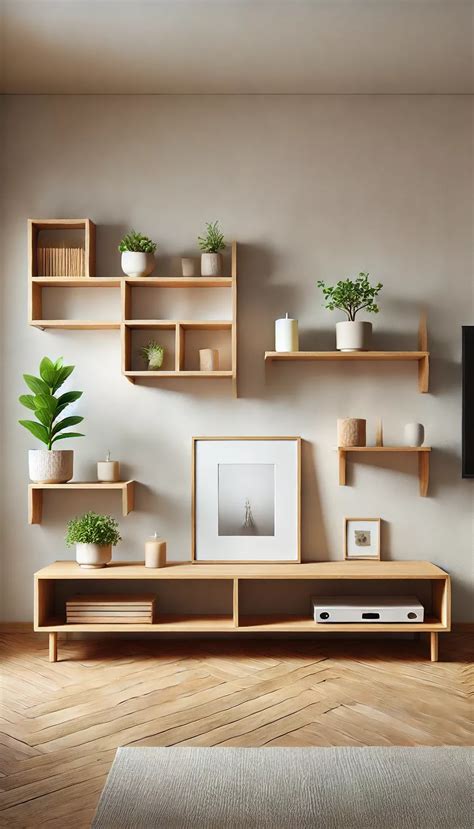
Before gathering lumber or selecting decorative brackets, take a close look at your wall construction. Standard American residential construction typically features wood-stud framing behind half-inch drywall, while older homes often present lath and plaster surfaces. Drywall alone cannot support heavy loads without appropriate anchors, making stud-finders an essential tool for any permanent installation. For renter-friendly setups utilizing adhesive anchors or picture-hanging hooks, strict adherence to weight limits prevents unexpected crashes.
Homeowners tackling permanent installations should always aim to drive at least one screw directly into a vertical wood stud, using toggle bolts or heavy-duty drywall anchors for the remaining support points. Renters working with temporary heavy-duty hanging strips must carefully calculate the combined weight of the wooden board and all decorative items placed upon it. Exceeding manufacturer weight thresholds is the most common cause of failed DIY shelving projects.
8 Simple DIY Wall Shelf Projects for Every Skill Level
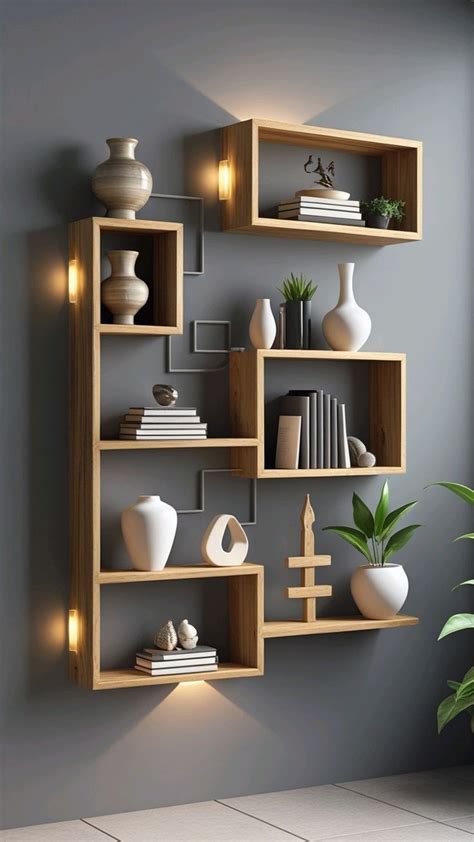
These eight curated shelf designs range from zero-damage renter solutions to sturdy homeowner builds, ensuring there is a project suited to your exact living space and tool collection.
- The Leather Strap Ledge (Renter-Friendly): Using a pre-cut pine board and two strips of genuine leather secured with small drywall screws, this minimalist shelf adds warmth to a living room without requiring bulky metal brackets. The strap tension supports light books and small potted plants effortlessly.
- Repurposed Wooden Crate Shelves: Vintage or craft-store wooden crates mounted directly to wall studs provide instant boxy compartments for bedroom storage. Homeowners can screw them securely into framing, while renters can use heavy-duty interlocking picture hangers to minimize anchor holes.
- The Floating Picture Ledge: Constructed from a narrow base board and a small front lip molding, this slender ledge keeps frames from sliding off. It is exceptionally easy to build with basic miter cuts and can be mounted using minimal-patch anchor screws that leave tiny, easily fixable holes upon moving out.
- Industrial Pipe and Plank Shelves: Perfect for a home office or kitchen pantry, threaded iron pipes act as rugged brackets supporting a stained 2×10 lumber board. This homeowner project demands careful stud alignment due to the weight of the metal components, but it offers incredible load-bearing capacity.
- Floating Box Shelves: Building a simple open-backed cube using pocket-hole joinery creates a modern geometric display. Once finished with wood stain or matte paint, internal cleat mounting systems conceal all hardware for a clean, floating aesthetic.
- Plywood Triangle Shelves: Geometric wall art meets functional storage in this playful project. Cut thin plywood into equilateral triangles with interior horizontal dividers, then hang them securely using sawtooth hangers hidden behind the top vertex.
- Pegboard Display Shelf: Ideal for craft rooms or small entryways, a framed wooden pegboard allows you to insert movable wooden dowel shelves wherever needed. This modular approach lets you reconfigure your display endlessly without drilling new holes in the wall.
- Live-Edge Rustic Slab: For a touch of organic texture, source a small section of unfinished live-edge hardwood, sand it smooth, and mount it using low-profile concealed bracket rods. This statement piece works wonderfully in entryways to catch keys and mail.
Essential Styling Tips for Finished Wall Shelves
Once your new DIY shelves are securely mounted, styling brings the entire composition together. Avoid the temptation to overcrowd every surface; instead, embrace negative space to let individual decor items breathe. Combine vertical elements like tall vases or framed art with horizontal items like stacked books or trailing plants to create visual movement across the wall.
Group decorative accessories in odd-numbered clusters, such as threes or fives, which naturally attract the human eye and feel more organic than symmetrical pairs. Incorporate varied textures—such as woven baskets, smooth ceramics, and rough natural wood—to add depth and tactile warmth to your newly refreshed room.
Frequently Asked Questions
How can I hang shelves as a renter without losing my security deposit?
Renters can successfully hang lightweight shelves by utilizing heavy-duty adhesive hanging strips rated for specific weight capacities, or by using specialized minimal-damage picture hooks that leave only tiny pinholes in drywall. Always check your lease agreement and test weight limits cautiously.
What tools do I need to build basic DIY wall shelves?
Most basic shelving projects require only a handsaw or circular saw, a power drill, a sander or sandpaper, wood glue, and a reliable spirit level. Many hardware stores will also make initial lumber cuts for you if you do not own a saw.
How do I ensure my DIY shelves are level and secure?
Always place a physical spirit level on top of your shelf board before marking anchor points on the wall. For permanent installations, double-check your anchor placement with a stud finder to guarantee the hardware bites into solid wood framing.


