Transforming blank walls with custom storage is one of the most rewarding home improvement projects you can tackle. Building your own storage units allows you to maximize awkward alcoves, showcase favorite books, and dramatically improve the architectural character of your space. Unlike freestanding bookcases that gather dust underneath and leave awkward gaps, custom installations anchor directly into the structure of your room for a polished, seamless finish.
Successfully executing this type of woodworking project requires careful planning, accurate measurements, and a solid understanding of basic framing techniques. Whether you are working in a modern suburban house or a classic apartment, taking a methodical approach ensures your storage remains sturdy, level, and visually stunning for years to come.
Planning and Material Selection
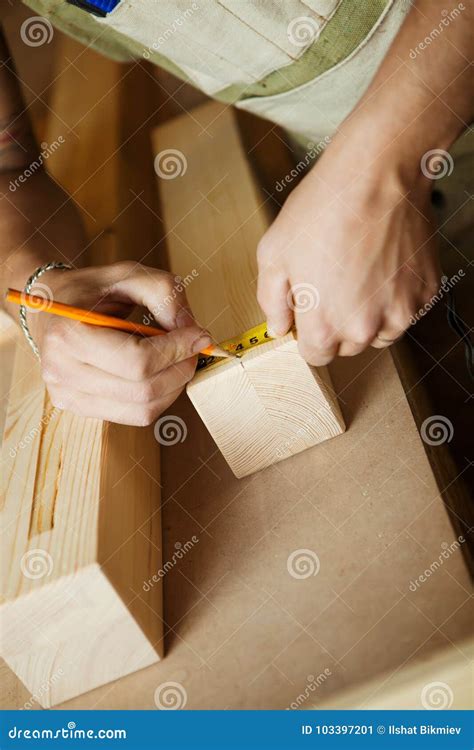
Before making your first cut, meticulous planning is essential to ensure your layout fits the target wall and complies with standard residential framing dimensions. Most American residential walls feature studs spaced either 16 or 24 inches apart, which dictates where your primary vertical supports and anchor points must land. Measure your vertical height, room width, and desired shelf depth multiple times to account for any slight bowing in older drywall or plaster surfaces.
Choosing the right materials significantly impacts both the budget and the final aesthetic outcome. Plywood remains the industry standard for cabinet boxes and upright dividers because it resists warping much better than solid lumber of the same width. For the actual shelf boards, select high-grade select pine, MDF, or hardwood plywood with edge banding to create clean lines. Hardwood plywood offers great structural rigidity, preventing heavy book collections from sagging over time.
Preparing the Wall and Framing the Structure
Once your design is finalized, clear the work area and locate every single wall stud within your designated workspace using an electronic stud finder. Mark these stud locations clearly with painter’s tape so you do not lose them once you begin building out your frame. If your design includes floor-to-ceiling units, you will likely need to remove existing baseboards so the side panels and toe kicks sit flush against the drywall.
Begin assembly by constructing a sturdy cleat system or outer frame that attaches directly to the wall studs. Using 1×2 or 2×2 lumber, screw horizontal cleats securely into the studs at your predetermined shelf heights, verifying each piece with a reliable spirit level. Skipping this leveling step will result in crooked shelves that make objects slide or roll, so take your time checking both horizontal and vertical alignment.
Installing Boards and Achieving a Seamless Finish
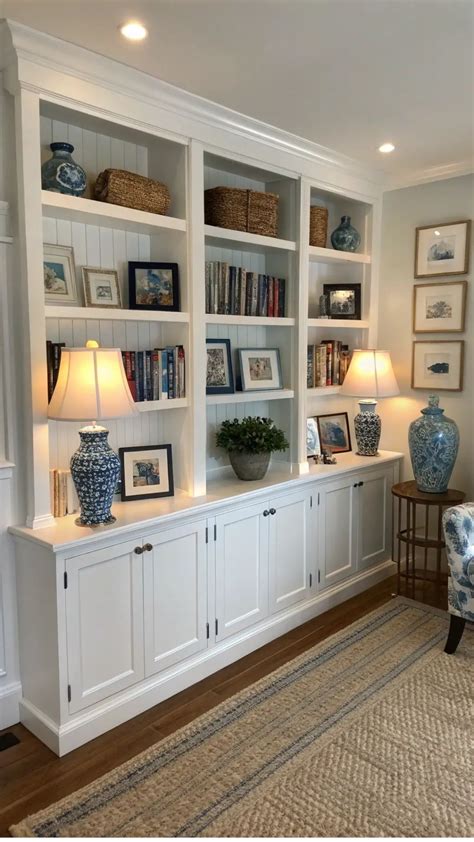
With your support cleats firmly anchored into the structural studs, you can cut your shelf boards to exact lengths and drop them into place. Secure the boards from underneath by driving short wood screws upward through the cleats into the bottom of the shelving material, preventing any shifting under heavy loads. If there are visible gaps where your wood meets the wall, do not panic, as this is completely normal in residential construction.
The secret to making homemade carpentry look like expensive custom millwork lies in the finishing details. Apply paintable latex caulk along all seams where the wood touches the wall, smoothing it out with a damp finger for a clean edge. Fill any exposed screw holes with wood filler, sand everything down smooth with fine-grit sandpaper, and finish with a coat of primer followed by two coats of durable semi-gloss or satin paint matching your trim.
Frequently Asked Questions
What tools and materials are needed for DIY built-in shelves?
Essential supplies include a circular saw or miter saw, a power drill, a stud finder, a spirit level, wood glue, premium plywood or select boards, and wall screws. Safety gear such as protective eyewear and dust masks should always be worn during cutting and sanding phases.
How do you anchor shelves securely to wall studs in a U.S. home?
Always locate vertical wood studs behind the drywall using a stud finder and drive structural screws directly through your shelving cleats into the studs. Relying solely on drywall anchors is discouraged for heavy shelving units meant to hold books or dense decor.
Can renters install temporary built-in style shelving?
Renters can achieve a similar aesthetic by building modular bookcase units that anchor lightly to the wall with minimal hardware, or by utilizing heavy-duty tension and freestanding systems that do not require permanent wall modifications or baseboard removal.


