Transforming a blank living room wall into a sophisticated focal point with custom storage is one of the most rewarding home improvement projects you can undertake. Built-in bookshelves add undeniable architectural character while making the most of vertical space in typical American living rooms, dens, and home offices. Rather than relying on generic flat-pack furniture that leaves awkward gaps near the ceiling and baseboards, constructing your own built-in units allows you to tailor every vertical inch to your exact storage needs and interior aesthetic.
Approaching this project successfully requires balancing structural stability with thoughtful design choices. American homes often feature standard wood-framing and drywall construction behind which lurk hidden electrical wires, plumbing lines, and uneven studs. By planning your layout carefully, selecting appropriate sheet goods, and prioritizing heavy-duty wall anchors, you can achieve a seamless, high-end millwork look that elevates your entire living space without requiring a professional carpenter’s budget.
Assessing Your Space and Wall Constraints
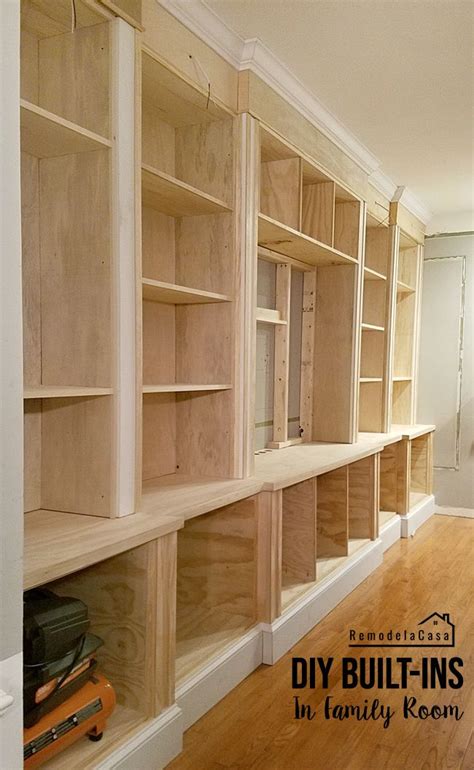
Before purchasing a single board of lumber, take a detailed inventory of your target wall and identify any structural quirks. Most U.S. residential walls are framed with studs spaced either 16 or 24 inches on center behind half-inch drywall. Locate these studs using an electronic stud finder and mark them clearly with painter’s tape. You must also check for baseboard heaters, floor vents, or electrical outlets that might interfere with your lower cabinet placement or toe-kick height.

Older American homes frequently suffer from settled foundations, resulting in floors that slope slightly and walls that are not entirely plumb. Neglecting these discrepancies will leave unsightly gaps between your shelving uprights and the drywall. Always measure the height, width, and depth at multiple points across the installation area. When building your outer framework, use shims to level the base units before screwing them permanently into the wall studs to ensure a true, square foundation.
Selecting the Right Materials for Durability and Budget
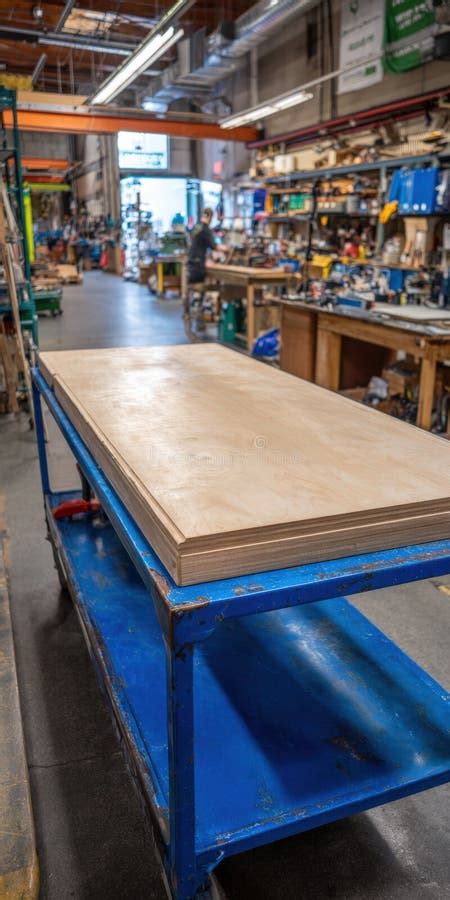
Choosing the correct building materials determines both the longevity of your shelves and the quality of your final painted finish. Solid hardwood is exceptionally durable, but it is often cost-prohibitive for large shelving units and prone to warping in fluctuating indoor humidity. Instead, most DIYers rely on cabinet-grade plywood for the outer boxes and vertical dividers, combined with MDF for smooth, knot-free cabinet doors and crown molding.
Plywood offers excellent structural strength and resists sagging across wider shelf spans better than particle board. When designing shelves that span over 30 inches, choose three-quarter-inch thick plywood and consider adding a solid wood face-frame edge banding to conceal the exposed plys. This simple step gives the entire assembly a thick, high-end profile reminiscent of custom architectural millwork while keeping material costs manageable for a standard room-sized budget.
Construction, Anchoring, and Seamless Trim Work
The core construction phase involves building sturdy vertical bookcases and securing them rigidly to the wall structure. Safety is paramount here; tall bookcases must be anchored directly into wall studs using heavy-duty structural screws to prevent catastrophic tipping accidents. If your layout requires placing shelves in front of drywall without direct stud alignment, use toggle bolts or heavy drywall anchors rated for high shear weight loads.
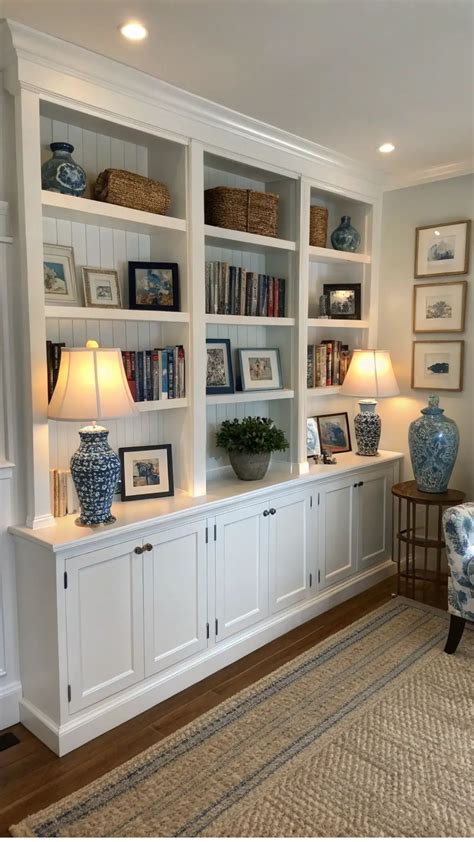
Once your primary bookcase modules are leveled, screwed together, and anchored to the wall, you can apply trim work to bridge the gaps between the furniture and the surrounding architecture. Install baseboard matching your home’s existing profile along the bottom of the unit, and use scribe molding or caulk to bridge any microscopic gaps where the vertical sides meet textured drywall. Filling nail holes, sanding smooth, and applying a durable enamel paint finish will unify all disparate wood and MDF elements into a cohesive built-in statement piece.
Styling Your New Built-In Bookshelves
With the construction and painting complete, styling your shelves brings the entire project to life. Avoid the temptation to completely pack every shelf tight with books; instead, create visual breathing room by combining vertical book stacks with horizontal piles. Integrate decorative objects, framed photographs, woven storage baskets, and trailing houseplants to add texture, warmth, and personal character to the display.
Balance heavier items near the bottom shelves to maintain visual stability while keeping lighter, airier decorative pieces higher up. Group objects in odd-numbered clusters and leave a few sections partially empty to highlight the clean lines and custom paint finish of your newly built shelving system.
Frequently Asked Questions
How do I anchor bookshelves securely to drywall and studs?
To anchor built-in bookshelves safely, locate the wooden wall studs behind your drywall using an electronic stud finder. Drive heavy-duty structural screws directly through the back frame or top anchoring cleats of your shelving unit directly into the center of these studs. If a shelf placement does not align with a stud, use heavy-duty toggle bolts rated for high weight capacities to secure the unit against the drywall.
What materials are best for DIY built-ins on a budget?
Cabinet-grade plywood (such as birch or maple veneer) is widely considered the best material for DIY built-ins because it provides exceptional structural rigidity, resists sagging, and accepts paint or stain smoothly. Use medium-density fiberboard (MDF) for trim pieces, toe-kicks, and cabinet doors where a completely smooth, knot-free surface is desired.
How do I handle uneven floors and walls in older homes?
Older homes often feature floors that slope and walls that are out of plumb. You can correct these imperfections by placing wooden shims underneath the base cabinets or vertical uprights until they are completely level. Use flexible paintable caulk to fill any minor gaps between the outer edge of your shelving frame and uneven drywall before final painting.
How can I make modular bookcases look like custom built-ins?
The secret to transforming store-bought or simple modular bookcases into custom built-ins lies in trim work. Secure the units tightly together, anchor them to the wall, and build a base platform or toe-kick underneath. Add matching baseboards, crown molding at the ceiling, and face-frame trim to conceal all seams and gaps, creating the illusion of permanent built-in millwork.


