Upgrading your vertical storage can completely redefine a room, drawing the eye upward while clearing clutter off your furniture. Whether you are living in a leased suburban apartment or own a historic multi-story house, floating shelves offer a streamlined aesthetic that fits modern interior trends. However, the biggest hurdle for most decorators is bridging the gap between attractive design and structural reality. Renters must worry about security deposits and strict lease clauses, while homeowners need robust mounting solutions that support heavy decorative objects without sagging over time.
Creating your own wooden ledges gives you total control over dimensions, wood finishes, and mounting hardware. By tailoring the project to your specific wall type—whether standard American drywall on wood studs or older plaster surfaces—you ensure a secure fit that lasts. This guide walks you through the essential materials, safe installation strategies for different housing types, and simple styling principles to make your new shelves look professionally installed.
Choosing the Right Materials and Hardware for Your Space
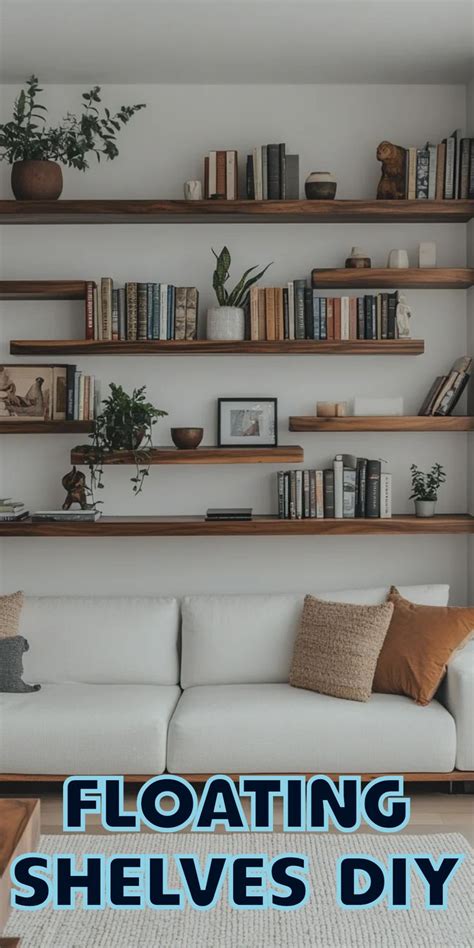
Selecting the appropriate lumber and internal bracket system determines whether your shelves will sit flush against the wall or tilt downward under a heavy stack of books. For a classic wooden look, dimensional lumber like select pine, oak, or walnut boards works wonderfully. Many local home improvement centers in the United States will cut boards to length for free or a nominal fee, which simplifies the process if you do not own a heavy-duty miter saw at home.
When it comes to the internal support, standard hollow-wall brackets or heavy-duty steel rods hidden inside the wood core are the industry standard. Renters often need to prioritize solutions that require smaller drill holes or utilize heavy-duty adhesive anchors that can be easily patched later with spackle. Homeowners, on the other hand, should aim to anchor at least one side of the internal bracket directly into a wooden wall stud to maximize weight capacity for kitchen dishware or ceramic planters.
Balancing Renter-Friendly Restrictions and Homeowner Stability
Navigating apartment lease restrictions requires careful planning when modifying walls. Standard drywall anchors leave holes that require patching, sanding, and touch-up paint before moving out to secure your deposit. To minimize structural impact, renters can opt for specialized picture-hanging systems rated for medium loads or utilize specialized toggle bolts that require smaller puncture footprints than traditional plastic screw sleeves. Always review your lease agreement regarding wall alterations before picking up a power drill.
Conversely, homeowners have the freedom to drive heavy lag bolts and toggle anchors directly into studs without worrying about landlord penalties. If your home features lath and plaster walls common in older properties, the installation method changes significantly. Plaster tends to crumble under standard hammer-drill pressure, so using masonry bits at a lower speed and selecting expanding spring toggles will prevent the surrounding plaster from cracking away from the wooden lath strips behind it.
Step-by-Step Installation and Leveling Techniques
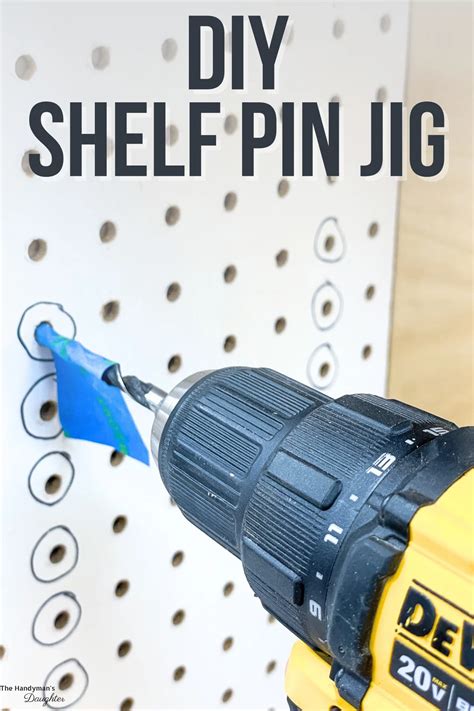
Successful installation begins with a reliable stud finder and a high-quality bubble level. Mark your desired shelf height lightly with a pencil, then locate the vertical studs behind the drywall to see if your shelf placement aligns with them. If studs do not line up where you want the shelf, robust drywall anchors are necessary, though attaching to at least one stud dramatically improves overall stability.
Secure the mounting bracket firmly to the wall, checking the horizontal bubble repeatedly before tightening the screws completely. Slide your hollow wooden shelf box over the bracket rods, making sure it slides flush against the sheetrock. Secure the underside of the wood to the metal bracket using small headless screws to prevent the shelf from sliding forward when items are placed on top or removed.
Styling Your New Floating Shelves for Maximum Visual Impact
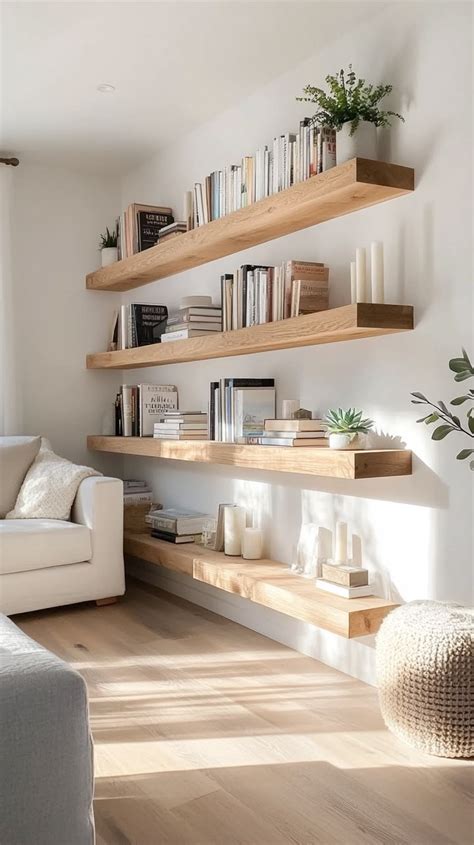
Once your hardware is secure, styling turns bare wood into a cohesive design statement. Group items in odd numbers, such as clusters of three objects, to create a natural visual rhythm that feels balanced rather than staged. Incorporate a mix of textures by pairing smooth ceramic vases with woven baskets, framed art prints, and trailing green plants like pothos or cascading ivy.
Leave some negative space on each shelf rather than crowding every inch with Knick-knacks. Allowing room to breathe keeps the room feeling open and airy. Rotate your seasonal decor items periodically to refresh the aesthetic without needing to reconfigure the underlying shelving hardware or drill additional holes in your walls.
Frequently Asked Questions
How do you hang floating shelves without destroying rental walls?
To minimize wall damage in a rental, use heavy-duty picture hanging anchors or toggle bolts that require the smallest possible holes. Always check your lease agreement regarding wall modifications, and keep a small tub of spackle and matching touch-up paint on hand for when you eventually move out.
What supplies are needed to build a DIY floating shelf?
You will need a wooden board cut to your desired length, a hollow-core box construction or pre-made floating shelf bracket kit, wood glue, finishing nails or a pin nailer, sandpaper, stain or paint, a stud finder, a level, and a power drill.
How much weight can renter-friendly floating shelves hold?
Renter-friendly shelves mounted purely into drywall using standard anchors generally support between 10 to 25 pounds safely. If you need to hold heavier items like books, ensure at least one bracket screw fastens directly into a wooden wall stud.
What is the difference between installing shelves in drywall versus plaster?
Modern drywall is soft and easily accepts standard screws and plastic anchors. Older plaster walls are brittle, prone to cracking, and backed by wooden lath strips, requiring specialized masonry bits, careful drilling speeds, and expanding spring toggles for a secure hold.


