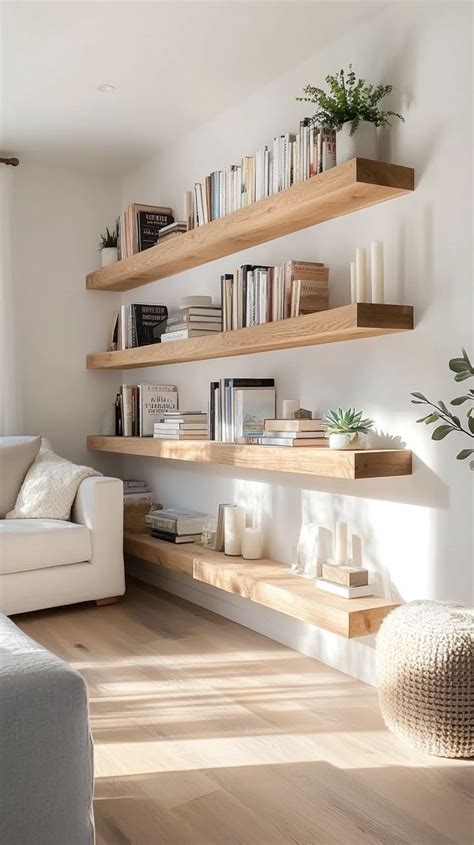
Floating shelves offer a clean, modern way to display books, plants, and decorative objects without the visual clutter of bulky brackets. However, putting holes in your walls can feel stressful, especially if you live in a rented apartment in the United States where security deposit deductions are a constant concern. Fortunately, successful shelving comes down to matching your installation method to your wall type, your lease agreement, and your structural needs.
Whether you need a fully removable, minor-impact setup to protect your lease or a permanent, heavy-duty installation anchored securely into wooden wall studs, preparation is everything. Taking the time to gather the right tools, plan your layout, and understand load capacities ensures your display looks polished and stays safely attached to the wall for years to come.
Essential Tools and Materials for Wall Shelving
Before you begin any mounting project, having the right equipment on hand prevents frustration and keeps your walls looking neat. At a minimum, you will need a reliable bubble level, a pencil for marking placement, a stud finder, a power drill, and appropriate fastening hardware matched to your specific shelving kit.
Investing in a decent magnetic stud finder or an electronic edge-finding tool makes a noticeable difference in your installation speed. Cheap tools often provide false readings on textured drywall, which leads to misaligned brackets and ruined drywall. Additionally, keep a handheld screwdriver nearby for fine-tuning bracket tension once the power drill has seated the primary screws.
Renter-Friendly Hanging Methods and Damage-Free Workarounds
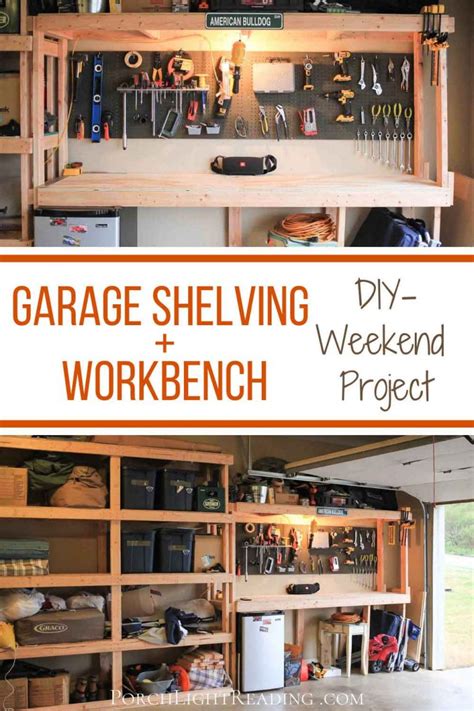
Renting a home in the U.S. usually means navigating strict lease clauses about wall damage. While heavy floating shelves typically require masonry bits or toggle bolts for maximum weight capacity, renters can utilize clever workarounds to minimize repair work upon moving out. Opting for lightweight hollow-core shelves paired with small-diameter anchor screws creates significantly smaller holes than heavy timber planks mounted on industrial iron brackets.
When planning a renter-friendly display, look for decorative ledges or lightweight composite wood shelves designed specifically to reduce wall stress. Instead of driving half-inch lag bolts into your living room drywall, use medium-duty self-drilling drywall anchors rated for ten to twenty pounds. These leave small, circular punctures that can be easily filled with standard spackle during your final apartment walkthrough, preserving your security deposit.
Locating Studs and Hardware Selection for Homeowners
Homeowners enjoy the freedom to drive heavy hardware straight into structural framing, unlocking the true weight-bearing potential of floating shelves. Wall studs in standard American residential construction are typically spaced sixteen inches apart on center. Locating these vertical wooden supports guarantees your shelf brackets can safely support heavy stacks of hardback books, ceramic kitchenware, or dense decorative pieces.
When mounting directly into studs, discard the generic plastic anchors provided in budget shelving kits and substitute them with robust wood screws measuring at least two and a half inches long. If your ideal shelf placement falls halfway between two studs, do not despair. High-quality toggle bolts or threaded metal drywall anchors can bridge the gap, provided you keep the total displayed weight within the manufacturer’s recommended safety limits.
Step-by-Step Installation Walkthrough
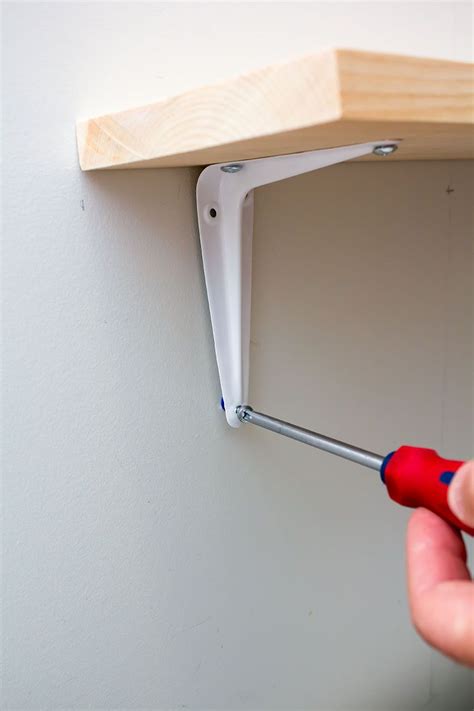
Achieving a professional finish requires patience and a methodical approach to measuring and leveling. Start by holding your mounting bracket against the wall at your desired height, placing your spirit level across the top edge, and marking your screw hole locations lightly with a pencil. Double-check your measurements from the floor upward to ensure the shelf hangs parallel to your baseboards.
Next, drill pilot holes if you are fastening into wood studs, or tap your chosen drywall anchors gently into place with a hammer. Secure the metal mounting bracket loosely with your screws, check the level one final time, and then tighten everything down completely. Slide the hollow floating shelf sleeve over the secured bracket and lock it into place using the small set-bottom screws provided in the hardware pack.
Weight Limits, Safety Precautions, and Maintenance
Every floating shelf comes with a manufacturer-specified weight limit that accounts for the bracket design, anchor strength, and shelf material. Overloading a floating shelf exerts tremendous leverage force on the upper anchor points, which can cause the fasteners to tear out of the drywall abruptly. Distribute heavy objects toward the back of the shelf closer to the wall rather than letting them crowd the outer edge.
Periodically check the set screws and wall fastenings every few months, especially in high-traffic zones or homes with children and pets where vibrations are common. If you notice any downward sagging or shifting at the bracket seam, remove your items immediately and inspect the wall anchors to prevent accidental shelf collapse.
Patching and Removal Guide for Renters
When your lease comes to an end and it is time to pack up your apartment, removing floating shelves cleanly requires just a few basic patching supplies. Begin by loosening the bracket set screws, sliding off the wooden shelf, and unscrewing the wall brackets carefully to avoid chipping the surrounding paint.
Fill any remaining anchor holes using a lightweight vinyl spackle and a putty knife, smoothing the compound flush with the wall surface. Once dry, lightly sand the patched spots with a fine-grit sanding block and dab on a small amount of touch-up paint matching your landlord’s wall color, leaving the apartment ready for inspection.
Frequently Asked Questions
How do I hang floating shelves if I rent and cannot use heavy anchors?
Renters can use lightweight shelving materials paired with small-diameter drywall anchors rated for modest weight loads. These leave tiny holes that are simple to patch with standard spackle when moving out, protecting your security deposit.
What tools do I need to install floating shelves securely?
Essential tools include a power drill, a reliable stud finder, a spirit level, a pencil, a hammer, and the appropriate screws or wall anchors specified in your shelving manufacturer’s installation manual.
How do I find wall studs to support heavy items?
Use an electronic stud finder or magnetic stud locator to find the vertical wooden framing members hidden behind your drywall. Standard U.S. residential walls typically feature studs spaced sixteen inches apart.
How much weight can floating shelves actually hold?
Weight capacity depends heavily on the mounting method. Shelves bolted directly into wooden wall studs can often support thirty to fifty pounds or more, whereas drywall-anchor setups are typically limited to ten to twenty pounds safely.
How do I patch screw holes when moving out of a rental?
Unscrew the brackets, fill the holes with lightweight spackle using a putty knife, let it dry completely, sand it smooth with fine-grit sandpaper, and apply a dab of matching wall paint if necessary.


