Installing custom solid wood wall-to-wall shelves is one of the most effective ways to elevate a room’s aesthetic while drastically increasing your home’s storage capacity. Whether you want to display an extensive book collection, curate art pieces, or organize a home office, a continuous run of rich, natural timber creates an instant architectural focal point. Unlike prefabricated shelving units that leave awkward gaps at the edges, custom span shelving hugs every contour of your room for a polished, high-end built-in appearance.
Successfully tackling this project requires balancing precise measurements, proper lumber selection, and sound structural anchoring. American residential construction typically features wood-frame walls with studs spaced 16 inches apart on center, which heavily influences how and where you mount your support system. By understanding the mechanical limits of your walls and selecting durable domestic hardwoods or softwoods, you can create functional furniture that remains secure and level for decades to come.
Assessing Wall Space and Planning Your Layout
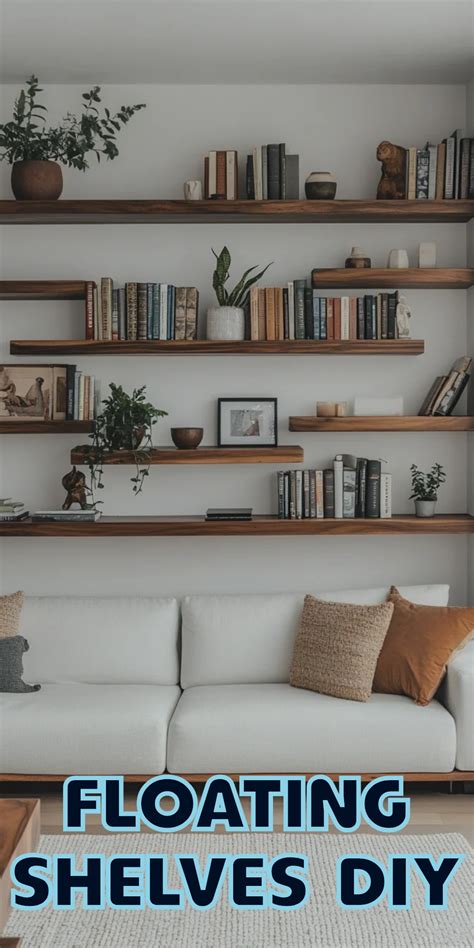
Before purchasing any lumber or hardware, you must perform a thorough dimensional assessment of your target wall. Grab a reliable steel tape measure and check the width of the space at three distinct heights: near the floor, at mid-height, and close to the ceiling. In many American homes—particularly older constructions that have settled over time—walls are rarely perfectly plumb or square. Relying on a single measurement at eye level can leave you with boards that are either too long to fit into the alcove or too short, leaving unsightly gaps against the drywall.
Decide on the vertical spacing between your shelves based on what you plan to store. Standard bookshelf heights generally range from 10 to 14 inches, while lower shelves meant for large storage baskets or heavy art books may require 15 to 18 inches of clearance. Sketch out your design on graph paper, noting the thickness of your chosen lumber. Keep in mind that longer spans exceeding 36 inches will require intermediate support brackets or ledger strips to prevent the wood from sagging under heavy loads over time.
Selecting the Right Solid Wood and Hardware
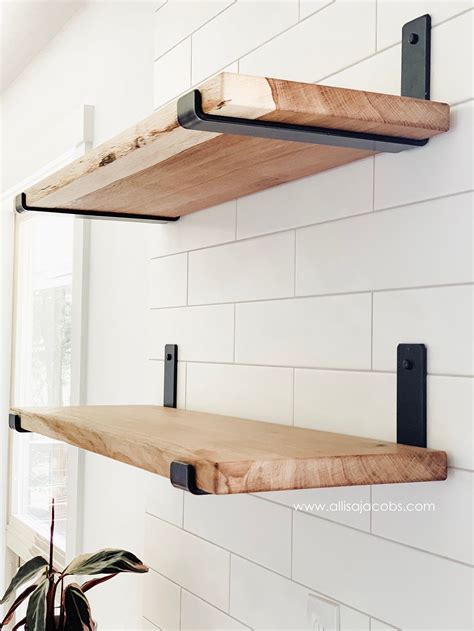
Choosing the correct timber is critical for both the visual impact and structural integrity of your wall-to-wall shelves. Common domestic options found at major U.S. home improvement retailers include red oak, maple, walnut, and select pine. Oak and maple offer exceptional hardness and load-bearing capacity with minimal deflection, whereas pine provides a budget-friendly, lightweight alternative with a prominent rustic grain that takes stains and paints exceptionally well. Ensure your boards are kiln-dried to prevent warping or twisting as your home’s indoor humidity fluctuates through changing seasons.
Hardware selection dictates how clean your finished installation will look. Heavy-duty steel brackets, concealed floating shelf hardware, or continuous wooden cleats attached to the side walls and back studs are popular mounting choices. If you prefer a streamlined, minimalist aesthetic, concealed rod brackets inserted into drilled holes along the back edge of the wood provide strong support while remaining completely invisible once loaded with books and decor.
Essential Tools and Safety Equipment
Gathering your tools beforehand ensures an efficient workflow and prevents frustrating mid-project trips to the hardware store. At a minimum, you will need a circular saw or miter saw for clean crosscuts, a random orbital sander with various grit sandpapers, a high-quality electronic stud finder, a long spirit level or laser level, a power drill, and safety gear including protective eyewear and a dust mask.
Precision is vital when working with continuous wall-to-wall spans, making a reliable stud finder and a true level indispensable assets. For safety, always secure your workpiece with clamps before cutting or routing, and wear appropriate respiratory protection when sanding fine hardwoods or applying chemical finishes. Taking these precautions protects both your physical well-being and the quality of your finished project.
Locating Studs and Mounting Support Systems
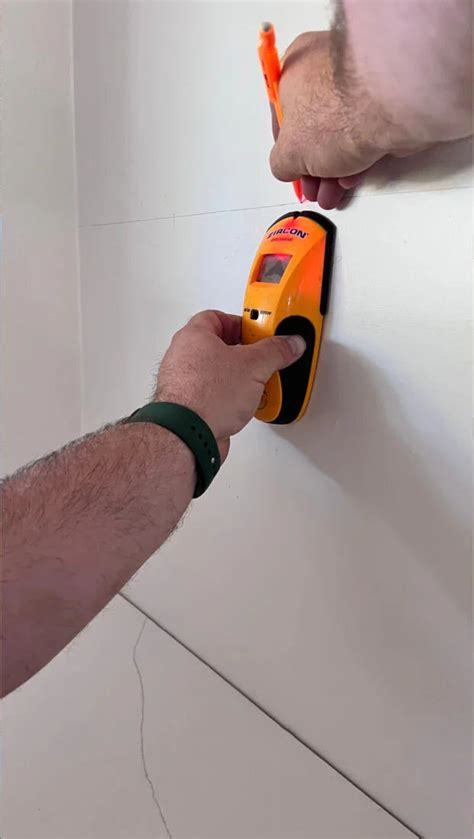
The safety of your shelving system depends entirely on how securely it anchors to the structural framing of the house. Use your electronic stud finder to locate and mark every wall stud along the entire length of the planned shelf run. In standard U.S. construction, framing studs are usually spaced 16 inches apart, though corners and doorframes can introduce irregularities. Never rely solely on plastic drywall anchors to support heavy solid wood shelving loaded with books; drywall lacks the shear strength required for substantial weight.
Install your ledger boards or individual brackets by driving heavy-duty structural screws directly into the center of each wood stud. If a shelf span falls between studs, utilize heavy-duty toggle bolts or specialized hollow-wall anchors specifically rated for high weight capacities, or anchor your shelf ends securely into the side walls of an alcove. Double-check your alignment with a spirit level at every step to ensure your supports remain completely horizontal.
Cutting, Sanding, and Finishing Solid Wood Boards
Measure your final wall span twice and subtract roughly one-eighth of an inch if you are wedging the board tightly between two side walls, making it easier to slide into place without gouging the drywall. Make your cuts slowly with a fine-tooth saw blade to minimize splintering. Next, move on to sanding your boards, progressing from 80-grit paper to smooth out rough spots up to 150-grit or 220-grit for a silky, touchable surface. Always sand in the direction of the wood grain to avoid cross-grain scratches that show up prominently after finishing.
Apply your preferred finish in a well-ventilated space. Clear polyurethane or penetrating hardwax oils protect the wood while highlighting its natural grain patterns, warmth, and color variations. If you prefer a customized color tone, apply an oil-based wood stain using a clean cloth or brush, wiping away excess residue after a few minutes. Allow each coat to dry completely and lightly de-nib with fine steel wool or high-grit sandpaper between coats for an ultra-smooth finish.
Final Installation and Weight Distribution
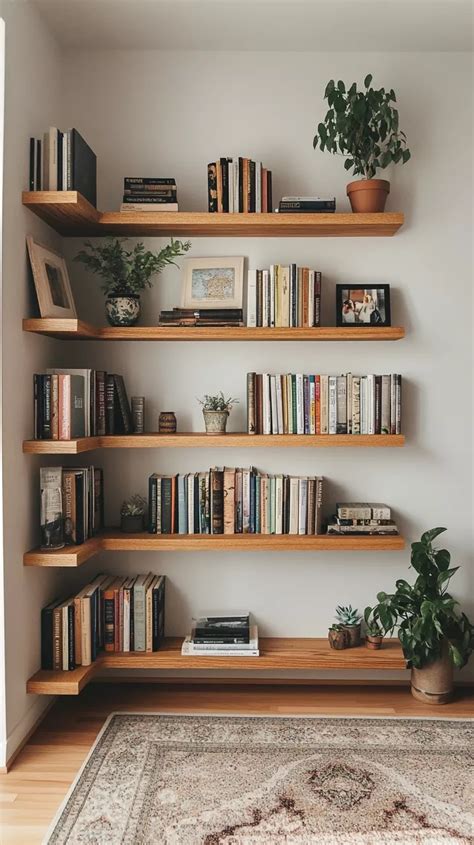
Once your boards are fully cured and dry, carefully position them onto your installed brackets, cleats, or mounting rods. If you are fitting a board tightly between two side walls, gently tap it into place with a rubber mallet using a scrap wood block to protect the front edge from denting. Secure the underside of the wood boards directly to the mounting brackets using short wood screws to prevent any shifting or sliding when items are pulled off the shelves.
When styling your new wall-to-wall shelves, distribute weight evenly across the entire span. Place heavier items like large art books or storage bins closer to the wall or directly over support brackets, reserving the outer edges for lighter decorative objects, plants, and picture frames. This thoughtful arrangement maintains long-term structural stability while creating a balanced, visually pleasing display that transforms the atmosphere of the entire room.
Frequently Asked Questions
What kind of solid wood is best for wall-to-wall shelving?
Hardwoods like red oak, maple, and walnut offer superior strength and minimal sagging over long spans. For budget-friendly projects, select-grade pine or poplar work well, though they are softer and should be kept to shorter spans or reinforced with heavier brackets.
How do I ensure wall-to-wall shelves are level in an older U.S. home?
Older homes often feature settling walls that are out of square. Using a laser level or a long spirit level is essential. Instead of measuring strictly from the floor or ceiling, establish a true horizontal baseline and shim your ledger boards or brackets slightly where necessary to achieve a level run.
What weight capacity can I expect from wall-mounted solid wood shelves?
Weight capacity depends heavily on your anchoring method, lumber thickness, and span length. Shelves firmly screwed into wall studs every 16 inches using robust steel brackets or cleats can typically support 50 to 100 pounds or more per linear foot, provided the hardware is rated accordingly.
Do I need to anchor every bracket into a wall stud?
Yes, for maximum safety and weight capacity, you should anchor your primary support brackets or ledger boards directly into structural wall studs. Relying solely on drywall anchors for heavy solid wood shelving creates a high risk of failure and property damage.
What finishes work best to protect and showcase natural wood grain?
Penetrating hardwax oils and wipe-on polyurethane finishes are popular because they seal the wood against moisture and everyday wear while deeply enriching the natural grain pattern and color without creating an overly glossy or artificial plastic sheen.


