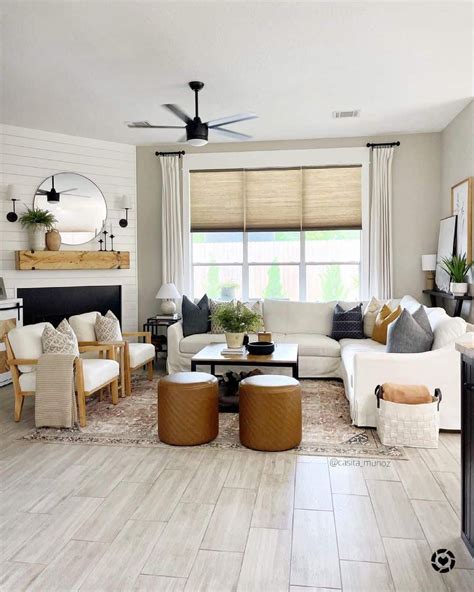
Tackling multiple areas of a home at once can easily feel overwhelming, especially when balancing work, family, and everyday chores. However, breaking a major project down into distinct, manageable blocks transforms an intimidating endeavor into an achievable adventure. By dividing a comprehensive renovation into three 30-day phases, you can systematically upgrade both the kitchen and the living room without descending into total household chaos. Careful planning ensures that dust, tools, and budget allocations remain entirely under control from the first day of preparation to the final decorative styling touches.
Success in any multi-room makeover relies heavily on establishing clear boundaries between what you can accomplish yourself and when to call in licensed professionals. While painting, hardware swaps, and open shelving installation make fantastic weekend DIY projects, structural wall changes, major plumbing rerouting, and complex electrical rewiring require certified experts. Keeping this distinction clear protects your investment, maintains safety standards, and prevents costly mistakes that could derail your 90-day timeline.
Phase One (Days 1–30): Kitchen Foundations and Cosmetic Refresh
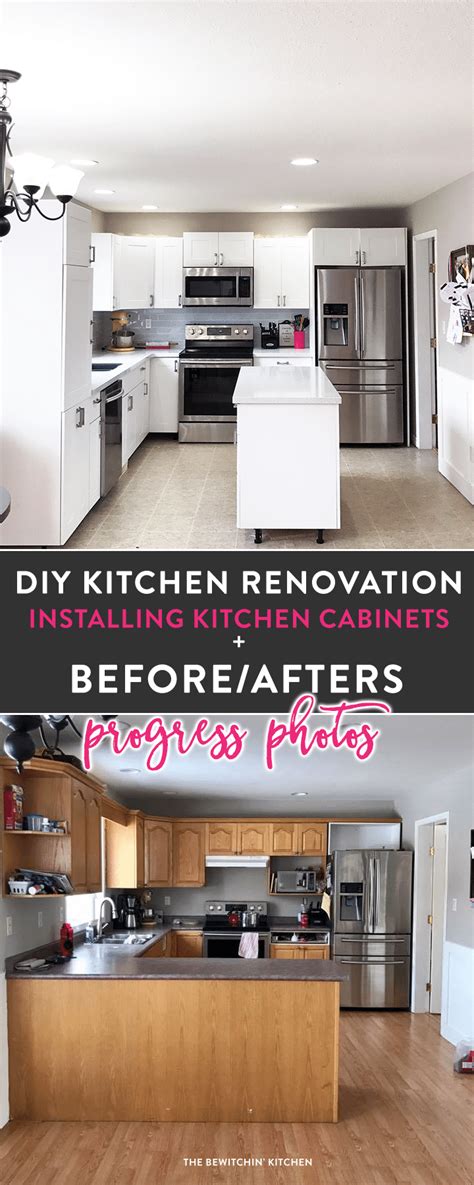
The first month of your adventure focuses entirely on the heart of the home: the kitchen. Instead of gutting the entire space immediately, begin by assessing functional pain points such as worn cabinet surfaces, dated hardware, and inefficient lighting. Establishing a temporary makeshift kitchen in a nearby dining area or spare room will save your sanity while cabinet doors are removed for painting and surface prep.
Demolition and surface preparation require patience and rigorous attention to detail. Thoroughly clean and degrease all cabinet boxes before applying a high-adhesion primer and durable cabinet enamel. If you are replacing countertops or a backsplash, map out the plumbing lines and electrical outlets carefully. Renters should focus heavily on non-permanent upgrades like peel-and-stick backsplashes and contact paper linings, which deliver dramatic visual transformations without violating lease agreements.
Phase Two (Days 31–60): Living Room Layout and Lighting
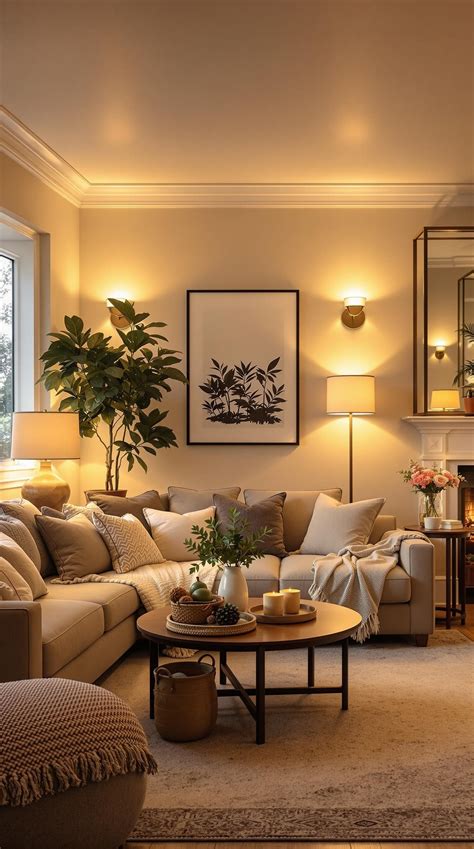
Once the kitchen cosmetic updates are curing and functioning smoothly, shift your focus to the living room. This second 30-day block centers on optimizing spatial flow, upgrading illumination, and introducing versatile furniture arrangements that complement your newly refreshed cooking space. Take time to evaluate how natural light enters the room throughout the day before choosing window treatments or wall paint colors.
Lighting plays a transformative role in unifying an open-concept or adjacent floor plan. Layer ambient, task, and accent lighting by combining floor lamps, dimmable overhead fixtures, and wall sconces. When arranging furniture, pull seating away from the walls to create cozy conversation areas. Homeowners can safely install hardwired light fixtures if power is shut off at the main breaker, while renters can achieve similar layered warmth using plug-in wall sconces and smart bulbs.
Phase Three (Days 61–90): Final Styling and Finishing Touches
The final stretch of your 90-day adventure brings both spaces together through cohesive styling, hardware coordination, and decorative accents. Review the color palette across both rooms to ensure a seamless transition from the kitchen cabinetry to the living room textiles. Consistent metallic finishes on drawer pulls, light switch plates, and curtain rods establish a polished, intentional look throughout your main living zones.
Introduce texture and personality in the living room through washable slipcovers, woven baskets, styled bookshelves, and indoor greenery. In the kitchen, display functional items like cutting boards, ceramic crocks, and glassware to merge beauty with daily utility. Documenting your progress along the way provides a rewarding reminder of how far your space has evolved through dedicated planning and hands-on effort.
Frequently Asked Questions
How do I keep my kitchen functional during a partial DIY makeover?
Set up a temporary kitchen station in an adjacent room with a microwave, coffee maker, and small refrigerator. Wash dishes in a bathroom or laundry sink, and rely on simple meal prep strategies to minimize the need for a fully operational stove while cabinets or countertops are being updated.
What DIY projects are safe for renters versus homeowners?
Renters should stick to reversible updates such as peel-and-stick wallpapers, temporary backsplashes, cabinet hardware swaps (saving original pulls), and plug-in lighting. Homeowners have the freedom to tackle permanent alterations like painting cabinets, replacing tile backsplashes, hardwiring light fixtures, and modifying trimwork.
How can I avoid renovation burnout over a 90-day timeline?
Pace yourself by strictly adhering to the 30-day phase milestones rather than trying to finish every room at once. Dedicate specific weekends entirely to resting and cleaning up your workspace so that your home remains a comfortable sanctuary rather than a constant construction zone.