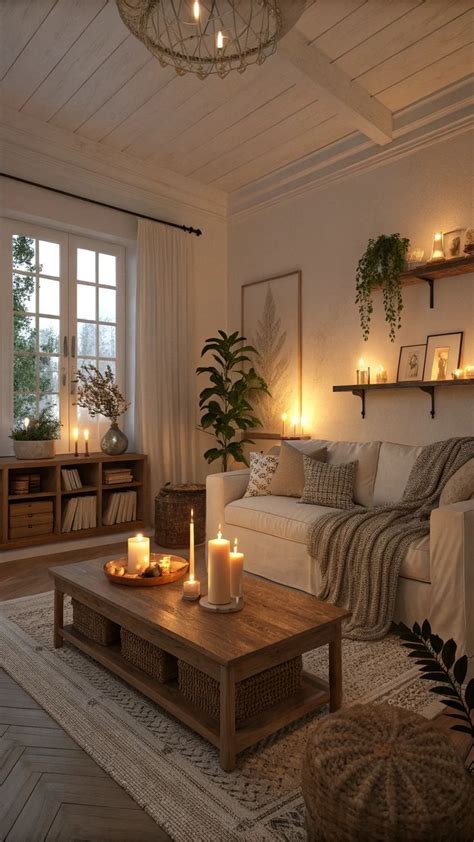
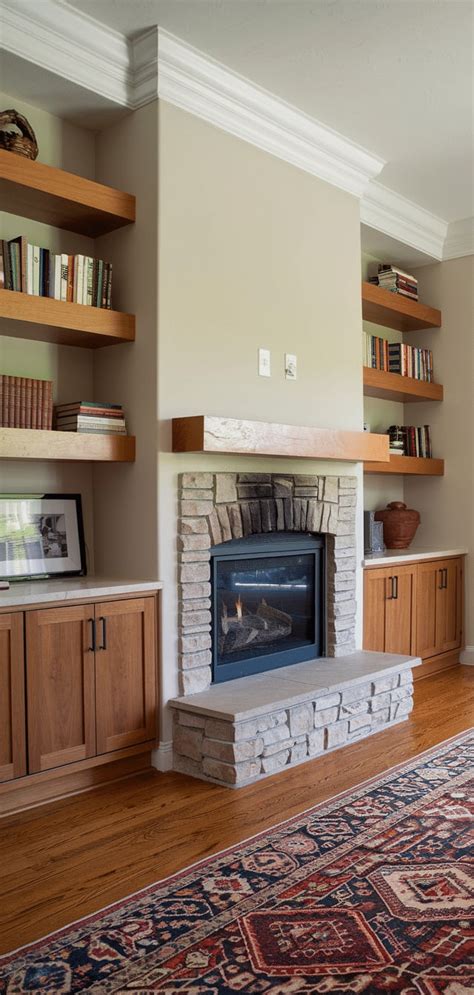
Open wall space presents one of the best opportunities in interior design to blend practical storage with personal expression. Whether you live in a suburban house or an urban rental apartment, adding custom shelving transforms blank walls into functional focal points. However, building and installing shelves requires more than simply screwing a board into drywall. Achieving a professional finish involves selecting the right materials, understanding wall construction, securing proper hardware, and styling the final arrangement with intentional design principles.
This guide walks you through the entire process of planning, building, mounting, and decorating custom shelves. By breaking the project down into manageable technical and creative phases, you can avoid common pitfalls such as sagging boards, unreliable anchors, or cluttered displays. Careful preparation ensures your finished shelves look intentional, support your everyday storage needs, and elevate the overall aesthetic of your living space.
Choosing the Right Materials and Shelf Types
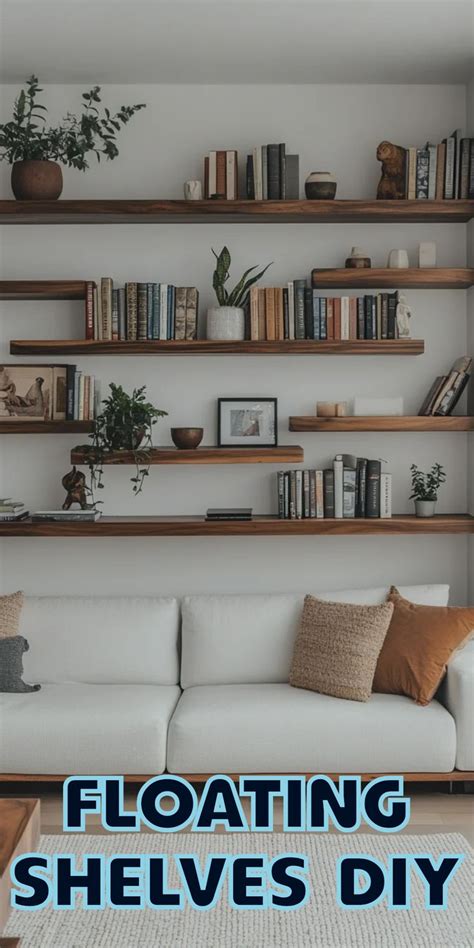
Before purchasing lumber or hardware, evaluate your functional needs and wall structure. The two most common DIY shelf formats are standard bracket-supported shelves and concealed-bracket floating shelves. Bracket-supported shelves generally offer higher weight capacities and a more industrial or traditional appearance, depending on the hardware finish. Floating shelves provide a clean, minimalist silhouette that suits modern and transitional interiors, though their weight limits depend heavily on the internal support brackets.
Material selection dictates both the durability and visual character of your project. Solid hardwoods such as oak, walnut, or maple deliver exceptional strength and rich natural grain, making them ideal for visible, high-end installations. Alternatively, select pine or select-grade whitewood for a budget-friendly option that takes stains and paints exceptionally well. For wide spans, plywood with iron-on edge banding provides dimensional stability without warping, reducing the risk of sag over time under heavy book collections.
Essential Tools, Hardware, and Safety Precautions
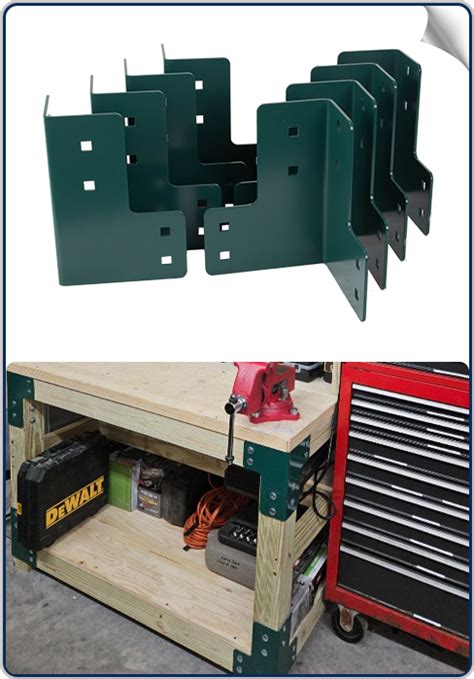
Executing a clean installation relies on having the correct equipment on hand before you begin cutting or drilling. Standard tools for this project include a tape measure, a reliable spirit level, a stud finder, a power drill, and a sander. If you are cutting your own lumber, a circular saw or miter saw ensures straight, clean edges, though many home improvement centers will make initial rip cuts for you if requested.
Hardware choice determines whether your shelves remain securely fastened to the wall or pull loose under load. Always prioritize anchoring into wooden wall studs whenever possible. When stud placement does not align with your desired shelf length, heavy-duty toggle bolts or expanding drywall anchors rated for specific weight loads must be used. Never rely on standard plastic drywall plugs for bookshelves or heavy decor items, as drywall will eventually crumble under sustained shearing forces.
Measuring, Cutting, and Preparing the Boards
Precision during the measuring and cutting phase prevents frustrating gaps and misalignments during installation. Begin by marking your desired shelf height and span on the wall using painter’s tape, which allows you to visualize proportions before making permanent marks. Measure the exact distance between your intended support points, accounting for any bracket thickness or end clearances required by your design.
Once your boards are cut to length, preparation transforms raw lumber into a polished furniture piece. Sand the surfaces progressively, starting with a medium-grit sandpaper (around 120-grit) to remove rough spots and finishing with a fine-grit paper (220-grit) for a smooth texture. Wipe away all sawdust completely before applying your chosen finish. Applying a clear polyurethane coat, wood stain, or zero-VOC furniture paint protects the wood from moisture and daily wear while enhancing the natural grain patterns.
Mounting Shelves Securely to the Wall
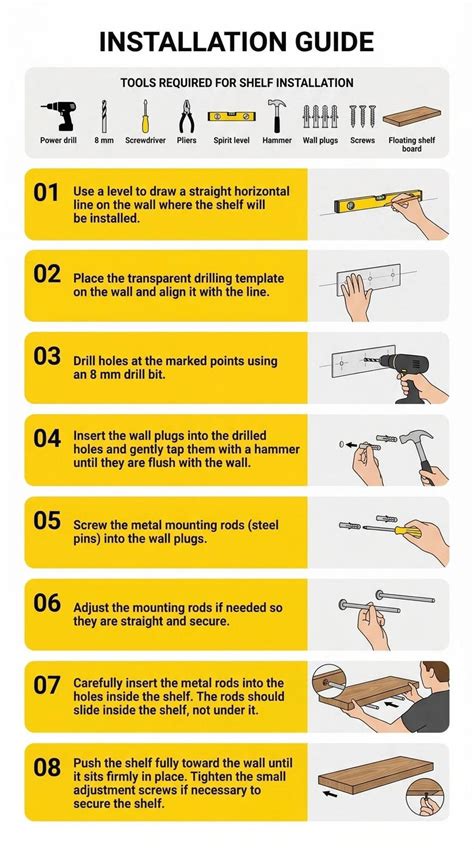
The mounting phase requires patience and exact adherence to leveling tools. Hold your first bracket or mounting plate against the wall at your designated height, placing your spirit level across the top edge. Mark the screw hole locations with a pencil. Use your stud finder to double-check that your marks intersect with framing members; if they fall in hollow drywall, swap standard screws for your heavy-duty anchors.
Drill pilot holes to prevent the wood or drywall from splitting when driving fasteners. Secure the brackets loosely at first, check the level one final time, and then tighten all screws completely. Slide your prepared wooden shelf onto the brackets or secure it from underneath with short wood screws as specified by your hardware design. Gently press down on the shelf to test its stability and confirm there is no wiggle or downward tilt before placing any items on top.
Styling Your Finished Shelves for a Curated Look
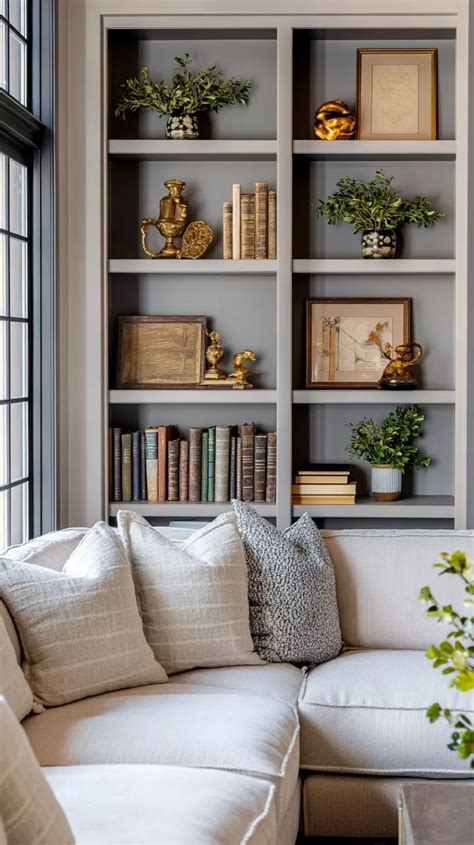
Once your shelves are securely mounted, styling turns raw storage into sophisticated interior decor. Avoid the temptation to fill every square inch of available surface area. Instead, embrace negative space to let individual statement pieces breathe. Group items in odd numbers—trios usually create the most visually appealing composition—and vary the heights of your objects to guide the viewer’s eye fluidly across the display.
Incorporate a balanced mix of textures and categories to prevent monotony. Combine vertical elements like stacked books and framed artwork with organic touches such as trailing pothos plants or ceramic vases. Anchor heavier items, like large coffee table books or storage boxes, on the lower shelves to maintain a grounded visual weight. Step back frequently during the styling process, editing out extraneous trinkets until the arrangement feels curated, balanced, and personally meaningful.
Frequently Asked Questions
What materials are best for DIY floating shelves?
Solid hardwoods like oak and walnut offer exceptional durability and natural beauty, while pine and select-grade whitewood provide budget-friendly alternatives that are easy to paint or stain. For wider shelves, high-grade plywood prevents warping under heavy loads.
How do I find wall studs to mount heavy shelves safely?
Use an electronic stud finder to locate the wooden framing behind your drywall. Always cross-verify stud edges by tapping the wall or using small pilot test holes in inconspicuous areas to ensure your mounting screws bite securely into solid wood.
How can I style shelves so they look curated rather than cluttered?
Create visual balance by grouping objects in odd numbers, mixing vertical items like books and plants with horizontal ceramics, and leaving negative space open. Keep heavier items on lower shelves to ground the entire display.
Are floating shelves suitable for rental homes?
Yes, though renters should consider the size of the anchor holes left behind when uninstalled. Using smaller bracket systems or temporary mounting solutions can minimize wall damage while still offering functional storage.