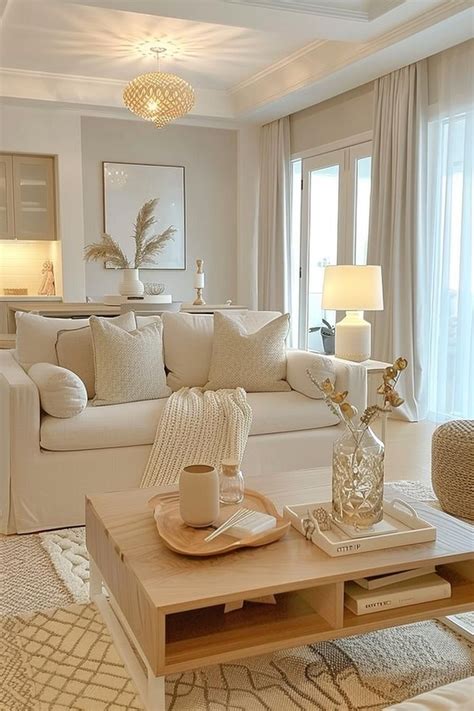
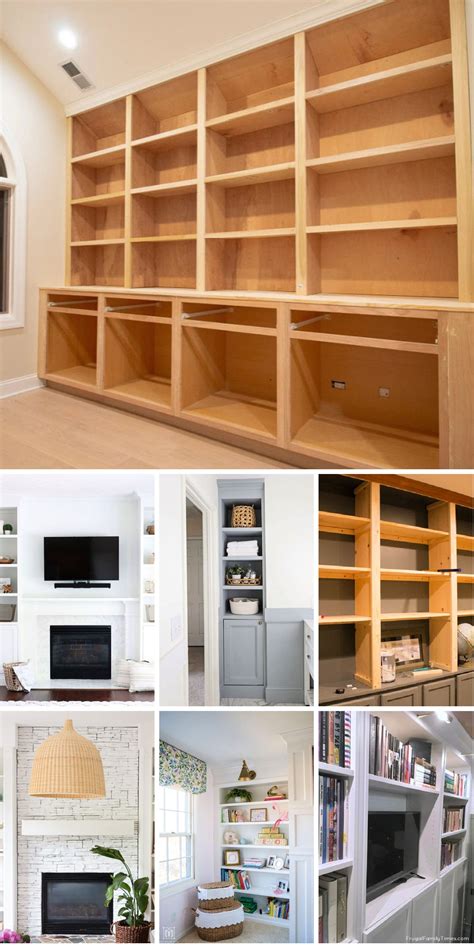
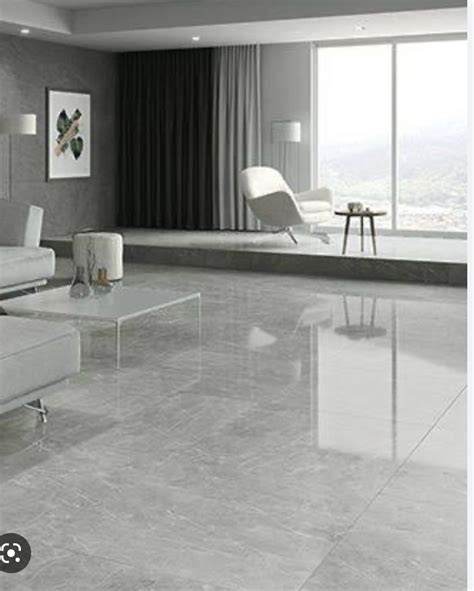
Adding personalized built-ins to a living room fundamentally changes how a space functions and feels. Beyond offering a tailored solution for cluttered corners, media management, and book collections, custom cabinetry introduces permanent architectural character that off-the-shelf furniture simply cannot replicate. Whether you live in a historic suburban home or a modern apartment, designing these features requires careful alignment between aesthetic goals and structural realities.
Approaching this project successfully means breaking the process down into deliberate phases: assessing your functional requirements, choosing the right materials and styles, budgeting accurately, and executing the installation. By addressing each stage methodically, you can avoid costly miscalculations and create a balanced focal point that serves your household for years to come.
Assessing Your Living Room Space and Storage Needs
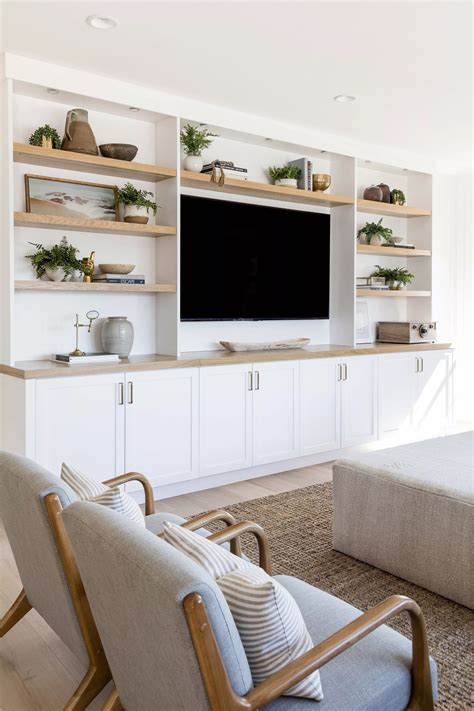
Before sketching designs or purchasing lumber, take a close inventory of what your living room actually requires. Evaluate the items you intend to store, such as oversized art books, electronics, board games, or seasonal decor. The depth and height of your shelving units will depend directly on these inventory items. For instance, media components require a minimum interior depth of about eighteen inches to accommodate amplifiers and wiring, whereas standard book shelves function efficiently at ten to twelve inches deep.
Next, map out the room’s permanent architectural constraints, including window placements, baseboard heaters, electrical outlets, and HVAC vents. Documenting wall studs and uneven floor levels early in the planning phase prevents structural surprises later. If you are renting or prefer flexibility, consider modular, semi-permanent units anchored securely to the wall studs without altering the permanent framing, ensuring you can dismantle them when relocating.
Selecting Materials, Styles, and Architectural Details
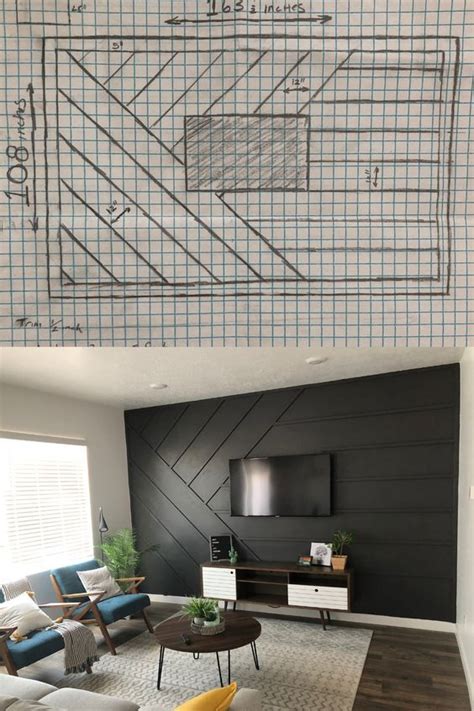
The visual impact of your built-ins relies heavily on material choices and profile styling. High-grade cabinet-grade plywood, such as birch or maple veneer, offers exceptional structural rigidity and resists warping far better than standard solid pine boards. For face frames, trim, and doors, select stable hardwoods like poplar if you plan to paint the finished unit, or select oak and walnut if you prefer a natural wood stain.
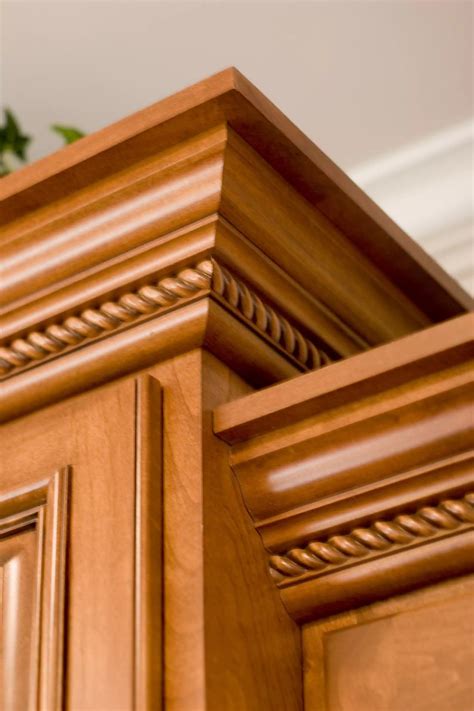
Integrating your built-ins seamlessly with existing architectural details requires thoughtful styling choices. Match the profile of your new crown molding and baseboards to the rest of the room to make the custom units look as though they were built with the original construction of the house. Incorporating shaker-style cabinet doors, fluted pilasters, or integrated LED puck lighting can elevate a simple plywood framework into a high-end designer feature.
Budgeting and Deciding Between DIY and Professional Installation
Understanding the financial scope of personalized built-ins helps prevent abandoned projects and unexpected expenses. A complete custom build executed by a professional finish carpenter typically ranges from three thousand to ten thousand dollars or more, depending on scale, material quality, and complexity. Conversely, tackling the project as an advanced DIYer using pre-built cabinetry carcasses or modular bookcases combined with custom trim work can reduce material costs significantly.
When deciding whether to DIY, honestly assess your access to specialized tools, such as a miter saw, table saw, pocket-hole jigs, and nail guns. While DIY execution saves substantial labor expenses, mistakes in lumber cutting or wall anchoring can quickly offset savings. If your design includes complex electrical wiring for concealed lighting or wall-mounted televisions, budgeting for a licensed electrician to handle those specific components is a wise and safe investment.
Step-by-Step Installation and Finishing Process
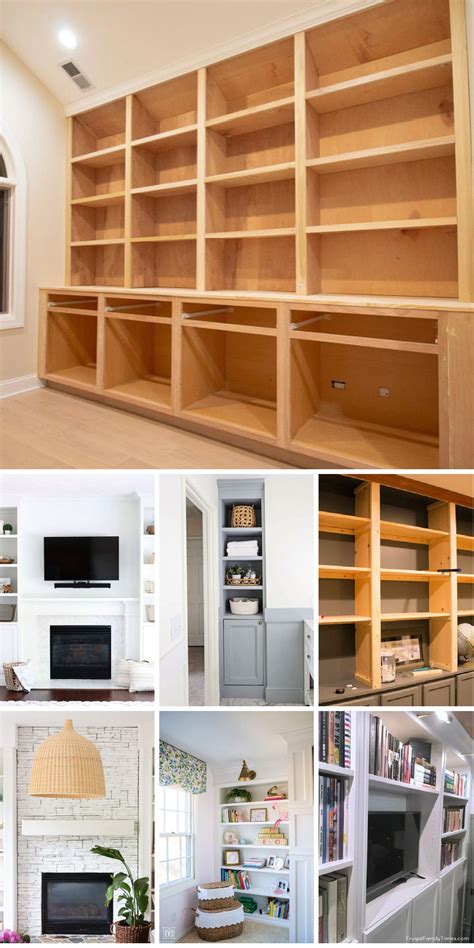
The physical installation begins by removing existing baseboards where the built-ins will sit, ensuring the cabinets or frame bases sit completely flush against the drywall. Secure the main cabinet boxes directly to the wall studs using heavy-duty structural screws. If your floors are uneven, use wood shims underneath the base platform to level the entire assembly before fastening it securely in place.
Once the primary framework is anchored, install the face frames, adjustable shelf supports, and custom trim work. Fill all nail holes, gaps, and seams with high-quality paintable wood filler, sanding each spot smooth once dry. Apply a durable primer followed by two coats of satin or semi-gloss cabinet enamel paint, allowing adequate drying time between coats to achieve a factory-smooth, professional finish.
Styling and Curating Your New Built-In Shelves
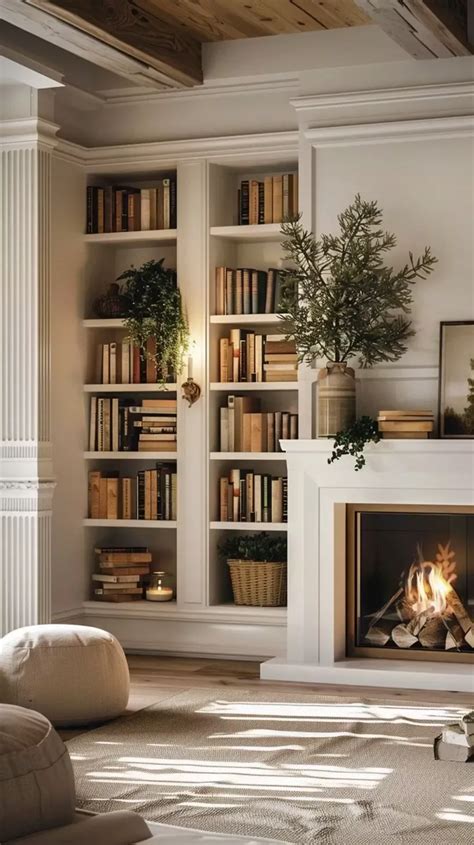
With the construction and painting complete, styling your new built-ins brings the entire living room project together. Avoid overcrowding every shelf with small trinkets; instead, create visual breathing room by combining vertical and horizontal book stacks with curated decorative objects, framed artwork, and woven storage baskets. Vary the heights and textures of your displayed items to maintain a dynamic, balanced composition that reflects your personal taste.
Incorporate functional elements naturally into your styling layout. Place frequently used items within easy reach on lower shelves, while reserving higher shelves for less accessible decorative items or trailing green plants that soften the hard architectural lines of the cabinetry. Periodically refresh the arrangement as seasons change to keep your living room feeling vibrant and well-curated.
Frequently Asked Questions
How do I design built-ins that fit my living room’s specific dimensions?
Start by taking multiple measurements of your wall space at floor, middle, and ceiling heights to account for any out-of-square walls. Create a to-scale sketch or digital rendering that accounts for baseboards, electrical outlets, and lighting clearance.
What are the best materials for durable living room built-ins?
Cabinet-grade plywood, such as birch or maple, is ideal for shelving and cabinet boxes because it resists sagging and warping. Hardwoods like poplar or maple work best for face frames and trim due to their smooth, durable surfaces.
Can renters create temporary or modular built-ins?
Yes, renters can build modular bookcases or use semi-permanent anchoring systems that secure to wall studs with minimal drywall damage. These units can be disassembled and removed when your lease ends.
How much does it cost to build custom living room built-ins?
Costs vary widely based on your approach. A professional custom installation can range from $3,000 to $10,000+, whereas a DIY project utilizing stock cabinets and custom trim can often be completed for under $1,000 in materials.