Open shelving offers a brilliant way to introduce functional storage and personal warmth into any American home, whether you live in a suburban craftsman or a downtown high-rise apartment. Rather than relying on bulky flat-pack furniture, crafting your own wooden shelves gives you complete control over the dimensions, timber species, and wall finishes. This comprehensive tutorial walks you through every phase of the project, from selecting the correct lumber at your local home center to anchoring your boards securely into standard wall construction and styling the final display.
Successful open shelving projects depend heavily on thoughtful planning and preparation rather than rushed execution. By understanding standard U.S. lumber dimensions, mastering basic sanding techniques, and respecting the load limits of your wall anchors, you can build striking accent shelving that stands the test of time. Let’s break down the exact materials, tools, and professional practices required to bring custom wood shelves to your living room, kitchen, or home office.
Selecting the Right Lumber and Hardware for Your Space
Choosing the correct wood species establishes both the visual character and the structural integrity of your shelving project. At most North American home improvement retailers, you will encounter common softwoods like pine and fir, as well as hardwoods like red oak, maple, and walnut. Pine boards remain a budget-friendly and lightweight favorite, offering distinct natural knots that fit farmhouse or rustic aesthetics. If you prefer a cleaner, more contemporary look, select select-grade pine without knots or opt for hardwood boards that take dark stains and clear finishes exceptionally well.
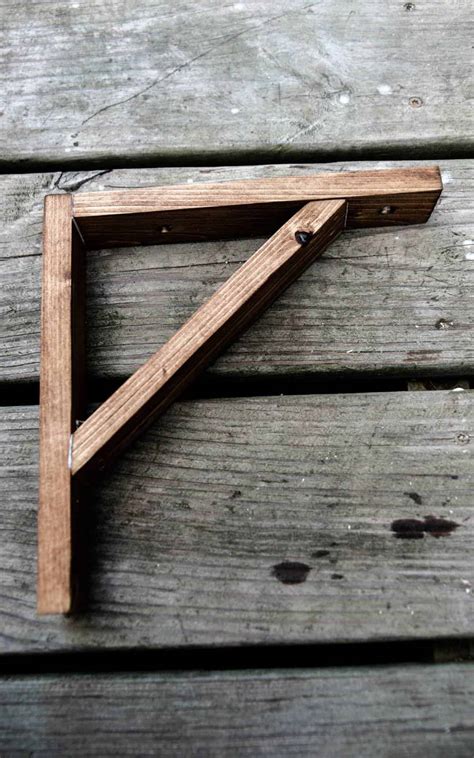
Hardware selection is equally critical for preventing sagging and structural failure under everyday loads. Heavy-duty cast iron brackets, sleek steel flat bars, or hidden floating shelf rods each require specific mounting considerations. When purchasing brackets, always verify that the shelf depth matches the horizontal arm of the bracket, keeping in mind that standard U.S. dimensional lumber sold as a 1×10 actually measures 9.25 inches wide. Purchasing matching structural screws rated for wood and drywall ensures your assembly remains completely secure once loaded with books, ceramics, or dishware.
Measuring, Cutting, and Sanding for a Smooth Finish
Precision during the measuring and cutting stages prevents frustrating gaps and misaligned brackets once you move to installation. Begin by determining your desired span; in typical U.S. framing, wall studs are spaced 16 inches apart on center, meaning your shelf length should ideally span at least two or three stud intervals to maximize support. Use a circular saw or miter saw to cut your boards to length, making sure your blade is sharp to prevent splintering along the wood grain, especially on softer woods like pine.
Sanding is the secret differentiator between a makeshift workshop project and a custom architectural feature. Start with an 80-grit sandpaper sheet on an orbital sander to smooth out any rough mill marks, surface dents, or minor bowing along the edges. Progress systematically through 120-grit and finish with 220-grit sandpaper, wiping away all fine sawdust with a tack cloth or slightly damp microfiber rag before applying any liquid finishes. Thorough sanding opens the wood pores evenly, allowing stains or clear sealants to absorb without blotchiness.
Applying Stains, Oils, or Paints
The finishing stage protects your raw timber from everyday moisture, UV fading, and household wear while highlighting the natural grain patterns of the wood. Oil-based wood stains penetrate deeply into softwoods like pine, creating rich, traditional tones that mimic aged timber. When applying stain, use a clean cloth or foam brush to wipe on the pigment, let it sit for five to ten minutes, and wipe away the excess thoroughly to avoid a sticky, uneven surface film.
Alternatively, clear water-based polyurethane or natural hardwax oils preserve the lighter, contemporary look of raw maple, oak, or birch. Apply two to three thin coats of polyurethane, performing a light hand-sanding with ultra-fine 320-grit paper between coats to eliminate microscopic dust nibs. If you prefer a painted look to match surrounding wall trim, apply a bonding primer first followed by two coats of semi-gloss or satin interior enamel for a durable, washable finish.
Locating Studs and Safely Mounting to Drywall or Plaster
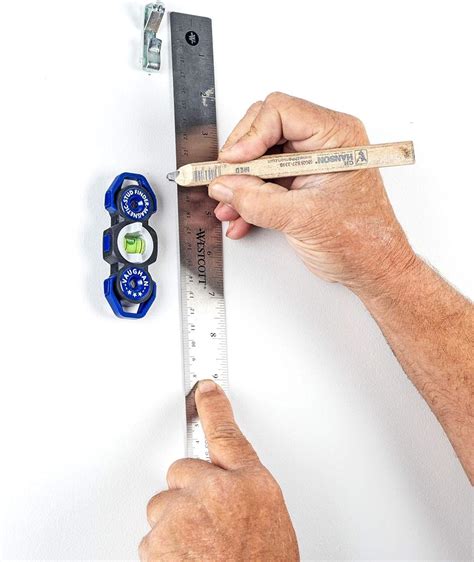
Safe installation in a U.S. home requires understanding what lies behind your wall surfaces, as standard drywall over wood framing demands different tactics than historic lath-and-plaster walls. Use an electronic stud finder to locate the center of your wall studs, marking each vertical point with painter’s tape. If your desired shelf placement does not align perfectly with a stud, use heavy-duty toggle bolts or threaded drywall anchors rated for at least 50 pounds per anchor to guarantee stability.
Hold your first bracket against the wall at your desired height, placing a small torpedo level across the top edge to confirm it is completely plumb. Mark the screw hole locations with a pencil, pre-drill pilot holes to prevent the drywall from crumbling, and secure the brackets firmly into the studs or anchors. Rest your finished wooden board across the brackets and drive short wood screws upward through the countersunk holes in the bracket underside to lock the shelf permanently in place.
Styling Open Shelves with Balanced Decor
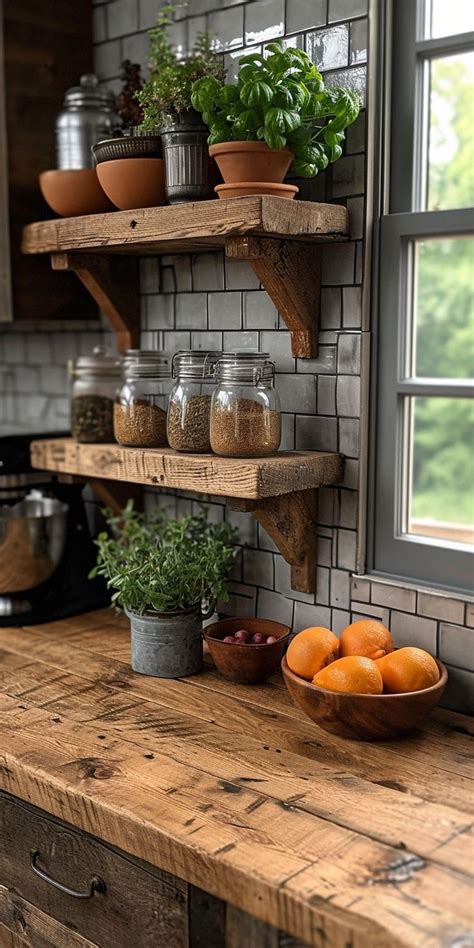
Once your wooden shelves are securely mounted, thoughtful styling transforms raw storage into a curated focal point that elevates your room’s interior design. Avoid the temptation to overcrowd every square inch; instead, apply the rule of thirds by grouping objects in odd numbers—trios of vases, stacked books, and framed art look naturally harmonious. Balance heavy visual elements, such as a stack of hardback books or a heavy ceramic pitcher, by placing them on opposite ends of different shelf tiers.
Layer textures and heights to create depth rather than keeping every item on a single flat plane. Lean small framed prints against the wall at the back of the shelf, place trailing houseplants like pothos or ivy on the top shelf to draw the eye upward, and weave in personal mementos or metallic accents that complement your room’s overall color palette. Step back across the room every few adjustments to evaluate the composition, editing out excess items until the display feels intentional, balanced, and uncluttered.
Frequently Asked Questions
What kind of wood is best for DIY shelves?
Select-grade pine is the most popular choice for beginners due to its affordability and ease of cutting, while hardwoods like oak and maple offer superior durability and a smoother grain for modern homes.
How do I find wall studs to support heavy loads?
Use an electronic stud finder to locate the center of wood framing members, which are typically spaced 16 inches apart in modern U.S. residential construction.
Can renters install open shelving without major wall damage?
Renters can use modular tension shelving systems or lightweight floating shelves mounted with small drywall anchors that are easily patched with spackle prior to moving out.
How do I prevent wooden shelves from sagging in the middle?
Ensure your shelf span does not exceed 32 to 36 inches without a center support bracket, and choose dimensional lumber that is at least 1 inch to 1.5 inches thick.


