Open shelving remains one of the most effective ways to introduce both storage and personalized character into modern American living spaces. Whether you live in a suburban house or a rental apartment, empty walls offer a blank canvas to showcase books, ceramics, and trailing greenery. However, successfully executing a shelving project requires more than simply screwing a plank into the wall. It demands a careful balance of structural safety, precise measurement, and thoughtful interior styling.
By understanding how to select the right materials, anchor your brackets securely into U.S. wall studs or drywall, and curate your objects with restraint, you can achieve a polished, high-end look. This straightforward guide walks you through every phase of the process, helping you avoid common pitfalls such as sagging boards, unstable mounts, or overcrowded displays.
Gathering Your Materials and Choosing the Right Wood
Before you make any cuts or pick up a drill, assembling the correct supplies is essential for a smooth project. For a standard 36-inch shelf, look for dimensional lumber like kiln-dried pine, oak, or select hardwood boards from your local hardware store. Standard board dimensions such as 1×8 or 1×10 inches provide ample depth for displaying decor items without protruding too far into your room.
In addition to your wood boards, you will need a pair of sturdy decorative brackets, a stud finder, a reliable spirit level, wood stain or matte clear sealer, and appropriate fasteners. Renters should also consider whether their chosen bracket style allows for easy patching later on. Selecting high-quality metal or wooden brackets ensures your shelf can support everyday items safely while establishing the design aesthetic of your room.
Preparing and Finishing the Wood Boards
Raw lumber often features rough edges, stamps, or splintered surfaces that detract from a finished appearance. Begin by sanding your wood boards thoroughly with medium-grit sandpaper, moving progressively to fine-grit paper until the surface feels completely smooth to the touch. Pay special attention to the front edge and corners, rounding them slightly for a softer, more professional look.
Once sanded, wipe away all sawdust with a tack cloth before applying your finish. A water-based polyurethane or a rich wood stain can highlight the natural grain while protecting the surface from moisture and dust. Allow the finish to cure fully according to the manufacturer’s instructions before attempting any installation work.
Mounting Shelves Securely in U.S. Homes
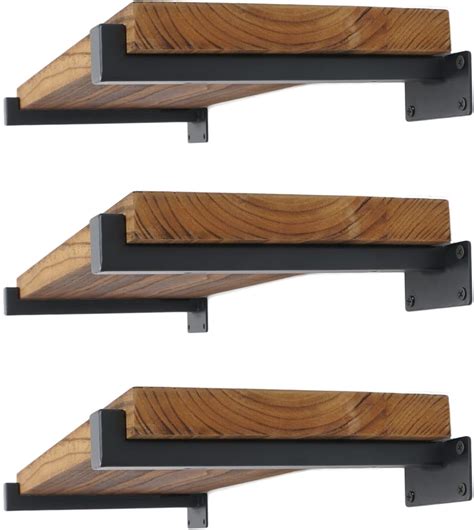
Structural integrity is the most critical component of any wall-mounted shelving project. In standard U.S. residential construction, interior walls are typically framed with wood studs spaced 16 inches apart behind layers of drywall. Whenever possible, position your brackets so that the mounting screws drive directly into the center of these wooden framing studs. This anchoring method provides maximum weight capacity for heavy items like stacks of hardcover books or ceramic planters.
If your desired shelf placement does not align with a wall stud, you must use heavy-duty toggle bolts or expanding drywall anchors rated for the expected weight load. Never rely solely on standard plastic sleeve anchors for shelves that will hold heavy objects, as drywall can easily crumble under pressure over time. Always double-check your bracket alignment with a spirit level resting across the top of the boards before tightening every screw permanently.
Tips for Renters and Temporary Installations
Renting an apartment or townhouse often comes with strict guidelines regarding wall modifications and security deposits. To minimize wall damage, opt for lighter shelves and smaller mounting brackets that require fewer anchor holes. When you eventually move out, filling small screw holes with a lightweight spackle and touching them up with matching wall paint takes only a few minutes.
Avoid heavy-duty floating shelf systems with thick internal steel backplates if your lease prohibits large holes or cutting into drywall. Instead, surface-mounted decorative brackets create a charming, intentional look while remaining much easier to patch and repair when your lease comes to an end.
Styling Principles for Effortless, Clutter-Free Shelves
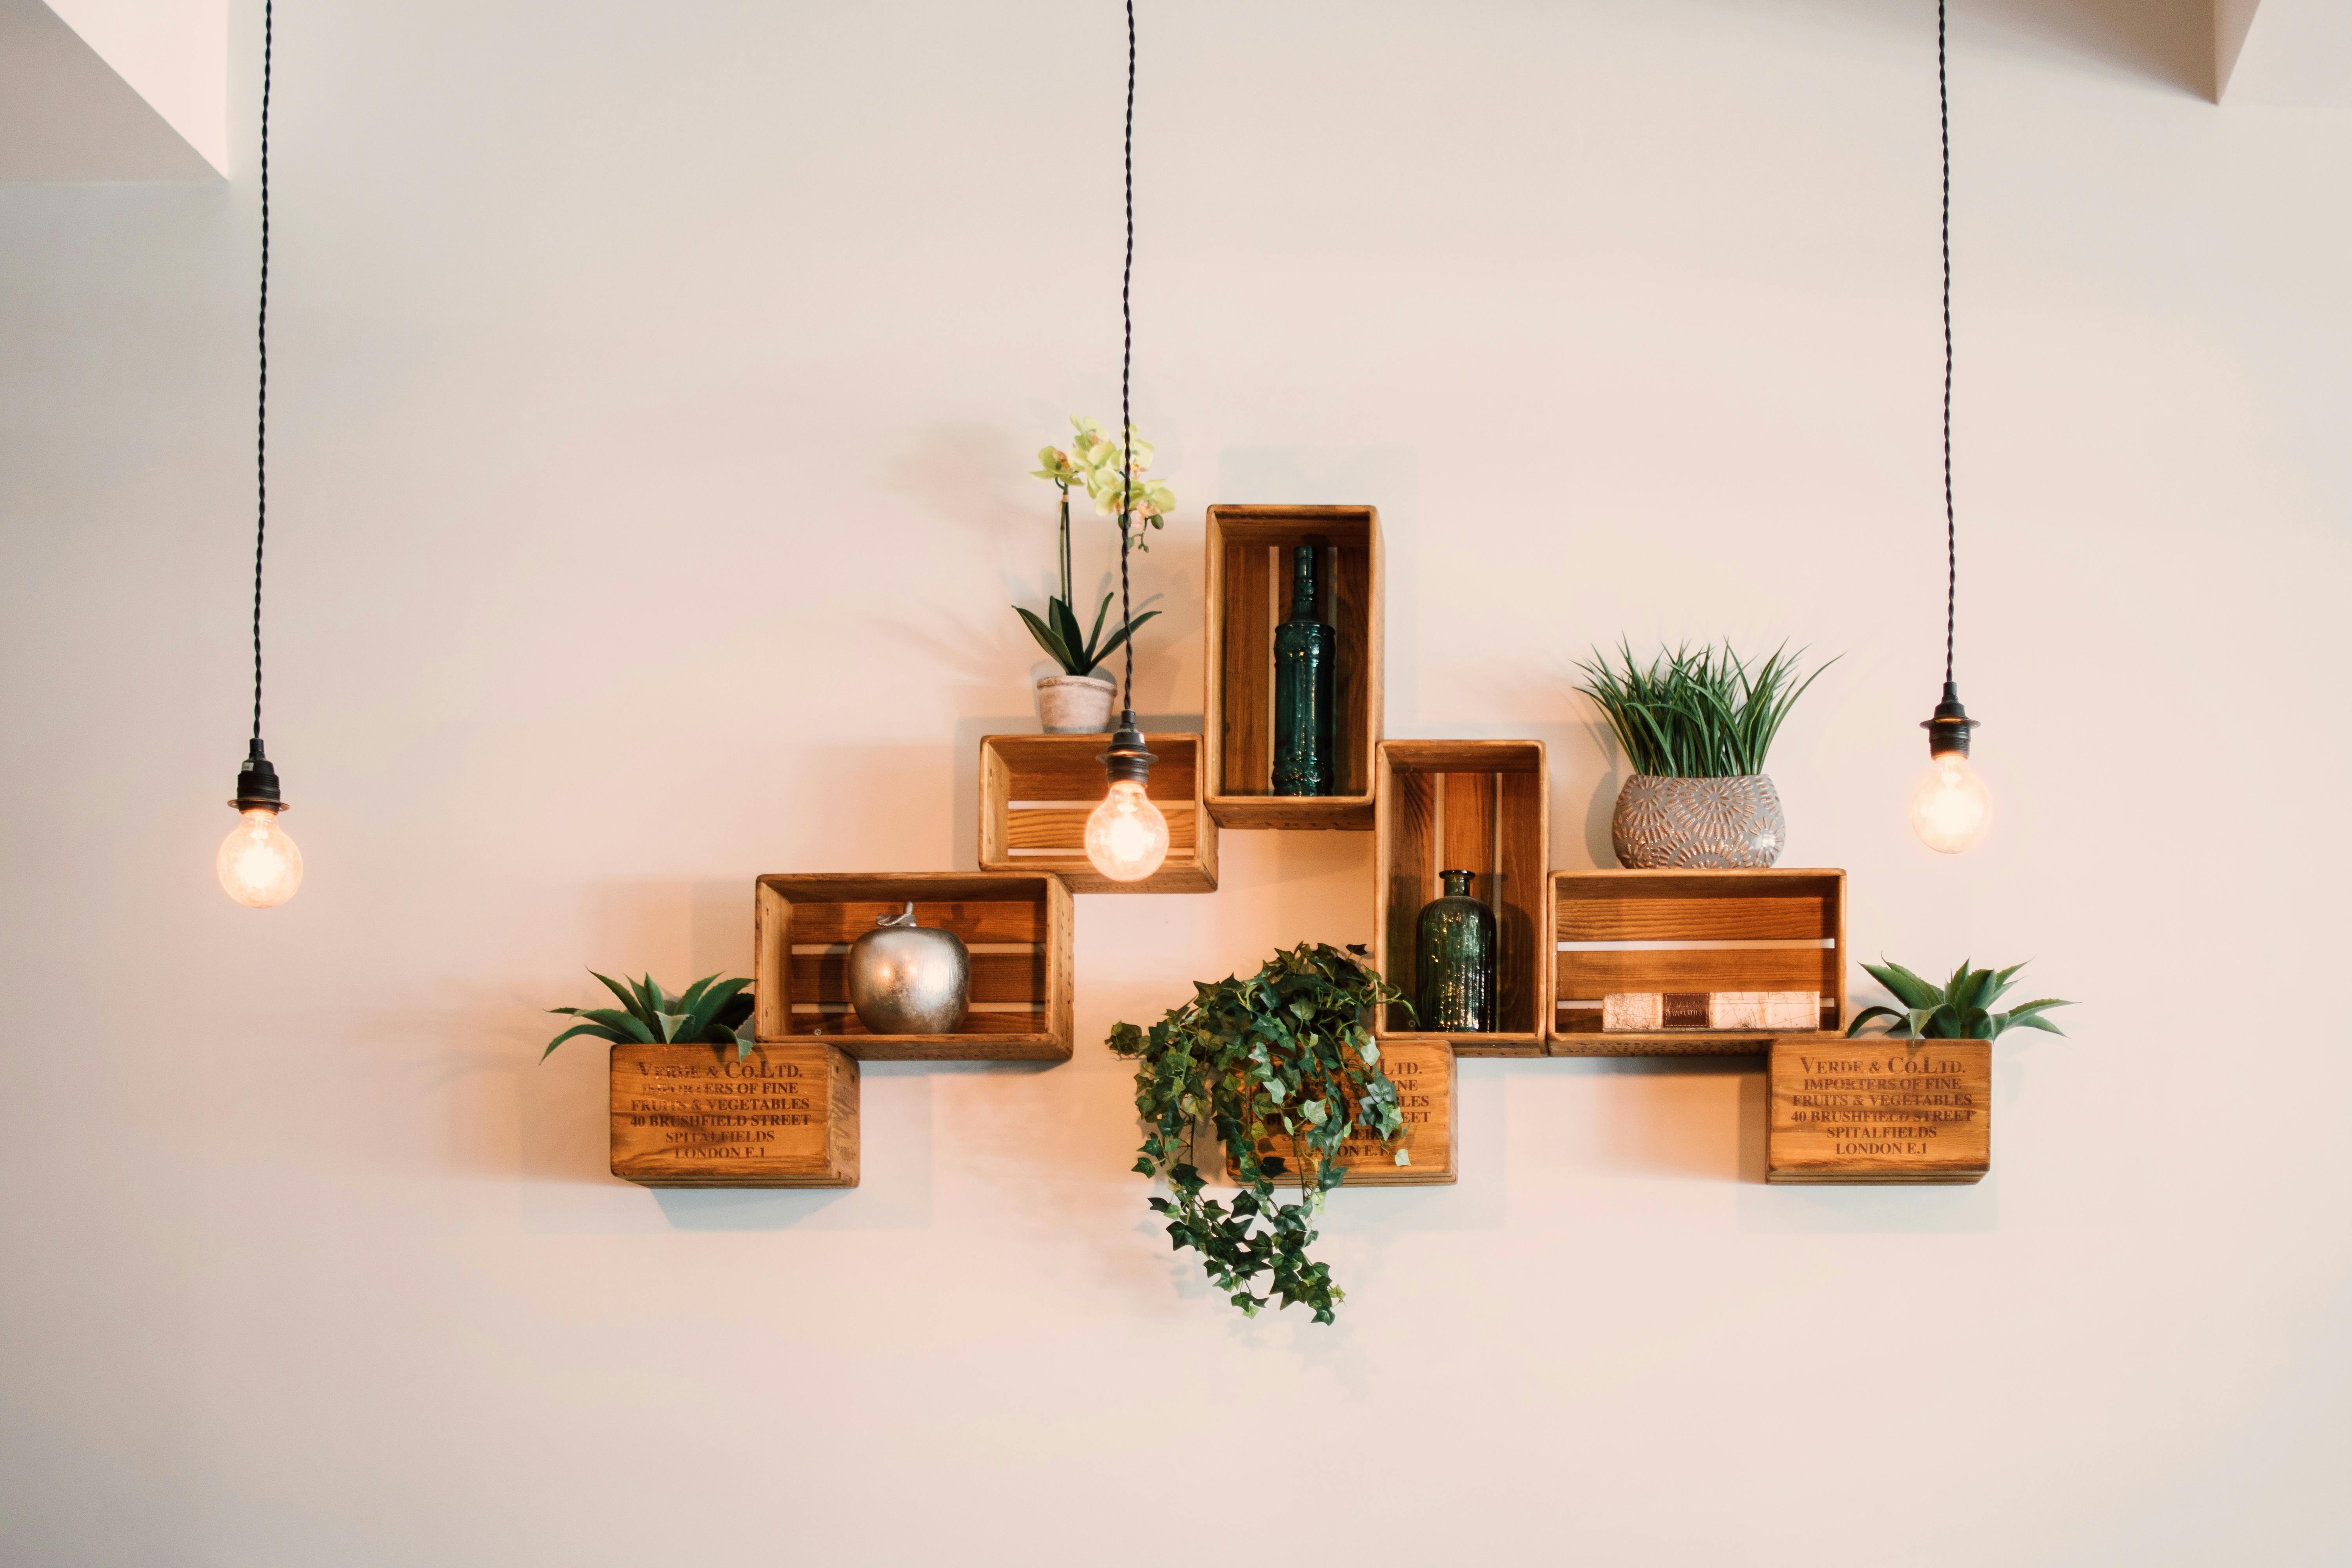
Once your shelves are securely anchored and level, the real fun begins with curating your display. The secret to achieving an effortless look lies in restraint and visual balance rather than filling every available square inch of surface area. Start by editing your decor collection down to pieces that share a cohesive color palette or complementary textures, such as warm terracotta, natural wood tones, matte black metal, and leafy green botanicals.
Arrange your items using asymmetrical groupings rather than rigid, identical pairs on each end. Place taller items, such as a stack of art books or a tall vase, toward one side to anchor the composition, then layer smaller objects like framed prints or sculptural bowls in front or beside them. Leaving intentional negative space around your groupings prevents the display from feeling heavy, chaotic, or visually overwhelming in your room.
Frequently Asked Questions
What is the maximum weight my DIY wall shelves can hold?
The weight limit depends entirely on your mounting technique. Shelves anchored directly into wooden wall studs can typically support 30 to 50 pounds or more, depending on the bracket strength. Shelves secured only with drywall anchors will have significantly lower weight capacities, usually limited to 10 to 15 pounds.
How high should I hang wall shelves above furniture?
As a general rule of thumb, hang shelves approximately 8 to 12 inches above furniture like a sofa, desk, or credenza. This leaves enough clearance for daily activities and head clearance while keeping the shelf visually connected to the furniture piece below it.
Do I need a power drill for this project?
Yes, a power drill or impact driver makes drilling pilot holes and driving screws into studs or anchors significantly safer and easier. While manual screwdrivers can work for very light tasks, a drill ensures tight, secure connections essential for wall safety.


