Adding wooden shelves to your walls is one of the most satisfying ways to combine functional storage with personalized home decor. Whether you want to display a growing collection of houseplants in your living room or organize spice jars in the kitchen, building your own shelves gives you complete control over dimensions, wood species, and finish styles. The primary challenge for most people isn’t cutting the wood, but rather figuring out how to mount the structure safely according to their specific wall type and lease agreement.
Property owners often look for heavy-duty, permanent brackets screwed directly into wooden wall studs to maximize weight capacity for books and heavy ceramics. Conversely, apartment dwellers require clever hanging alternatives that minimize drywall damage, avoiding heavy patching fees upon moving out. By understanding how to select accessible lumber, choose the right mounting hardware, and finish the wood properly, anyone can create custom shelving that looks professional and fits their space perfectly.
Selecting Lumber and Essential Beginner Tools
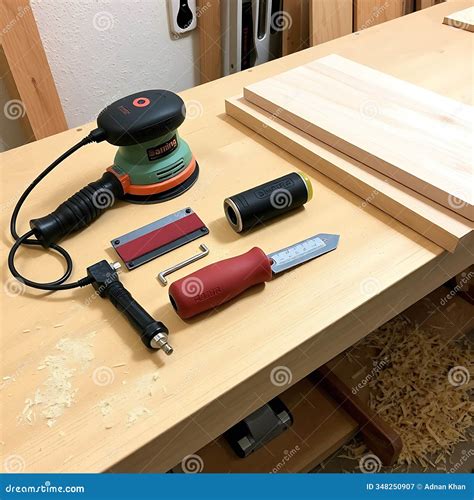
When starting a woodworking project for the first time, keeping your material list straightforward prevents common budgeting and cutting mistakes. Standard dimensional lumber found at major home improvement centers, such as pine, oak, or poplar boards, offers an affordable and reliable starting point. Pine is exceptionally budget-friendly and easy to cut, though it accepts wood stain unevenly compared to harder, smoother options like poplar or maple.
You do not need a workshop full of expensive industrial equipment to craft basic wall shelves. A simple hand saw or a circular saw, a sander with medium-grit sandpaper, safety glasses, a tape measure, and a wood finish of your choice will easily get the job done. If you prefer to skip the cutting phase entirely, many local hardware store employees will make a few straight cuts for you right in the aisle, allowing you to focus purely on sanding, staining, and mounting at home.
Mounting Solutions for Homeowners vs. Renters
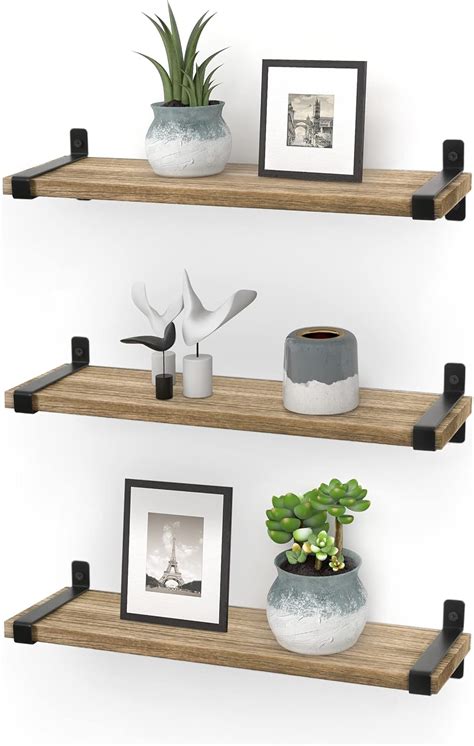
The method you choose to hang your custom wood shelves depends almost entirely on your living situation and how much weight the boards need to support over time. Homeowners enjoy the freedom to drive sturdy steel brackets directly into wall studs using heavy-duty wood screws. This permanent installation strategy provides maximum load-bearing security, letting you stack heavy hardcover books or cast-iron cookware without worrying about structural failure or unexpected wall damage.
Renters, however, must approach wall installations with caution to preserve their security deposits and comply with lease restrictions. While heavy-duty toggle bolts and deep wall anchors provide great support, they leave large holes that require tedious patching and painting. Instead, renters can explore heavy-duty adhesive hanging systems rated for specific weight thresholds, or utilize clever over-the-furniture mounting frameworks that rest securely against the floor and wall with minimal fastening points.
Step-by-Step Building and Finishing Process
Transforming raw boards into a polished decorative feature requires patience during the surface preparation and finishing stages. Begin by thoroughly sanding all sides and edges of your cut wood boards to remove rough patches, splinters, and manufacturing stamps. Wipe away all fine sawdust using a clean, slightly damp microfiber cloth before applying any liquid treatments so the finish adheres evenly across the entire grain.
Next, apply your chosen wood stain or protective clear polyurethane sealant in a well-ventilated area, following the manufacturer’s drying times between coats. Water-based finishes dry quickly and emit very mild odors, making them ideal for indoor DIY projects where weather conditions prevent working outside. Once the final coat has completely cured for at least twenty-four hours, your custom shelves are ready for brackets and wall mounting.
Styling Your New Wood Shelves
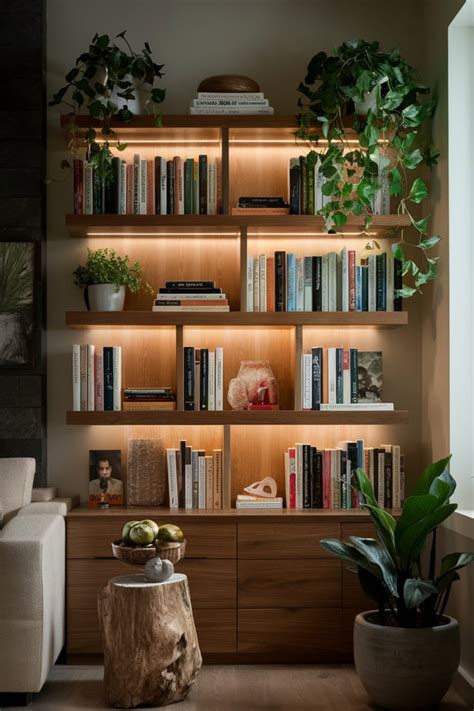
Once your shelves are securely mounted to the wall, styling them becomes an enjoyable exercise in balance, texture, and visual storytelling. Avoid overcrowding every single square inch of open wood surface; instead, group items in odd-numbered clusters, varying heights and shapes to draw the eye naturally across the display. Combine organic elements like trailing pothos vines or dried eucalyptus with structured objects like ceramic bowls, framed art prints, and vertical book stacks.
Remember that shelving decor should evolve organically alongside your personal tastes and seasonal changes. Swapping out small decorative objects every few months keeps your interior space feeling fresh and intentional without requiring any major room overhauls. By building your own wood shelves, you gain an adaptable storage system that seamlessly adjusts to your lifestyle changes, room layouts, and design preferences for years to come.
Frequently Asked Questions
How do I build wooden shelves from scratch?
Building wooden shelves from scratch involves selecting your preferred board thickness and wood species, cutting the wood to your desired length, sanding the surfaces smooth, applying a protective stain or sealant, and mounting it to the wall using appropriate brackets and hardware.
What are the best ways to hang shelves if I rent an apartment?
Renters can hang lightweight shelves using heavy-duty damage-free adhesive strips rated for high weights, specialized drywall anchors that leave minimal holes, or leaning shelving units that rely on gravity and floor support rather than wall fasteners.
How much weight can DIY wood shelves hold?
Weight capacity depends heavily on the thickness of the wood, the span between brackets, and the hardware used. A standard one-inch thick pine board mounted securely into wall studs with heavy metal brackets can typically hold between 30 to 50 pounds safely.
What tools do I need for a simple shelf project?
Basic necessities include a measuring tape, a level, a pencil, a hand saw or circular saw, sandpaper or a power sander, safety glasses, a drill, and your chosen shelf brackets and screws.


