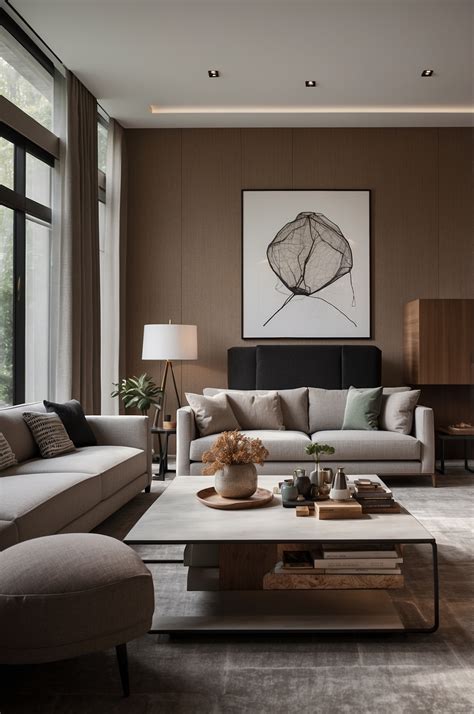
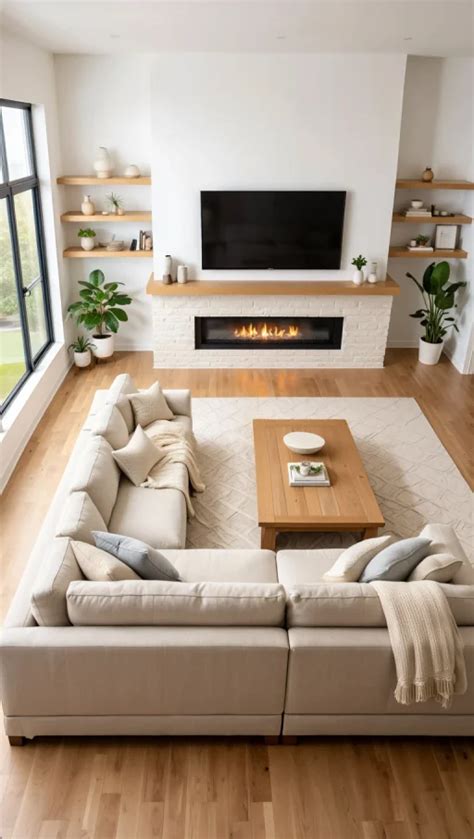
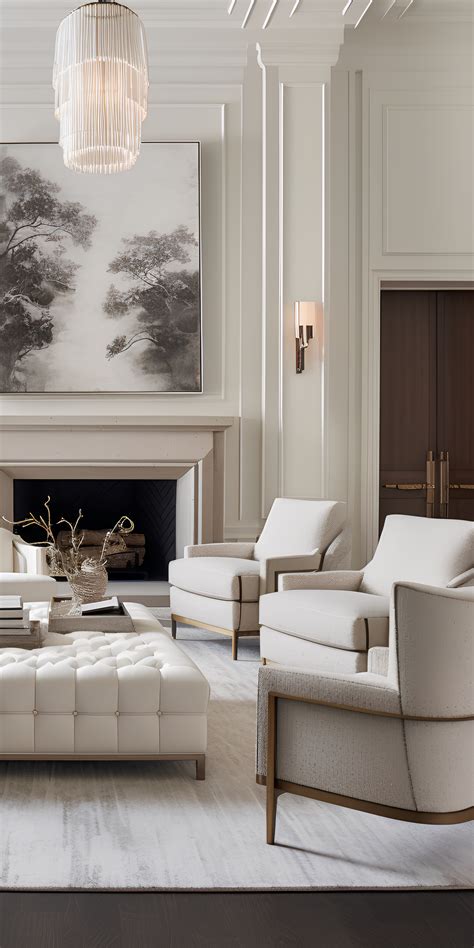
Tackling organization in a shared family space often leads to a single conclusion: standard furniture pieces rarely fit awkward wall lengths or match exact storage heights. Crafting your own living room storage cabinets offers a practical alternative that solves clutter while giving you total control over dimensions, finish, and overall style. By focusing on straightforward box construction methods using materials easily sourced from standard American home improvement centers like Home Depot or Lowe’s, you can construct durable, custom-looking storage units over a couple of weekends without needing an advanced woodworking shop.
Assessing Your Living Room Layout and Storage Requirements
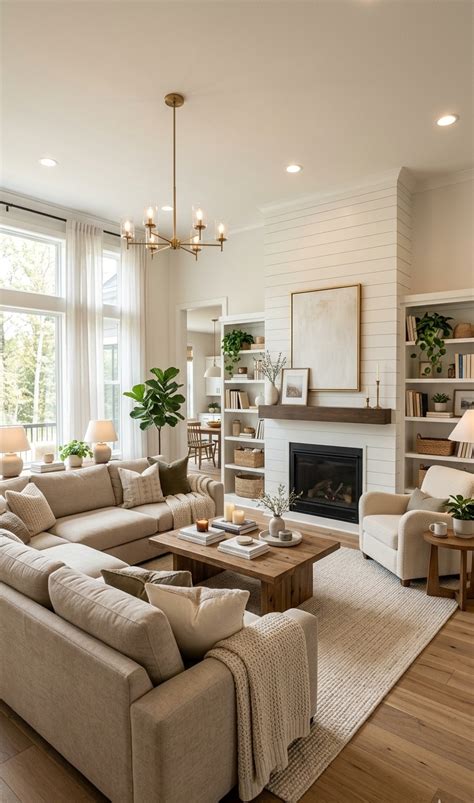
Before purchasing lumber or plugging in a saw, evaluate how your living room functions day to day and identify the specific items that need a designated home. American living rooms typically serve multiple functions, acting as media centers, play areas, reading nooks, and formal hosting spaces all at once. Take careful measurements of the intended wall, noting existing baseboard heaters, electrical outlets, and air vents that might interfere with a permanent or semi-permanent cabinet installation. Leaving clearance for baseboards or planning to scribe trim pieces ensures your finished project integrates seamlessly into the room rather than looking like an awkward afterthought.
Depth is a critical measurement when designing living room cabinetry. While kitchen base cabinets traditionally measure twenty-four inches deep, living rooms benefit from shallower profiles ranging from twelve to sixteen inches. This narrower dimension preserves valuable floor space in typical suburban or urban layouts while still comfortably accommodating books, board games, baskets, and electronic components. Sketching your layout on graph paper or using digital room-planning tools helps visualize proportions, ensuring the height of your cabinets does not overwhelm windows, artwork, or wall-mounted televisions.
Selecting Beginner-Friendly Materials and Tools
Building sturdy cabinets without complicated joinery relies on choosing the right sheet goods and dimensional lumber. ¾-inch cabinet-grade plywood, such as birch or maple veneer panels, provides exceptional structural integrity and resists the warping common in solid wood panels over wide spans. For exposed edges where the plywood layers would otherwise show iron-on veneer tape provides a clean, professional finish that accepts paint or wood stain just like solid timber. Avoid standard construction-grade OSB or low-density particle board for visible surfaces, as they lack the fastener-holding strength required for frequent door and drawer use.
Your tool arsenal does not need to be extensive to achieve accurate results. A reliable circular saw paired with a straight-edge guide or a table saw will handle large panel breakdowns, while a pocket-hole jig simplifies joining cabinet walls and interior partitions securely from the inside out. Essential additions include a digital stud finder, a power drill and driver set, wood clamps, a standard torpedo level, and basic safety gear such as eye protection and a dust mask. Many local hardware stores will make initial rip cuts on large plywood sheets for a nominal fee, which is immensely helpful if you are transporting materials in a standard SUV or sedan.
Step-by-Step Construction of Basic Box Cabinets
The foundation of almost all custom cabinetry is the simple five-sided box consisting of a base, two side panels, a top, and a back. Begin by cutting your plywood panels according to your finalized cut list, double-checking all measurements to account for blade kerf and joint thickness. Assemble the outer shell by applying wood glue to the joints and securing the panels through pre-drilled pocket holes with coarse thread screws. Using cabinet clamps during assembly ensures your corners remain strictly square, which prevents doors from binding or hanging unevenly later in the process.
Adding a sturdy internal shelf or a fixed center divider greatly increases the load-bearing capacity of the cabinet box, preventing long horizontal spans from sagging under the weight of heavy hardback books or electronics. For the back panel, ¼-inch plywood attached with brad nails and wood glue squares up the entire frame and provides a clean interior backing. Once the primary box structure is complete, sand all exterior surfaces thoroughly with medium-grit sandpaper, progressing to fine-grit paper to prepare the wood for your chosen paint, stain, or clear protective finish.
Securing Cabinets Safely to U.S. Wall Framing
Safety must guide the final installation phase, particularly in households with children or pets where heavy furniture poses a potential tip-over hazard. American residential construction standardly utilizes vertical wood or metal studs spaced sixteen inches on center behind drywall. Locate these studs accurately using an electronic stud finder and mark their centerlines on painter’s tape above your installation zone. Position your assembled cabinet boxes against the wall and use shims underneath the base to achieve perfect level alignment across uneven flooring.
Drive heavy-duty structural screws directly through the upper cabinet hanging rail or an interior mounting cleat straight into at least two wall studs, using appropriate washers to distribute the clamping force. If your cabinet layout falls between studs, utilize heavy-duty toggle bolts or drywall anchors rated for substantial weight loads, though anchoring directly into framing members remains the gold standard for security. Fastening multiple modular cabinet boxes together side-by-side with short wood screws before final wall attachment creates a unified, immovable storage wall that handles daily wear and tear with ease.
Frequently Asked Questions
What are the easiest DIY storage cabinet designs for beginners?
Simple box cabinets with open shelving or basic slab doors are the most forgiving projects for beginners. Avoiding complex face frames, mortise-and-tenon joints, or inset drawers significantly reduces build time and minimizes measurement errors.
How can I make budget-friendly plywood cabinets look high-end?
Applying iron-on edge banding to raw plywood edges, installing quality decorative hardware, adding simple trim molding to the base and top, and applying a smooth sprayed-on paint finish instantly elevates standard plywood into custom-looking built-ins.
What tools do I absolutely need to build living room cabinets?
At minimum, you will need a circular saw with a straight-edge guide, a power drill, a pocket-hole jig, bar clamps, a stud finder, a tape measure, and a level to ensure square, safe construction.