Creating a clean, modern aesthetic in any room often comes down to eliminating visual clutter. Traditional shelf brackets can feel bulky and distracting, drawing the eye away from your styled decor pieces. By building a hollow-box floating shelf system, you achieve a minimalist look where the hardware remains entirely hidden inside the structure. This approach relies on a sturdy wall-mounted wooden cleat that acts as the backbone, supporting an outer wooden sleeve that slides right over it.
For American homeowners and renters working with standard wood-frame construction, this project fits comfortably into a weekend schedule. Because U.S. homes typically feature wall studs spaced 16 inches apart on center, designing a shelf that spans at least two of these studs ensures maximum weight capacity. Whether you want to display family photographs in the hallway, organize spices in the kitchen, or hold books in a home office, mastering this hollow-box technique delivers professional-grade results with straightforward materials.
Sourcing Materials and Planning Your Dimensions
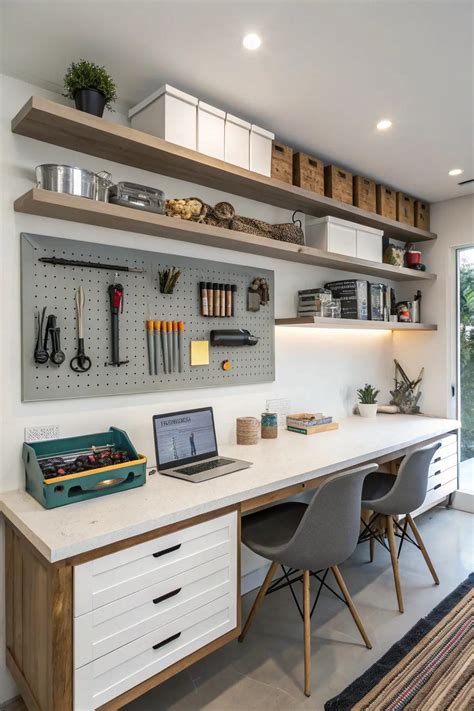
Successful woodworking starts with accurate planning and selecting the right lumber from your local U.S. home improvement center, such as The Home Depot or Lowe’s. For a standard floating shelf with a finished thickness of about 2.5 inches and a depth of 8 to 10 inches, 1×3 boards and thin plywood panels work exceptionally well. Selecting straight, knot-free boards prevents warping and ensures that your outer sleeve fits snugly over the internal support frame without awkward gaps.
You will need a table saw or circular saw to rip your boards to exact widths, a miter saw for crosscuts, a power drill, wood glue, and finishing nails or a brad nailer. Measuring twice before cutting is vital; the internal cleat must be slightly narrower than the inside cavity of the outer box so that it slides on smoothly, yet snug enough to prevent excessive rattling or sagging once loaded with decorative items.
Building the Internal Support Cleat and Hollow Box
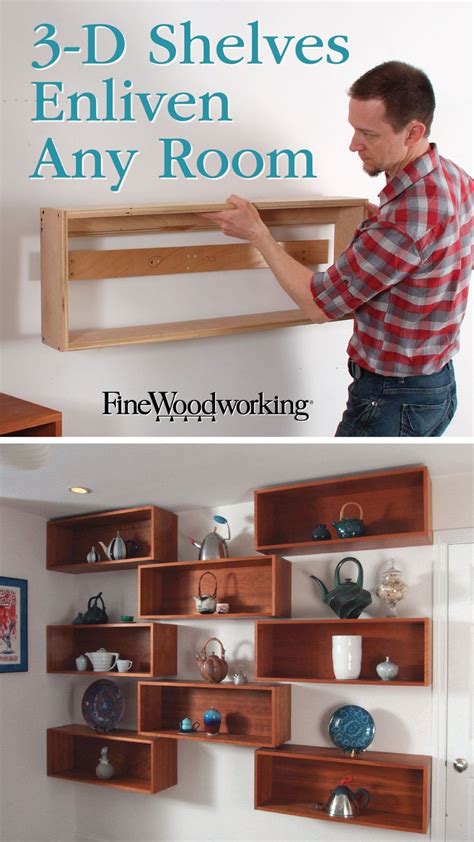
The internal support cleat serves as the literal anchor of your project, bearing the entire weight of the shelf and its contents. Cut a piece of 2×3 or 1×3 lumber to match your desired shelf length minus the thickness of your side pieces. To create the “fingers” or arms of the cleat that extend outward, attach perpendicular blocks of wood that match the interior depth of your outer shelf box. These extending arms should be secured to the back wall plate using strong pocket-hole screws or heavy-duty structural screws.
Constructing the outer box involves assembling a top board, a bottom board, a front face board, and two small side returns into a U-shaped channel with an open back. Apply a generous amount of wood glue to all joint edges, then secure the pieces using a brad nailer or finish nails. Keeping your 90-degree angles square during this phase is crucial; even a slight twist in the box will prevent it from sliding smoothly over your wall-mounted cleat later on.
Safely Locating Wall Studs in U.S. Construction
Before driving any hardware into your walls, you must locate your room’s structural framing. In typical American residential construction, interior walls consist of drywall attached to vertical wood studs spaced either 16 or 24 inches apart. Use a reliable electronic stud finder to locate the edges of at least two studs where you plan to hang your shelf. Mark these centers lightly with a pencil, keeping in mind that hitting solid wood is the single most important factor for secure weight support.
If your desired shelf placement does not align perfectly with two wall studs, you will need to incorporate heavy-duty drywall anchors rated for high weight loads into your installation plan. However, whenever possible, design your shelf length so that your support cleat fastens directly into at least two wooden studs. This eliminates the risk of drywall tearing under heavy loads and gives you peace of mind when displaying heavier items like ceramic vases or stacked hardcover books.
Mounting and Securing the Floating Shelf
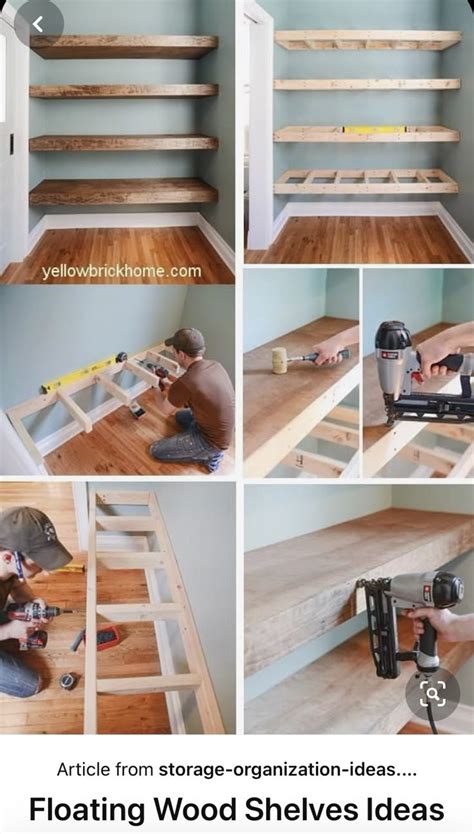
With your wall studs clearly marked, hold your completed support cleat against the wall at your desired height and check it with a spirit level. Once the bubble rests perfectly centered, drive heavy-duty wood screws through the back plate of the cleat directly into the center of your located wall studs. Pre-drilling screw holes through the cleat prevents the wood from splitting and makes driving the fasteners much easier against vertical drywall surfaces.
After securing the cleat tightly to the wall, slide your hollow outer shelf box gently over the protruding support arms. If the fit feels slightly too tight, do not force it aggressively; instead, lightly sand the interior edges with medium-grit sandpaper until the box glides into place. Once the back edge of the shelf sits flush against the drywall, drive a few small finishing screws or finish nails upward through the bottom of the shelf into the underside of the cleat to lock the assembly firmly in place.
Sanding, Staining, and Final Finishing Touches
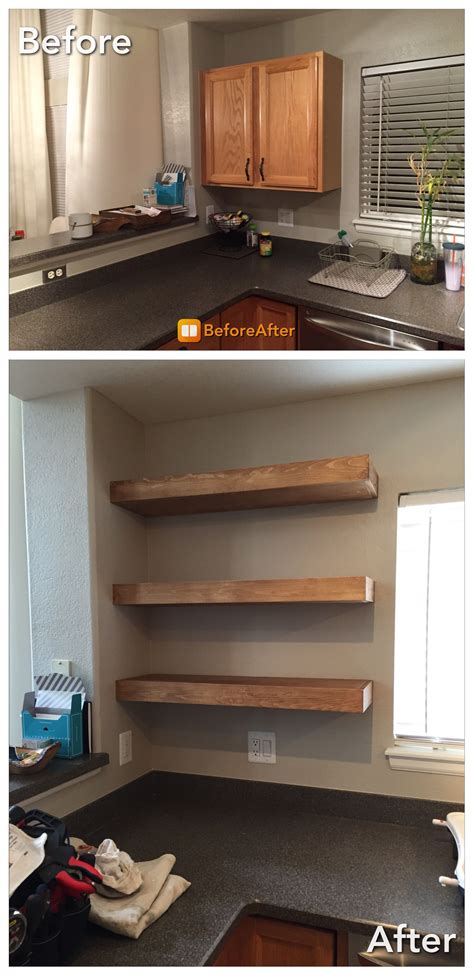
The final step transforms raw lumber into a polished, high-end decorative feature. Before mounting your shelf—or after installation if you prefer to touch up nail holes later—thoroughly sand all exposed wooden surfaces with 120-grit sandpaper, followed by a smoother 220-grit pass. Wipe away all fine sawdust using a tack cloth or a slightly damp microfiber towel to ensure your finish adheres evenly without unsightly bumps or blemishes.
Choose a wood stain that complements your existing interior trim and furniture palette, applying it with a clean lint-free cloth according to the manufacturer’s directions. For enhanced durability against moisture and everyday wear, finish the wood with a clear polyurethane, lacquer, or a natural hardwax oil. Allowing the finish to cure completely before styling your new shelves ensures a durable, professional look that elevates your home’s entire aesthetic.
Frequently Asked Questions
How do you make floating shelves without visible brackets?
You create them by building a two-part system: a sturdy wooden cleat anchored securely to the wall studs, and a hollow box sleeve that slides directly over the cleat and is pinned in place from underneath.
How much weight can no-bracket floating shelves hold?
When screwed directly into at least two wall studs using appropriate structural fasteners, a well-built hollow box shelf can typically support 30 to 50 pounds or more, depending on the depth of the shelf and the quality of the lumber.
What is the standard depth and thickness for a sleek floating shelf?
A standard decorative floating shelf usually features a depth between 8 and 10 inches and an overall thickness of about 2 to 2.5 inches, offering a substantial modern profile without looking bulky.
Can I install these shelves on drywall without hitting studs?
While heavy-duty toggle anchors can hold lighter loads in drywall alone, anchoring directly into wood framing studs is strongly recommended for safety and to prevent shelf sagging over time.


