Creating your own wall storage can completely transform an empty room, adding both warmth and function without overwhelming your floor plan. While store-bought options can be pricey or lack the exact dimensions you need, building custom shelves gives you total control over the finish and size. By understanding standard U.S. wall framing practices, you can create pieces that look high-end while remaining exceptionally secure.
The secret to a professional-looking floating shelf lies in constructing a robust internal support frame paired with a hollow wooden sleeve that slides right over it. This method conceals all hardware completely while providing enough structural support to hold books, plants, and everyday decor pieces safely. This guide walks you through the essential materials, framing techniques, and installation steps required to achieve clean results on standard drywall.
Essential Materials and Lumber Selection
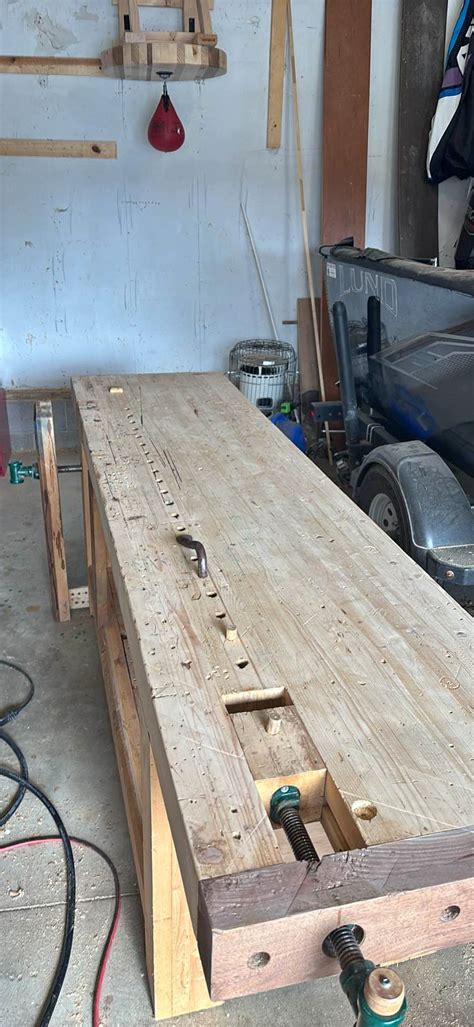
Before heading to your local home improvement center like The Home Depot or Lowe’s, gathering the right supplies will save you multiple trips and ensure structural safety. For a standard three-foot shelf, you will need dimensional lumber for the internal support grid—typically 2x4s or 1×3 boards depending on the desired thickness of your final shelf. Pine boards are widely available, affordable, and easy for beginners to cut and sand.
For the outer wooden shell, look for project boards that measure roughly three-quarters of an inch thick. Hardwoods like oak or maple offer a sophisticated grain if you plan to stain the wood, while select pine works wonderfully for painted finishes. Always inspect individual boards in the store aisle to ensure they are straight and free of severe bowing, as warped lumber makes achieving a flush, tight-fitting box nearly impossible.
Locating Wall Studs and Planning Placement
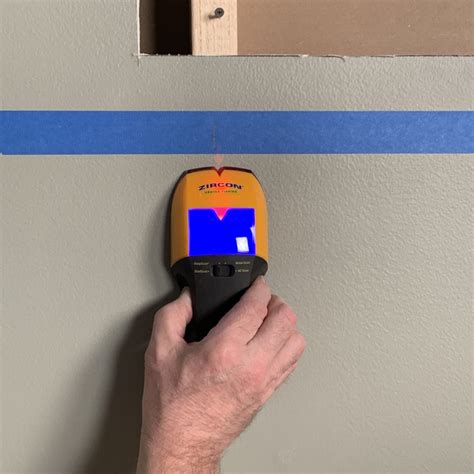
Standard residential construction across the United States typically features vertical wall studs spaced either 16 or 24 inches apart on center. Locating these structural framing members using an electronic stud finder is the single most critical step in ensuring your shelves can bear significant weight. Screwing directly into drywall alone will result in shelf failure under even modest loads.
Once you identify your studs, measure out your shelf placement carefully using a reliable carpenter’s level and painters tape to visualize the final height. If your desired shelf length does not span two or three studs perfectly, you will need to plan your support bracket placement strategically or invest in heavy-duty drywall toggle anchors for intermediate support points, though anchoring directly to wood studs remains the gold standard for weight capacity.
Building the Internal Support Frame
The internal frame acts as the backbone of your floating shelf, anchoring securely to the wall while protruding outward to support the outer wooden sleeve. Start by cutting a back plate to match the distance between your targeted wall studs, using heavy-duty wood screws to fasten it firmly into the framing members. Next, cut perpendicular support arms that extend outward from the back plate to match the interior depth of your outer shell.
Ensure these protruding support arms are fastened squarely to the back plate using pre-drilled pocket holes or sturdy face screws. When you slip your finished wooden box over this internal ladder structure, the snug friction fit keeps everything rigid. Taking time to square up this frame prevents unsightly gaps between the wall and the wooden shelf box later on.
Assembling and Finishing the Outer Wooden Sleeve
Building the outer sleeve requires three pieces of wood: a top board, a front face board, and a bottom board, configured in a U-shape open at the back. Measure your internal support frame precisely, then cut your sleeve pieces so they allow a tiny fraction of an inch of clearance, making it easier to slide the wood over the frame without binding.
Join the top and bottom boards to the front face piece using wood glue and finish nails or pocket hole screws from the inside. Once the glue cures fully, fill any nail holes or minor corner seams with wood filler, sand the entire exterior smooth with medium and fine-grit sandpaper, and apply your preferred stain or protective clear polyurethane finish.
Mounting and Leveling the Finished Shelf
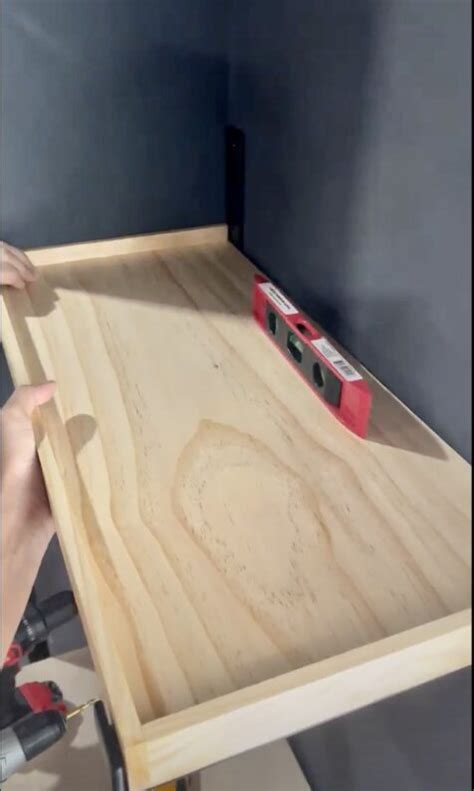
Slide your completed wooden shell directly over the mounted internal frame to check the fit before securing it in place. Use a spirit level placed across the top of the shelf to confirm it is completely even, adjusting the frame slightly if needed before driving final finishing screws through the bottom of the sleeve and into the internal support arms.
Keep finishing screws countersunk and dab them with a matching touch-up marker or wood putty so they remain entirely invisible from normal viewing angles. Once secured, your floating shelf is ready to style with your favorite ceramics, framed photos, or trailing houseplants.
Frequently Asked Questions
How much weight can DIY floating shelves actually hold?
When properly anchored into at least two solid wall studs using an internal wooden ladder frame, a standard three-foot floating shelf can easily support 30 to 50 pounds. However, the exact capacity depends heavily on the depth of the shelf and the strength of your fasteners.
Do I need to anchor floating shelves into wall studs?
Yes, anchoring into wall studs is strongly recommended for any shelf expected to hold more than minimal weight. Standard drywall lacks the structural integrity to support cantilevered loads, meaning shelves mounted only to drywall will likely sag or pull out over time.
What kind of wood is best for floating shelves?
Select pine is ideal for beginners due to its low cost and easy workability, especially if you plan to paint the shelves. If you prefer a natural wood stain, hardwoods like red oak, walnut, or poplar offer beautiful grain patterns and greater long-term durability.
How do I keep floating shelves completely level during installation?
Always use a reliable spirit level when securing the initial wall bracket, and double-check the level once the outer wooden box is slid into place. Making minor pencil marks and checking angles before driving permanent fasteners prevents uneven installations.
Can renters install floating shelves with minimal wall damage?
Renters can install floating shelves, but heavy-duty DIY floating shelves require large screw holes in studs that must be patched upon moving out. For truly temporary rental solutions, consider freestanding shelving units or adhesive-backed picture ledges instead.


