Creating custom built-in shelving transforms flat, ordinary walls into striking architectural focal points while solving everyday storage challenges. Many homeowners and renters assume that achieving this polished, seamless look requires hiring a professional carpenter or investing heavily in custom millwork. However, with careful planning, proper anchoring, and a creative design perspective, you can build sturdy and distinctive shelving yourself.
A thoughtful approach goes beyond simply slapping boards onto brackets. It involves designing built-ins that harmonize with your room’s proportions, selecting durable materials that withstand daily use, and infusing the final structure with personality. Whether you are working with a spacious living room or a compact apartment nook, the following framework guides you through planning, constructing, and styling your custom built-ins safely and effectively.
Assessing Your Space and Planning the Layout
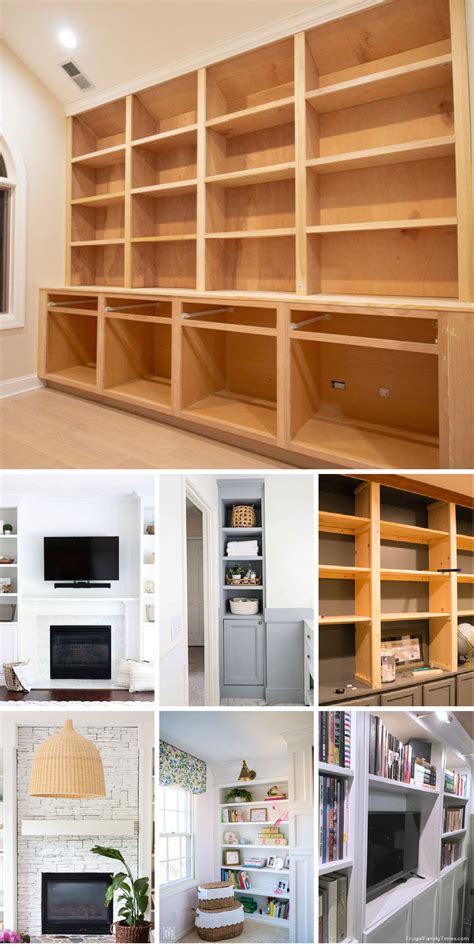
Before purchasing lumber or picking up a power drill, thorough preparation is essential for a successful built-in project. Start by examining the target wall for electrical outlets, heating vents, and light switches, ensuring your shelving design avoids obstructing vital home infrastructure. Use a reliable electronic stud finder to locate and mark the framing studs behind your drywall, as securing heavy shelving directly to studs is non-negotiable for safety and structural integrity.
Next, sketch your layout on graph paper, taking accurate vertical and horizontal measurements twice to prevent costly cutting errors. Consider how the height of each shelf will accommodate your specific storage needs, from tall art books to delicate decorative ceramics. If you live in a rental apartment where permanent wall modifications are restricted, explore semi-permanent alternatives such as heavy-duty tension-secured framing or modular freestanding bookcases anchored lightly to the wall with minimal hardware.
Selecting Materials, Hardware, and Tools
The longevity and appearance of your built-ins depend heavily on the quality of materials and hardware you choose. For sturdy shelving that resists sagging over time, select furniture-grade plywood, such as birch or oak, rather than inexpensive particle board. Hardwood boards like poplar or pine work exceptionally well for face frames and trim pieces, offering a smooth surface that readily accepts paint or wood stain.
Gather your essential tools before beginning construction, including a circular saw or table saw for precise cuts, a power drill, a level, safety glasses, wood glue, and a pneumatic nail gun if available. When mounting shelves to upright standards or cleats, invest in heavy-duty anchors and screws rated for your wall type. Taking time to properly prep and sand every board before assembly ensures clean lines and a professional-grade finish once the paint is applied.
Building, Securing, and Finishing the Structure
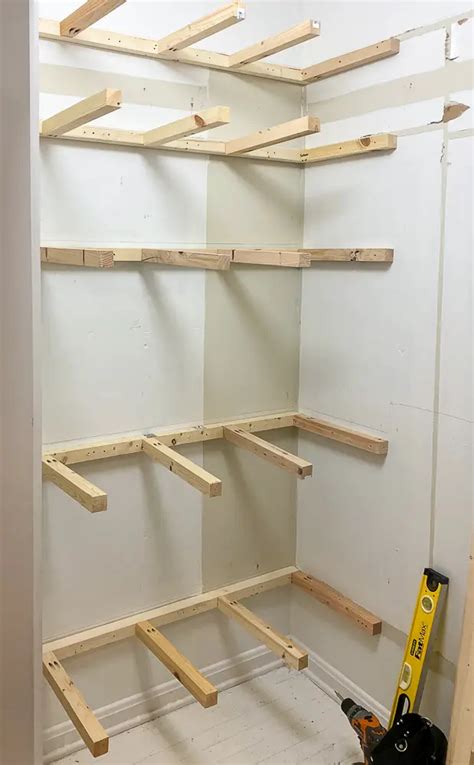
Constructing the framework requires patience and continuous attention to your level. Begin by attaching wooden support cleats securely to the wall studs along your marked lines, ensuring every piece is completely horizontal. If you are building a floor-to-ceiling unit, construct the outer box frame first, secure it to the wall at multiple anchor points, and then insert your individual shelf dividers or fixed shelves.
Once the basic skeleton is securely fastened, elevate the aesthetic by adding architectural trim, crown molding, or decorative face framing to conceal raw plywood edges. Fill any nail holes or gaps with wood filler, let it dry completely, and sand the entire structure until smooth. Apply a primer designed for wood surfaces followed by two coats of durable semi-gloss or satin paint, allowing adequate drying time between coats to achieve a flawless, factory-like finish that ties the room together.
Curating and Styling Your Custom Shelves
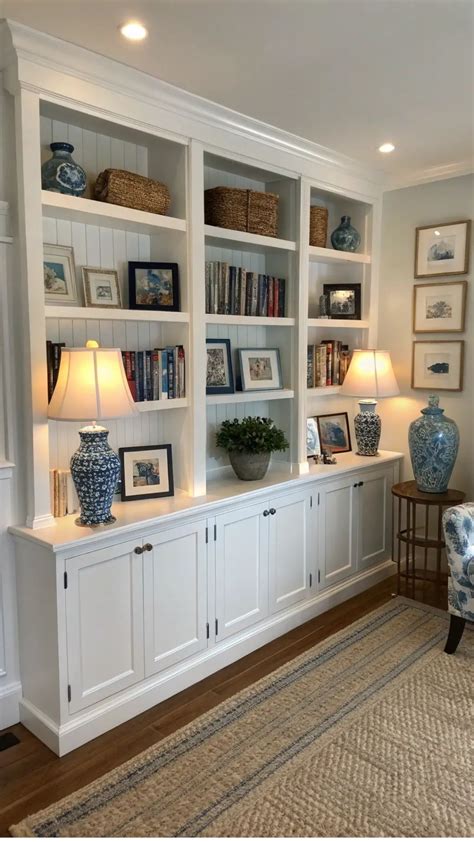
The final and most rewarding phase of the project is styling your newly built shelves to reflect your personal taste and lifestyle. Avoid the common trap of overcrowding every square inch with knick-knacks; instead, embrace negative space to let statement pieces breathe. Group books both vertically and horizontally to create dynamic visual weight, and intersperse reading material with framed artwork, sculptural ceramics, and trailing plants.
Play with a cohesive color palette that complements your room’s existing textiles, rugs, and furniture. Layering items by depth—placing taller objects in the background and smaller treasures in the front—adds dimension and prevents the shelving display from looking flat. Periodically step back across the room to evaluate the balance of color and texture, making small adjustments until the arrangement feels intentional, curated, and deeply personal.
Frequently Asked Questions
How do I ensure my DIY built-in shelves are strong enough for heavy books?
To support heavy loads without sagging, anchor your support cleats directly into the wall framing studs and use furniture-grade plywood or solid hardwood that is at least three-quarters of an inch thick. For spans wider than thirty-six inches, adding a vertical divider or a front edge-banding strip significantly increases rigidity.
Can I install built-in shelving if I am a renter?
Renters can achieve a similar built-in aesthetic by opting for modular shelving units that secure with minimal wall anchors, or by building freestanding floor-to-ceiling bookcases that attach gently near the top plate. Always review your lease agreement and consult your landlord before drilling into walls or making permanent architectural alterations.
What paint finish works best for built-in shelves?
A satin or semi-gloss enamel paint is generally recommended for built-in shelving because it provides a durable, washable surface that resists scuffs and prevents books from sticking to the shelves. Always apply a bonding primer first to ensure proper paint adhesion on wood surfaces.


