Finding storage solutions that reflect your personal aesthetic often leads many homeowners and apartment dwellers toward custom craftsmanship. Crafting your own wall storage allows you to maximize awkward room dimensions, choose exact finishes, and stay well within a modest budget. Whether you are working with standard American drywall spaced on 16-inch stud centers or dealing with the limitations of a rental lease, creating bespoke display spaces is an immensely rewarding weekend project.
Approaching wall storage with creativity means looking beyond standard commercial brackets and flat-pack particle board. By combining accessible lumberyard supplies with clever mounting strategies, you can build character-rich ledges that anchor a room. The following concepts explore diverse architectural styles, material selections, and functional frameworks designed to elevate any residential space.
Renter-Friendly Temporary Shelving Options
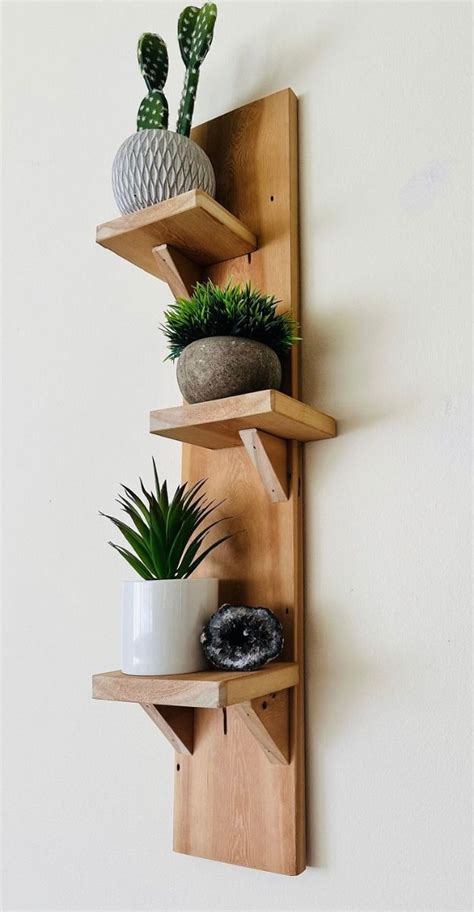
Lease agreements often restrict drilling large holes or anchoring heavy loads into drywall, but that does not mean blank walls have to stay bare. Tension-mounted systems, heavy-duty adhesive ledges, and leaning ladder frames offer wonderful workarounds. These configurations let you showcase trailing house plants, framed photography, and decorative ceramics without triggering security deposit deductions upon moving out.
When choosing temporary mounting hardware, always verify weight limits specified by the manufacturer. If you opt for heavy-duty adhesive strips designed for picture hanging, remember that humidity in bathrooms or kitchens can compromise the adhesive bond over time. Leaning wooden ladder racks represent a sturdier alternative for apartments, resting safely against the baseboard while utilizing gravity rather than wall anchors for stability.
Industrial Pipe and Reclaimed Wood Displays
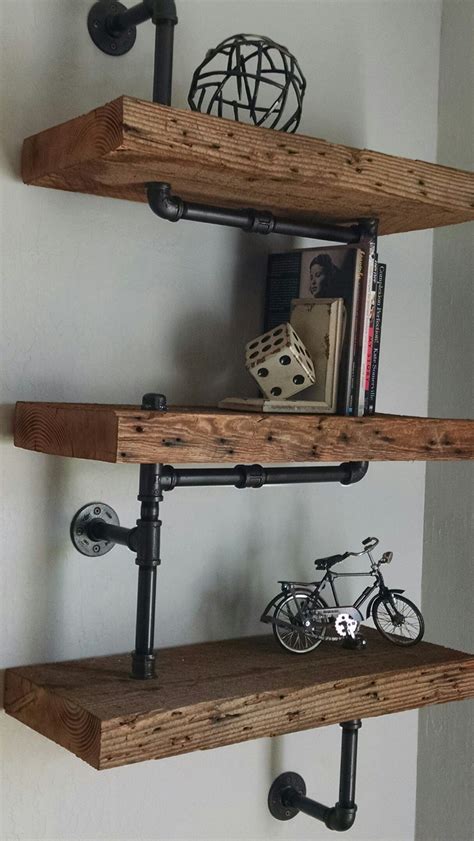
Merging rough-sawn lumber with black iron plumbing pipes creates a striking aesthetic that suits urban lofts, rustic farmhouses, and modern industrial spaces alike. Sourcing thick pine or oak boards from a local salvage yard adds authentic grain patterns and historical texture that brand-new lumber simply cannot replicate. Sanding the wood down to a smooth finish while preserving knots and minor blemishes results in a stunning contrast against dark metal hardware.
Standard gas pipes and floor flanges are readily available at most major U.S. home improvement centers and can be customized to any desired length. Before assembly, wipe down the metal pipes with a degreaser to remove manufacturing oils, then apply a clear matte sealer to prevent rust. When mounting these heavier assemblies, secure at least one bracket side directly into a wooden wall stud using heavy-duty structural screws to ensure absolute safety.
Minimalist Floating Shelves for Small Spaces
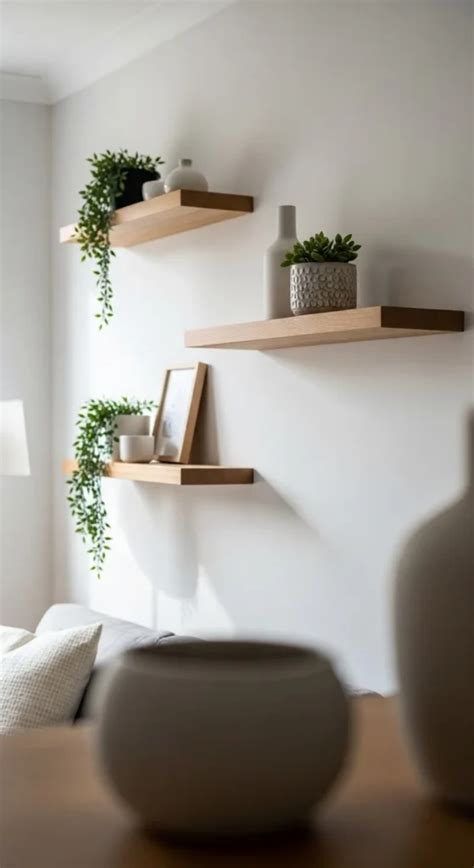
Floating shelves create an illusion of expansive floor space by concealing internal support brackets completely inside the wooden box. This streamlined approach works exceptionally well in compact kitchens, narrow hallways, or above home office desks where visual clutter needs to be kept to an absolute minimum. Crafting these units typically involves building a hollow box frame out of lightweight plywood and sliding it securely over a wall-mounted cleat system.
Precision is critical during installation to ensure your hidden cleats are perfectly level before driving fasteners into the wall. Use a reliable bubble level and a digital stud finder to locate framing members behind the drywall. If you cannot align all mounting points with studs, utilize rated toggle bolts or heavy-duty drywall anchors specifically rated for sheer weight rather than relying solely on plastic plugs.
Corner and Vertical Space-Maximizing Builds
Unused room corners often represent dead space in typical American floor plans, yet they offer tremendous potential for vertical storage and display. Triangular floating ledges or multi-tiered corner bookcases draw the eye upward, making ceilings appear taller while keeping floor areas open. These builds require precise angle cuts, making a miter saw or a carefully measured hand saw an essential tool for the job.
Staggering vertical shelves in an asymmetrical layout transforms a plain accent wall into an engaging gallery display. Instead of aligning every board in a rigid grid, mix varying lengths and depths to accommodate books, trailing vines, and sculptural objects. This approach breaks up monotonous sightlines and provides a bespoke, designer-curated look without the high retail price tag.
Frequently Asked Questions
What are the best beginner-friendly DIY shelf materials?
Standard dimensional lumber such as pine, common boards, or pre-cut project panels are ideal for beginners because they are inexpensive, widely available at U.S. hardware stores, and easy to cut and sand at home.
How do I safely hang heavy shelves on standard U.S. drywall?
Whenever possible, anchor your shelf brackets directly into wooden wall studs spaced 16 inches apart. If a bracket falls between studs, use heavy-duty toggle bolts or threaded metal drywall anchors rated for the combined weight of the shelf and its contents.
Can renters install custom shelves without losing their deposit?
Yes, renters can use leaning ladder shelves, tension-fit pole systems, or heavy-duty adhesive mounting strips. These options require little to no wall repair upon moving out, keeping landlords happy while providing functional storage.
How much does a basic DIY wooden wall shelf cost to build?
A simple wooden board paired with two basic metal brackets typically costs between $15 and $40 in materials, depending on the wood species, finish selections, and hardware style you choose.


