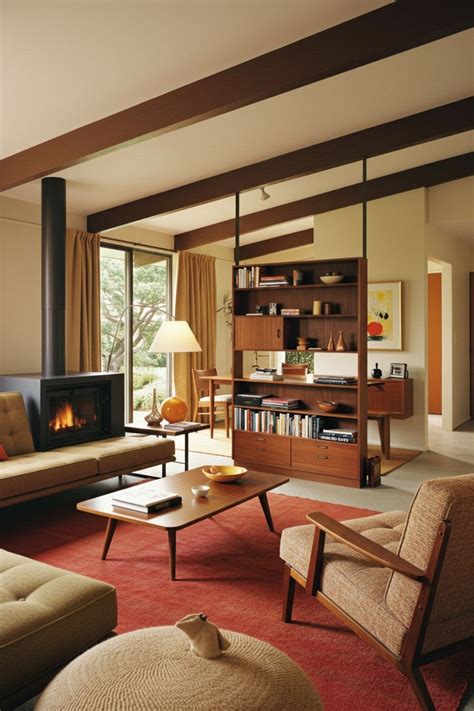
Transforming a blank living room wall into a custom architectural focal point is one of the most rewarding projects a DIY enthusiast can tackle. Custom built-in shelving instantly elevates the sophistication of any room while solving persistent storage challenges, from housing an extensive book collection to displaying cherished decor pieces. Unlike freestanding furniture, built-ins look intentional, seamlessly anchoring into the room’s architecture as if they were part of the original blueprint.
Achieving a high-end, custom look requires careful planning, precise measurements, and a solid understanding of basic woodworking principles. Whether you are working with a spacious suburban family room or a cozy urban apartment, breaking the construction down into manageable phases ensures structural integrity and a polished finish. This guide walks you through the entire journey, from assessing your space and selecting materials to framing, trimming, and styling your new living room centerpiece.
Assessing Your Living Room Space and Wall Preparation
Before purchasing a single board of lumber, evaluate the intended wall thoroughly to determine structural limitations, electrical placements, and surface irregularities. Locate every wall stud using an electronic stud finder and mark them clearly with painter’s tape, as your entire shelving framework will rely on these structural supports for safe weight distribution. Check for existing outlets, light switches, or baseboard heaters that might interfere with your cabinet bases or lower shelving tiers.
Take detailed measurements of the wall height, width, and depth at multiple points, because older homes rarely feature perfectly level floors or plumb walls. If you discover a significant slope in your flooring, note the discrepancy so you can plan for shims underneath your base cabinets. Preparing the wall also involves removing existing baseboards where the built-ins will sit flush against the drywall, ensuring a clean, gap-free installation that mimics high-end custom cabinetry.
Adapting Built-In Techniques for Renters
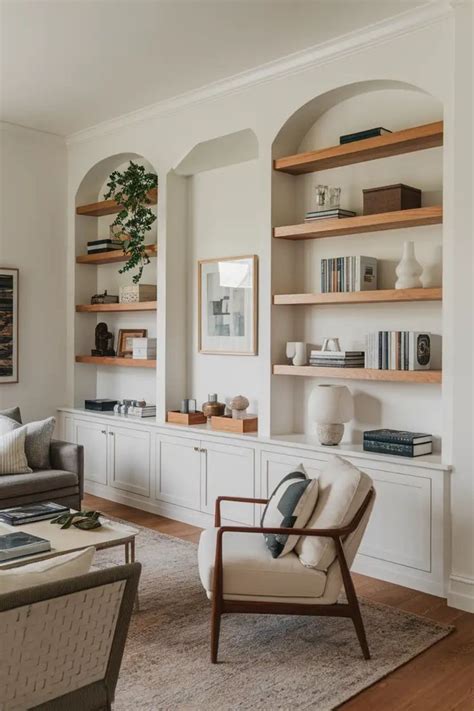
Creating custom built-ins while renting requires clever workarounds that deliver the aesthetic impact of permanent carpentry without violating lease agreements. Renters can utilize heavy-duty modular bookcases secured safely to wall studs with minimal anchor points, then box them in with MDF panels and custom trim attached using removable adhesive strips or minimal finish nails. By building a freestanding outer frame that mimics built-in cabinetry, you can easily disassemble and patch the wall when it is time to move out.
Designing for Proportion, Weight, and Function
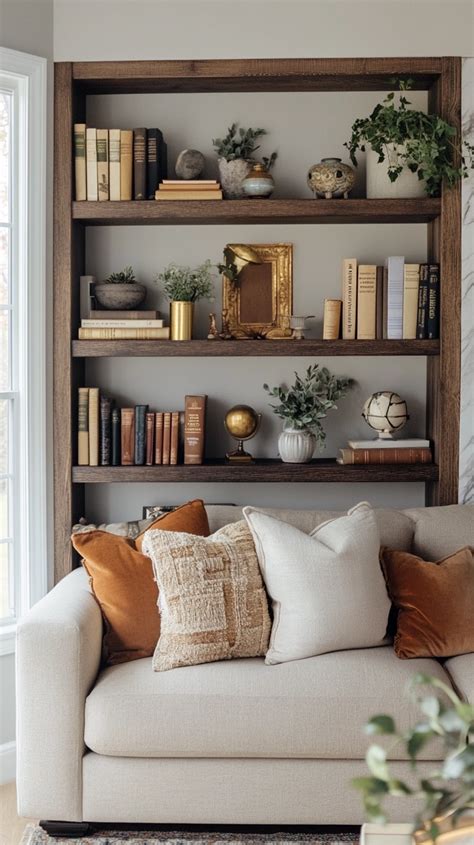
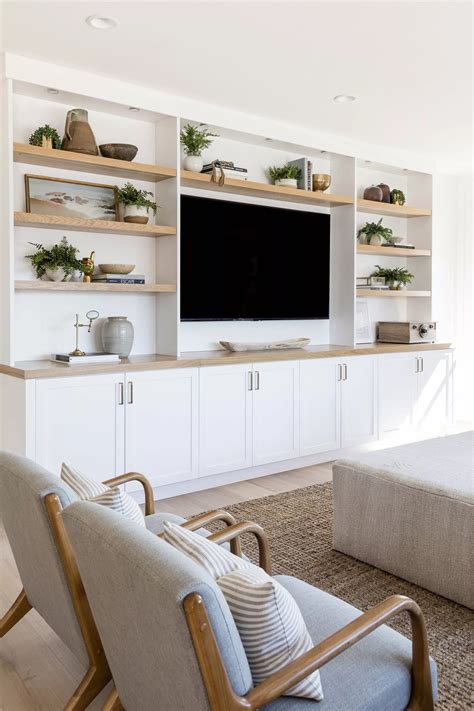
Thoughtful design separates amateur shelving from professional-grade millwork, making proportion and load capacity critical early considerations. Divide your wall elevation into functional zones, typically featuring closed cabinet storage at the bottom to hide clutter, open shelving in the middle for display, and a decorative crown molding header at the top. This classic tripartite layout draws the eye upward, making the ceiling feel higher while keeping heavy items safely stored near the floor.
Calculate your shelf spans carefully to prevent unsightly sagging over time, especially if you plan to store heavy hardcover books. Generally, hardwood plywood or solid lumber shelves should not exceed thirty-two inches in span without a vertical partition or a front-edge reinforcement molding. Incorporating vertical dividers not only adds crucial structural support but also creates distinct visual zones that make styling your shelving units much easier and more balanced.
Essential Tools and Lumber Selection
Investing in or renting the right tools will make your DIY built-in project significantly smoother and safer. At a minimum, you will need a circular saw or table saw, a miter saw for precision trim cuts, a drill and driver set, a finish nailer, a reliable stud finder, and a level. Safety gear including protective eyewear, ear protection, and a dust mask should always be kept within arm’s reach during cutting and sanding operations.
Material selection dictates both the budget and the final aesthetic quality of your built-ins. For painted built-in shelves, cabinet-grade birch or maple plywood provides a stable, smooth surface that resists warping far better than solid pine. Apply iron-on wood veneer edge banding to the raw plywood edges before painting to completely conceal the laminated layers, giving your shelves a solid-wood appearance that elevates the entire installation.
Building the Framework and Securing to Studs

Constructing the structural skeleton forms the core of the project, starting with a sturdy base platform that lifts the lower cabinets or bottom shelves slightly off the floor. Build a ladder-style frame out of two-by-four boards or sturdy plywood strips, leveling it carefully using wood shims underneath until it sits completely flat and steady. Secure this base platform directly into the wall studs through the back framing members to ensure zero shifting or wobbling.
Next, build the vertical uprights and divider panels according to your pre-planned layout, screwing them securely to the base platform and anchoring the upper framework directly into the exposed wall studs. Pre-drill all screw holes near board edges to prevent wood splitting, and use a spirit level constantly as you install each vertical and horizontal element. Taking extra time during this framing stage guarantees that your subsequent shelves and cabinet doors will align perfectly without frustrating gaps.
Trim Work, Caulking, and Seamless Painting
Once the primary carcass and shelving boards are securely in place, the transformative magic of finish carpentry begins. Install face frames using pocket hole screws and finish nails to cover exposed plywood edges, creating clean, substantial lines that look like custom furniture. Add baseboard trim along the bottom edge, matching your home’s existing style, and top the entire unit with a decorative crown molding package to tie the shelving seamlessly into the ceiling.
Achieving a factory-smooth finish requires meticulous surface preparation, including filling all nail holes with wood putty and sanding them flush once dry. Apply a generous bead of paintable latex caulk along every seam where the wood meets the wall or ceiling, smoothing the line with a damp finger for a professional finish. Prime the entire unit with a high-adhesion bonding primer, sand lightly with fine-grit sandpaper, and apply two coats of high-quality semi-gloss or satin enamel paint using a fine-finish roller and brush.
Styling and Decorating Finished Built-In Shelves
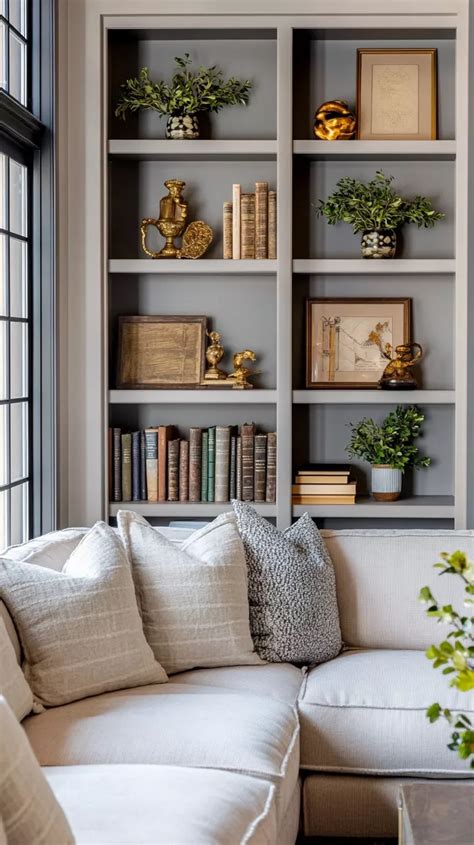
With the hard construction complete, styling your new built-in shelves allows you to showcase your personal aesthetic and bring warmth to the living room. Start with a balanced distribution of heavy items, such as large art books or storage baskets, placing them on lower and middle shelves to anchor the visual weight. Intersperse books vertically and horizontally, leaving intentional negative space around your favorite decor objects so the shelves never feel overcrowded or cluttered.
Layer in varied textures and organic elements to prevent the shelving unit from looking flat or sterile. Incorporate potted trailing plants, ceramic vases, sculptural metal objects, and framed family photographs of varying heights and depths. Step back frequently as you style to evaluate the composition, making small adjustments until the arrangement feels curated, balanced, and deeply welcoming.
Frequently Asked Questions
How do I anchor built-in shelves safely to drywall and studs?
Always locate wall studs using an electronic stud finder and drive your primary support screws directly through the shelf cleats and into the wooden framing members. If a shelf bracket or cleat falls between studs, supplement your installation with heavy-duty toggle bolts or expanding wall anchors rated for the expected weight load.
What kind of wood is best for painted vs. stained built-ins?
For painted built-ins, cabinet-grade birch or maple plywood provides a smooth, stable face without knots that bleed through paint. If you prefer a stained wood finish, select hardwood plywood matched with solid face lumber of the same species, such as red oak, walnut, or white maple, to ensure uniform grain absorption.
Can renters create temporary or semi-permanent built-in shelves?
Yes, renters can achieve a built-in look by anchoring modular bookcases securely to the wall with minimal mounting points, then framing them out with MDF panels and trim secured with removable adhesive strips or tiny finish nails. This approach delivers the custom look while allowing for straightforward patching upon moving out.
How do I handle uneven walls and baseboards during installation?
Older homes frequently feature wavy walls and sloping floors. Use wood shims underneath your base platform to level the unit, and use flexible paintable caulk to bridge small gaps between the side panels and the wall. For larger gaps, scribe the molding using a compass to match the exact contour of the wall surface.
What is the cost breakdown for a DIY built-in project?
A standard DIY built-in shelving project typically ranges from $200 to $600 in materials, depending on lumber choice, trim complexity, and whether you need to purchase specialty fasteners and paint. This is significantly cheaper than hiring a custom cabinet maker, whose services often cost several thousand dollars.