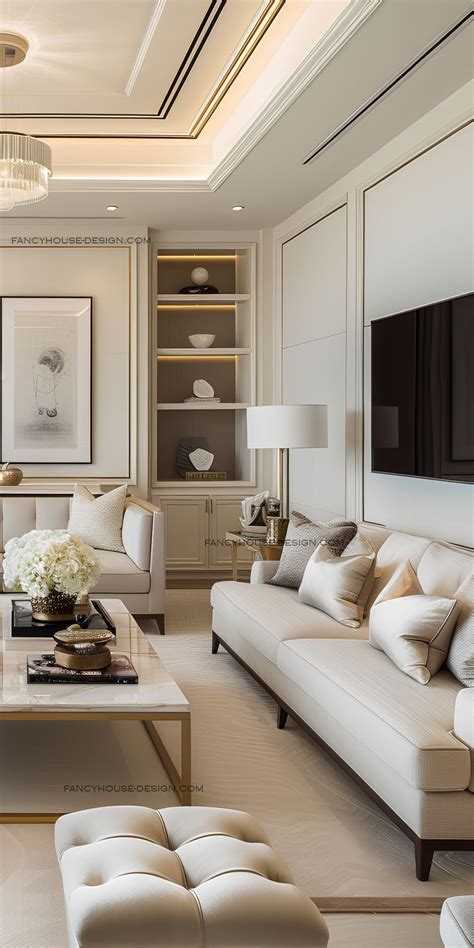
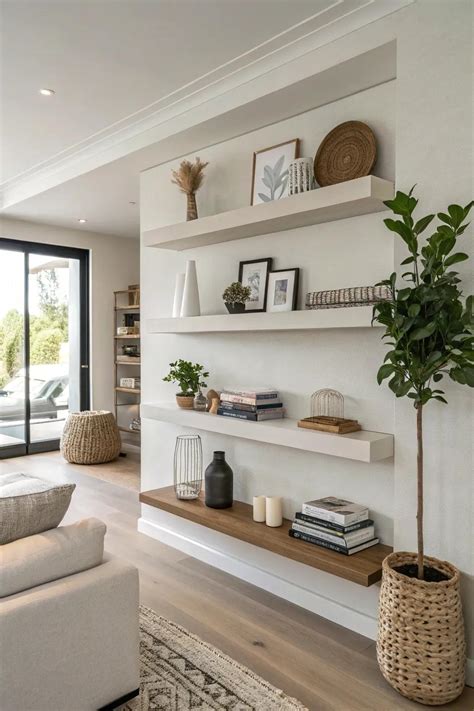
Arched architectural elements bring an undeniable sense of softness, elegance, and historic character to contemporary living spaces. When you incorporate curves into a room dominated by sharp angles and straight lines, the entire atmosphere instantly feels more welcoming and curated. Designer Crystel Montenegro frequently emphasizes that introducing a graceful arch breaks up the visual monotony of flat drywall, creating a stunning focal point that feels both custom-built and timeless. Whether you own your home or rent an apartment, crafting your own wall features allows you to achieve high-end interior styling without paying custom carpentry prices.
Building your own shelving unit gives you total control over the dimensions, color palette, and final finish to match your personal aesthetic. While the project requires patience, careful measurements, and basic power tools, the process is entirely manageable for dedicated beginners who take their time. By planning ahead, preparing precise templates, and selecting appropriate materials for your wall type, you can successfully construct a breathtaking display area that completely revitalizes your living room.
Planning Your Arched Wall Design and Proportions
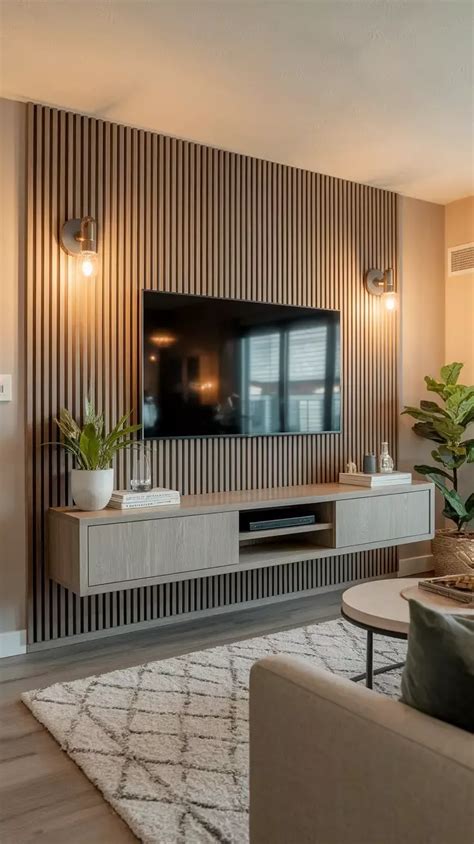
Before purchasing materials or picking up a saw, careful spatial planning is essential for achieving balanced proportions in your living room. Consider the scale of the wall where you intend to mount the shelving unit, keeping in mind existing furniture like sofas, console tables, or accent chairs. Crystel Montenegro recommends mapping out your proposed dimensions directly onto the drywall using blue painter’s tape to visualize the height, width, and curve radius before making any permanent cuts.
Proportions make or break the final look; a narrow, overly tall arch can feel disjointed, while a wide, shallow curve lacks the dramatic impact characteristic of true architectural arches. Aim for a balanced ratio where the straight vertical sides of the structure take up roughly two-thirds of the total height, leaving the upper third for the sweeping curve. This classic proportion feels harmonious to the human eye and provides plenty of functional vertical clearance for displaying your favorite books, ceramics, and sculptural decor objects.
Essential Tools, Materials, and Safety Gear
Gathering the right supplies before beginning your build saves you frustrating mid-project trips to the hardware store. For a standard medium-density fiberboard (MDF) or plywood arched shelf project, you will need a jigsaw, a power drill, wood glue, finishing nails or screws, sandpaper in various grits, painter’s tape, and a trusty pencil attached to a string or cardboard strip to act as a DIY compass.
Safety should always be your top priority when operating power tools and handling heavy sheet materials. Always wear protective safety glasses, a dust mask or respirator when cutting MDF or wood, and ear protection when running a jigsaw or circular saw. If you live in a rental property and need a lighter-weight solution, consider substituting heavy plywood with ultra-light foam boards or lightweight craft wood attached using heavy-duty command strips or minimal wall anchors, ensuring an easier patch-up process when moving out.
Drafting the Perfect Curve and Cutting the Wood
Creating a symmetrical, flawless arch is often considered the most intimidating part of the entire process, but it becomes simple with a reliable template. Take a piece of stiff cardboard or scrap paper matching the exact width of your desired shelf backer. Fold the template in half vertically to find the exact center point, then use a pencil and string method or a flexible strip of quarter-inch molding to pencil in a smooth, continuous curve from edge to edge.
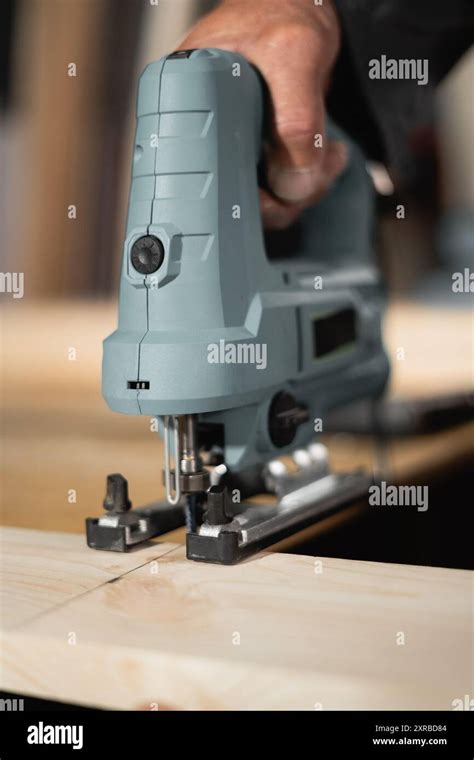
Once you are satisfied with the shape of your template, cut it out with utility scissors and trace it directly onto your primary sheet of wood using a fine-tip pencil. When operating your jigsaw to cut out the curve, go slowly and let the blade do the work rather than forcing it, which can cause splintering or uneven edges. Sand the cut edge thoroughly with medium-grit sandpaper followed by a fine-grit block until the curve is completely smooth and free of jagged fibers.
Assembling and Securely Mounting Your Shelves
With your backer board and individual shelf inserts cut to size, assembly requires precision and sturdy joinery. Use a combination of strong wood glue and pocket-hole screws inserted from the backside of the panel to attach the horizontal shelves securely to the vertical arched frame. Ensure every shelf is level by using a small spirit level before driving the final fasteners, as even a slight tilt will become painfully obvious once your decor items are placed on display.
Mounting the completed unit safely to your living room wall requires locating the wall studs using an electronic stud finder. Whenever possible, drive heavy-duty wood screws directly through the interior framework of your shelf and straight into the framing studs behind the drywall. If your layout does not align with wall studs, invest in rated drywall toggle anchors that can safely support the combined weight of the wooden structure and your decorative items, preventing any dangerous shifting or sagging over time.
Painting, Styling, and Finishing Touches
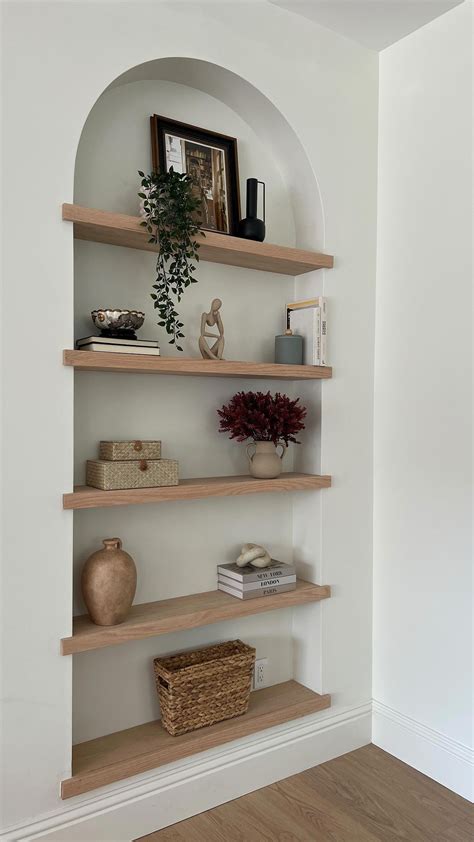
The final phase of your DIY journey is where the structure transforms from a raw carpentry project into a high-end designer feature. Apply a coat of primer to seal the wood grain and MDF edges, followed by two to three coats of high-quality latex paint in your chosen hue. For a modern, textural look, many home stylists opt for a limewash or Roman clay finish, which adds subtle movement and a chalky, artisanal touch that mimics antique plaster.
Once the paint has cured completely, it is time for the fun part: styling your newly created living room shelves. Follow the golden rule of shelf styling by combining items of varying heights, textures, and finishes. Mix stackable books laid horizontally, trailing green plants to soften the hard edges, matte ceramic vases, and metallic accents to catch the natural light. Keep some negative space open so the graceful arch remains the undeniable star of the room.
Frequently Asked Questions
- How do you draw a perfect arch for a DIY shelf?
You can draw a symmetrical arch by creating a cardboard template. Fold the cardboard in half to find the center, use a string and pencil as a compass to plot the curve, and cut it out. Trace this template onto your wood before cutting with a jigsaw.
- What materials are best for lightweight or renter-friendly arched shelves?
For renters or those wanting lightweight decor, thin craft plywood, foam boards, or balsa wood paired with heavy-duty renter-safe adhesive strips or minimal wall anchors work exceptionally well while minimizing drywall damage.
- How do you secure arched shelves to a living room wall safely?
Always anchor heavy wooden shelves directly into wooden wall studs using sturdy wood screws. If studs are unavailable, use high-capacity drywall toggle bolts rated for the total weight of the unit and your display items.
- What are the best styling tips for arched living room shelves?
Balance your display by mixing heights and textures. Incorporate trailing plants, stacked hardcover books, ceramic vases, and ensure you leave plenty of negative space so the architectural arch stands out.