Blank living room walls often feel cold, presenting a design challenge when you want to create a welcoming, intimate atmosphere. Incorporating natural wood elements is one of the most effective ways to soften a room, and building your own floating shelves offers a budget-friendly solution that introduces both warmth and practical display space. Unlike bulky bookcases, floating shelves maintain an airy, minimalist footprint while providing a sturdy platform for framed family photographs, trailing houseplants, and cherished ceramic pieces.
Embarking on a custom woodworking project allows you to tailor the exact dimensions, wood species, and stain color to complement your existing furniture. Whether your living room leans toward rustic farmhouse charm or modern transitional comfort, crafting these architectural accents yourself gives you total creative control. By focusing on a robust internal support frame and careful finishing techniques, you can achieve professional-looking results that elevate your home interior without requiring an extensive workshop.
Selecting the Ideal Lumber and Dimensions for Cozy Spaces
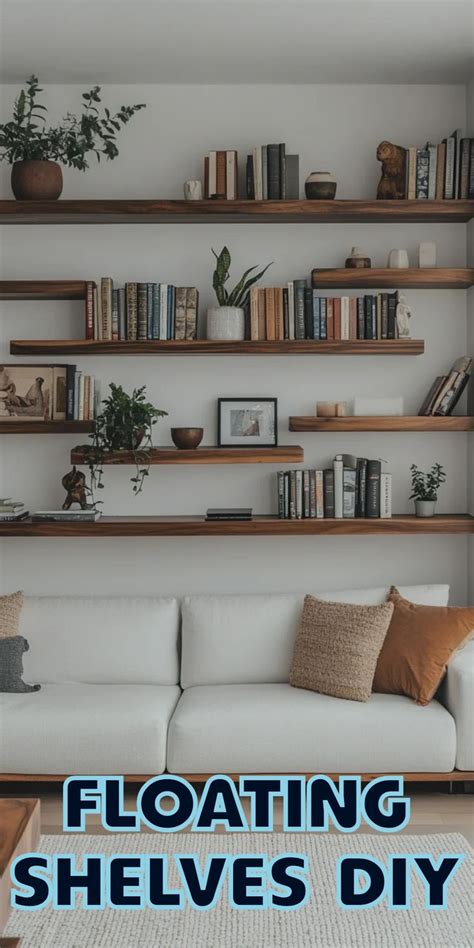
The choice of wood sets the tone for your entire living room aesthetic. Softwoods like pine offer an affordable, easy-to-work-with option that readily accepts warm, honey-toned stains, bringing an organic rustic character to casual spaces. Hardwoods such as white oak, walnut, or maple provide a more refined, durable finish with striking natural grain patterns that anchor a contemporary living room design. When purchasing lumber at your local home center, inspect the boards carefully for warping, cupping, or deep gouges to ensure your finished shelves sit completely flush against the wall.
Dimensioning your shelves requires balancing visual proportion with practical function. Standard living room floating shelves typically measure between eight to ten inches deep and two inches thick, providing ample surface area for decor items without protruding too far into high-traffic walkways. Standard lengths range from thirty to forty-eight inches, though you can customize these measurements based on your wall space. Keep in mind that thicker shelves naturally create a more substantial, high-end visual weight, which reinforces a cozy, grounded atmosphere in expansive rooms with high ceilings.
Essential Tools and Materials for Your Build
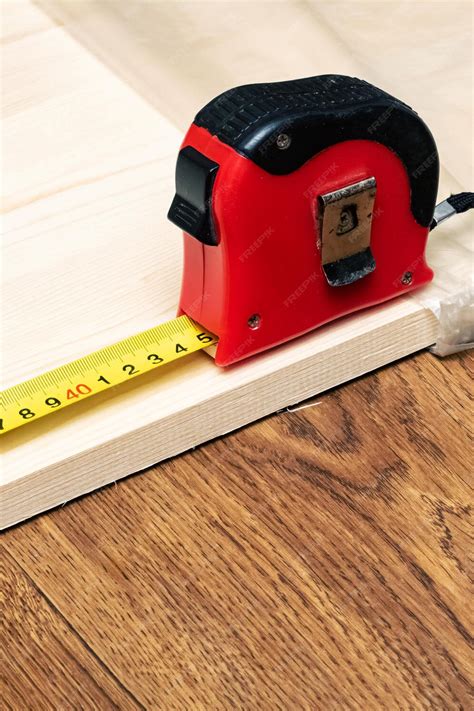
Successful woodworking projects rely on gathering the correct tools and hardware before making your first cut. For a standard hollow-box floating shelf design, you will need a circular saw or miter saw, a power drill, a sander with medium and fine-grit sandpaper, wood glue, and a pneumatic brad nailer or finish nails. Safety gear, including protective eyewear and a dust mask, is essential when cutting and sanding raw lumber. Accurate measuring tools, such as a tape measure and a reliable bubble level, ensure that your components align correctly throughout the assembly process.
Hardware selection dictates the structural safety of your installation. Rather than relying solely on decorative brackets, a sturdy interior cleat system built from dimensional lumber or steel rods provides hidden internal support. You will also need heavy-duty wood screws, appropriate wall anchors if you cannot hit every stud, and your chosen wood finish, such as a penetrating oil, water-based polyurethane, or traditional wood stain. Preparing these materials beforehand streamlines the workflow, allowing you to focus on precise execution during each phase of construction.
Constructing the Internal Support and Outer Shell
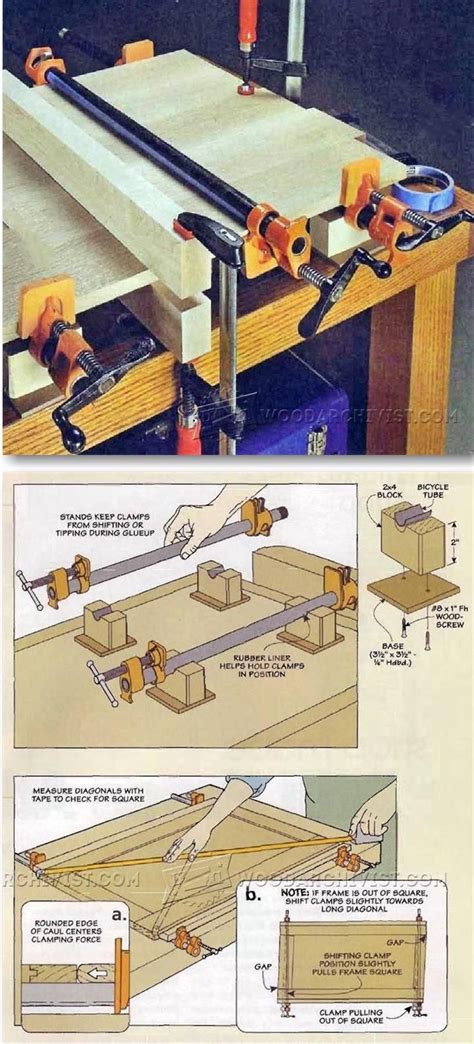
Building a hollow floating shelf involves creating a robust wall-mounted cleat and a lightweight outer box that slides securely over it. Start by cutting your wall cleat from a sturdy two-by-four or two-by-three board, ensuring it is slightly shorter than the overall interior length of your shelf box. Next, cut your top, bottom, front face, and side panels from your chosen project boards. Pre-fit all the pieces together to check for square angles and tight joints before applying any wood glue, as minor misalignments become much harder to correct once the adhesive cures.
Assemble the outer box by applying wood glue along the mitered or butt joints and securing the top and bottom panels to the side and front face pieces using finish nails. Once the outer shell is glued and nailed, it should form an open-ended sleeve designed to slide snugly over your wall-mounted cleat. Sand all exterior surfaces thoroughly, wiping away any sawdust with a tack cloth to prepare the raw wood for your preferred stain or protective sealer.
Applying the Finish and Ensuring Wall Safety
The finishing stage transforms raw lumber into a polished statement piece. Apply your chosen wood stain using a clean cloth or brush, following the grain direction, and wipe away excess liquid after a few minutes to achieve an even tone. Once the stain has cured completely according to the manufacturer’s instructions, apply two to three coats of a clear protective topcoat, such as satin polyurethane, lightly sanding with fine-grit sandpaper between coats to eliminate any raised wood fibers or dust nibs.
Structural safety remains paramount when mounting shelves to your living room walls. Always locate your wall studs using an electronic stud finder and mark their exact centers with a pencil. Drive structural lag screws directly through the wall cleat into at least two wall studs to guarantee maximum weight capacity. If a stud alignment forces you to place screws in open drywall, utilize heavy-duty toggle bolts or rated hollow-wall anchors to prevent sagging or catastrophic shelf failure under heavy loads.
Styling Your New Floating Shelves for Maximum Coziness
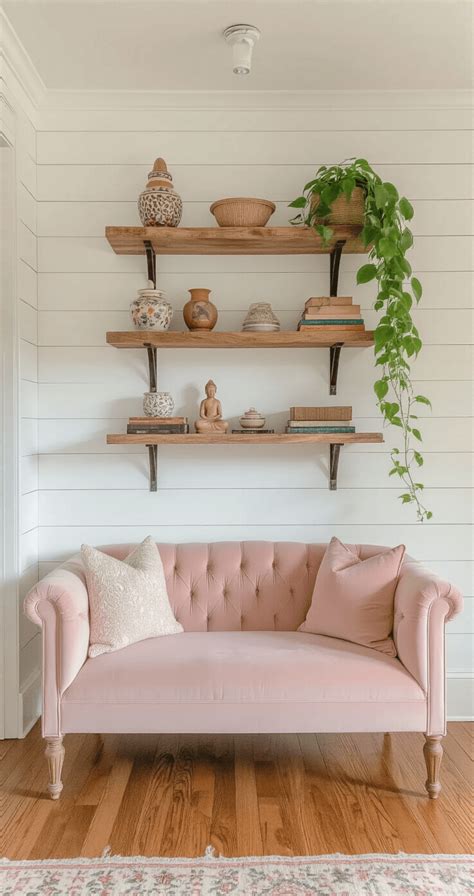
Once your shelves are securely anchored and the finish has fully cured, styling brings the entire project to life. Avoid overcrowding the surfaces; instead, group objects in asymmetrical arrangements using the rule of thirds. Combine items of varying heights and textures, such as a stack of vintage books supporting a small brass candlestick, a trailing pothos plant in a terracotta pot, and a meaningful framed art print leaning against the wall.
Incorporate warm lighting and tactile elements to reinforce the cozy ambiance of your living room. Small amber glass jars, woven fiber baskets, or handmade ceramic mugs add depth and organic imperfection that soften the rigidity of drywall and clean shelf lines. Periodically edit your displays across seasonal shifts to keep the space feeling fresh, intimate, and deeply personal to your household.
Frequently Asked Questions
How much weight can DIY floating shelves hold?
The weight capacity of a DIY floating shelf depends primarily on how securely the internal cleat is anchored into the wall studs and the quality of the materials used. When anchored properly into at least two wooden wall studs using structural screws, a well-built hollow-box floating shelf can typically support between thirty to fifty pounds safely.
What kind of wood is best for floating shelves?
Pine is widely considered the best choice for beginners due to its affordability and ease of cutting, and it takes warm stains exceptionally well. For a more durable, premium aesthetic with distinct natural character, hardwoods like white oak, walnut, or maple are excellent options.
Do I need to anchor floating shelves into wall studs?
Yes, anchoring your shelves directly into wall studs is essential for structural safety and maximum weight support. While heavy-duty drywall anchors can provide auxiliary support, relying solely on drywall without stud engagement drastically reduces the weight your shelves can safely hold.
How do I hide the mounting brackets completely?
The cleanest way to conceal mounting hardware is by utilizing a hollow-box shelf design that slides directly over a wooden ledger board or internal cleat. Because the outer wooden shell completely encloses the support structure, no visible brackets or hardware remain exposed once the installation is complete.


