Achieving the tailored, architectural elegance of custom built-ins in a living room usually evokes thoughts of expensive millwork and professional carpenters. However, homeowners across the United States can achieve that exact high-end aesthetic by modifying standard, readily available stock cabinets. By starting with basic kitchen or vanity base cabinets from home improvement stores, you can build a stunning entertainment center, reading nook storage, or display wall at a fraction of the cost.
The secret to transforming off-the-shelf boxes into furniture-grade built-ins lies in meticulous planning, sturdy base construction, and clever trim work. When you eliminate the visible gaps between the walls, ceiling, and standard boxes, the eye perceives a seamless, custom-built feature. This comprehensive guide walks through the practical phases of designing, anchoring, and finishing stock cabinets to elevate your American living room.
Planning Your Layout and Selecting Stock Cabinets
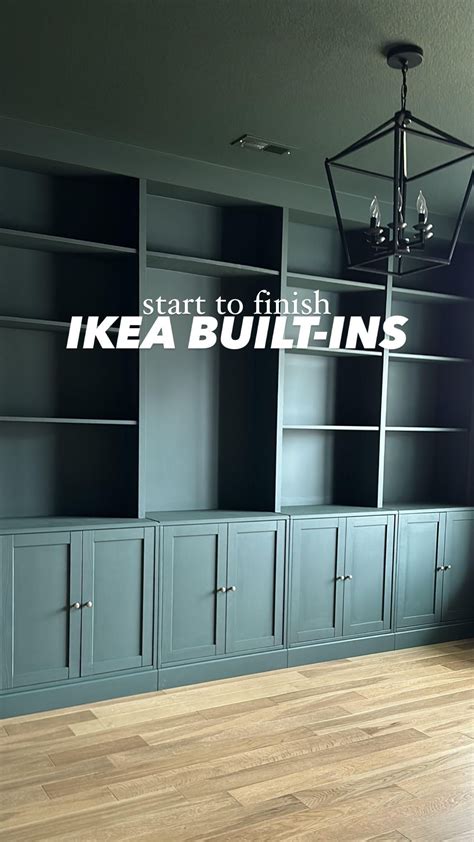
Before purchasing any materials, measure your living room wall thoroughly, noting ceiling height, baseboard dimensions, and the location of electrical outlets or heating vents. Standard base cabinets typically measure 24 to 34.5 inches in height and 24 inches in depth, but shallower upper wall cabinets or vanity bases are often better suited for living rooms where floor space is at a premium. Choosing a depth of 12 or 15 inches allows you to store books and media equipment without protruding too far into your main seating area.
Creating a balanced composition on your living room wall requires mixing closed storage at the bottom with open shelving above. Standard base cabinets with doors or drawers provide a clean foundation to hide clutter, while vertical panels and solid wood boards above create the framework for displaying books and decor. Sketching your wall layout on graph paper helps determine exactly how many cabinet boxes you need and where filler strips will be necessary to bridge any gaps between the end boxes and the side walls.
Building the Base and Anchoring Safely
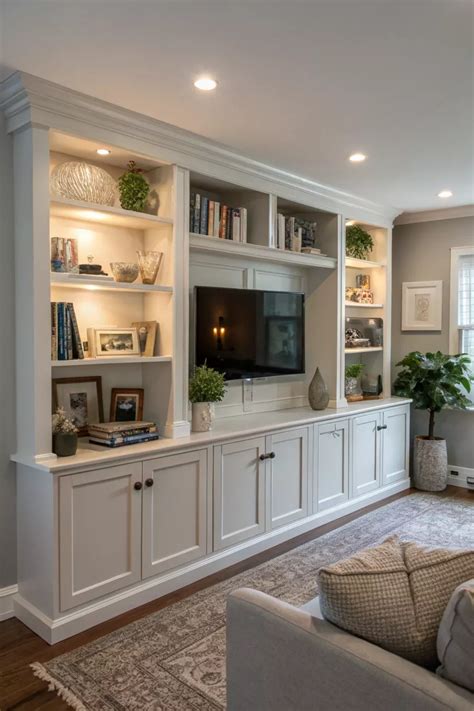
Stock cabinets rarely sit directly on the floor if you want a true built-in look; they require a raised platform or toe-kick base. Constructing a sturdy ladder frame out of 2×4 boards creates a level foundation, which is crucial because most residential floors and walls are not perfectly plumb or level. Use shims beneath your wooden base framework until a spirit level confirms the entire platform is completely flat from left to right and front to back.
Once the base platform is secured to the floor joists or wall plates, set your stock cabinet boxes on top and clamp them together securely. Driving structural screws directly through the cabinet mounting rails into your wall studs is the most critical safety step in the entire process. Failing to anchor heavy storage boxes securely can lead to dangerous tipping hazards, especially in households with children or pets. Take time to locate every stud behind the drywall using an electronic stud finder and drive heavy-duty wood screws through the interior hanging rails of each cabinet.
Mastering Trim, Molding, and Seamless Finishes
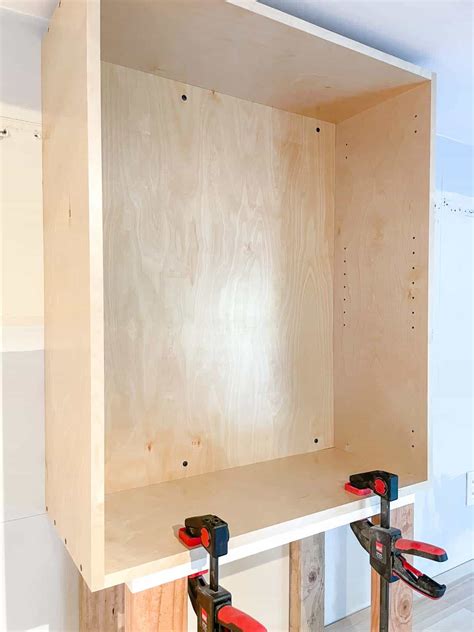
The transformation from basic kitchen boxes to custom built-ins happens entirely during the trim phase. When you butt stock cabinets against a drywall corner, you will almost always encounter gaps because residential walls are rarely straight. Cut custom filler strips out of matching hardwood or MDF to bridge these spaces neatly, securing them with brad nails and wood glue.
Next, install crown molding at the top to tie the vertical shelving units into the ceiling, and wrap the base of your platform with matching toe-kick trim. Covering all exposed cabinet seams, screw heads, and gaps with paintable latex caulk prepares the entire structure for its final finish. Once the caulk cures completely, sanding the wood filler flush ensures that your trim work looks like an integrated, continuous piece of fine furniture rather than a collection of separate boxes.
Painting and Styling Your New Living Room Built-Ins
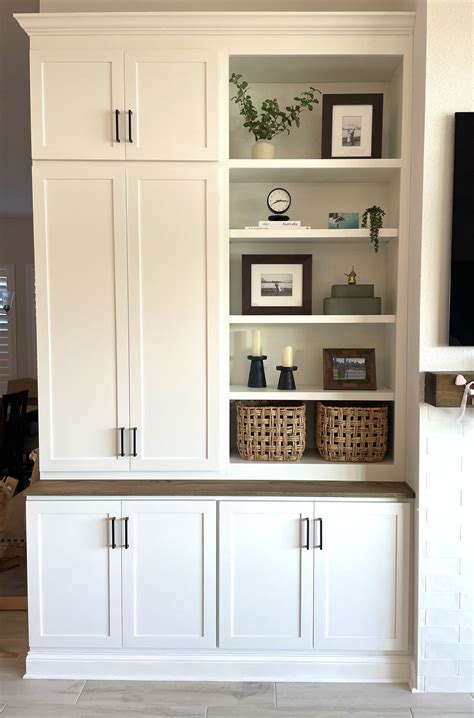
Choosing the right paint finish can make or break the illusion of custom millwork. Standard semi-gloss or satin cabinet enamel applied with a fine-nap foam roller and brush—or an HVLP paint sprayer for the smoothest possible finish—yields a durable, factory-like surface. Dark, moody colors like forest green, charcoal gray, or navy blue give living rooms a cozy, sophisticated atmosphere, while crisp off-white or warm greige brightens the space and highlights decorative objects.
After the paint has cured for several days, hardware installation adds the final touch of personal style. Modern unlacquered brass pulls, matte black knobs, or sleek minimalist handles instantly upgrade standard stock doors. When styling your new shelves, balance heavy hardcover books with trailing plants, ceramic vases, and framed art, leaving some breathing room so the display feels curated rather than crowded.
Frequently Asked Questions
Can you actually use standard kitchen stock cabinets for living room built-ins?
Yes, stock kitchen or bathroom vanity cabinets work exceptionally well for living rooms. Because they are mass-produced, they cost significantly less than custom carpentry while offering sturdy wood or plywood construction that easily supports heavy books and electronics.
How do you make stock cabinets look like custom built-ins?
The key to a custom look is eliminating gaps and adding architectural detail. Using filler strips to close wall gaps, wrapping the top with crown molding, building a matching toe-kick base, and painting the entire assembly in a unified color transforms basic boxes into seamless millwork.
What tools are essential for this DIY cabinet project?
Essential tools include a miter saw or circular saw for cutting trim, a power drill and driver, a spirit level, a stud finder, a pneumatic brad nailer, clamps, and caulking guns for sealing joints prior to painting.
How do you anchor cabinets safely to living room drywall?
To anchor cabinets safely, you must drive structural screws through the heavy wooden mounting rails located at the top and back of the cabinet directly into the wooden wall studs behind the drywall. Relying solely on drywall anchors is unsafe and will not support the weight of loaded cabinets.


