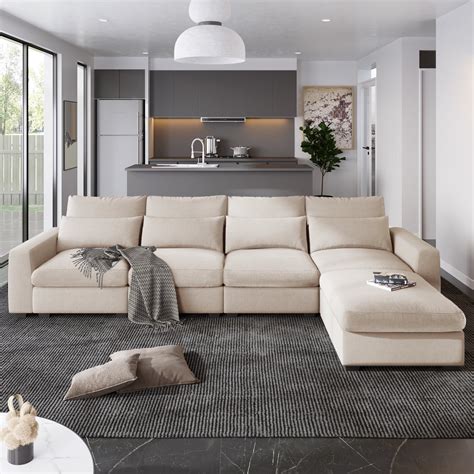
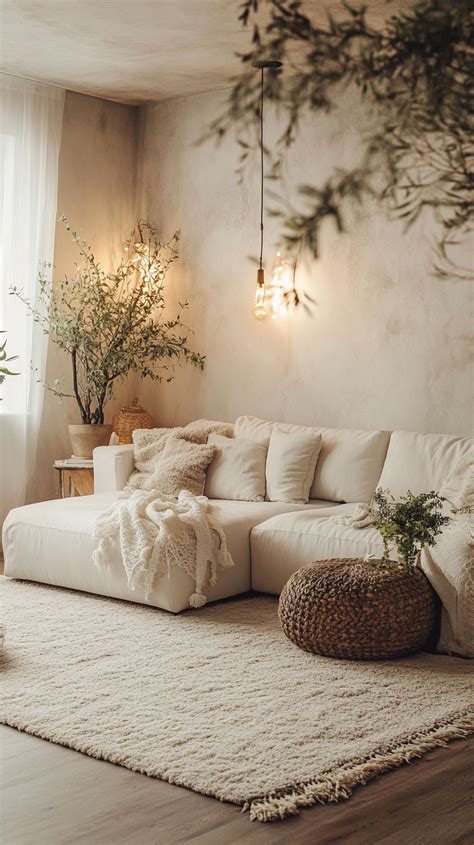
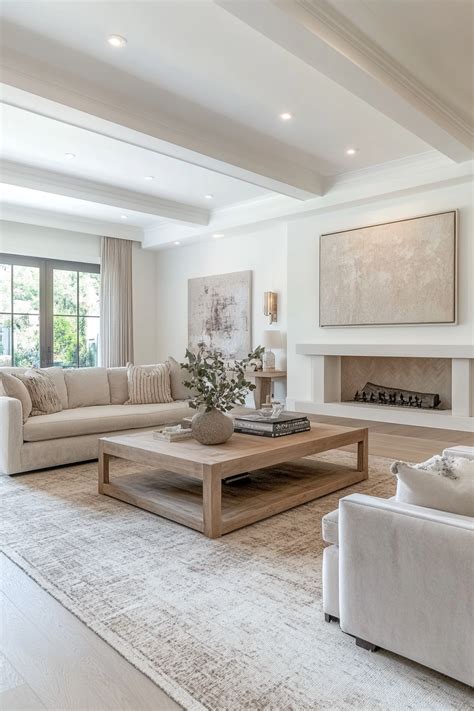
Upgrading a standard American living room often comes down to maximizing vertical space and hiding clutter. While custom built-in cabinetry from a professional carpenter can easily cost several thousand dollars, taking the project into your own hands yields a similar high-end aesthetic at a fraction of the cost. Building your own framework using standard dimensional lumber and MDF panels is an achievable weekend project that dramatically alters the room’s architecture. By anchoring storage directly to wall studs and applying thoughtful finish carpentry details, you can achieve a custom look that feels permanent and intentional.
Successfully executing this project requires careful measurement, patience during the priming and painting phases, and an understanding of basic wall construction. Whether you plan to frame an entire media wall around a fireplace or simply flank a living room window with balanced bookcases, this guide covers the practical steps, material choices, and finishing techniques necessary to complete the project successfully.
Assessing Your Living Room Space and Wall Structure

Before purchasing a single board of lumber, evaluate the chosen wall for electrical outlets, baseboard heaters, and structural obstacles. Use an electronic stud finder to locate and mark every wall stud across the target area, noting any irregularities in spacing. Standard American homes typically feature studs spaced 16 inches apart on center, which dictates where your vertical support cleats must be secured for maximum weight capacity.
Next, consider your living room’s existing layout and focal points. If your wall features a television mount, low-profile media console, or heating vents, plan your shelving dimensions to accommodate these functional elements without obstructing airflow or viewing angles. Renters should check lease agreements regarding permanent wall anchors; while some landlords permit heavy-duty anchors if holes are properly patched upon move-out, semi-permanent tension-fit shelving units or modular furniture brackets might serve as a safer alternative for temporary housing.
Budget-Friendly Materials and Essential Tools
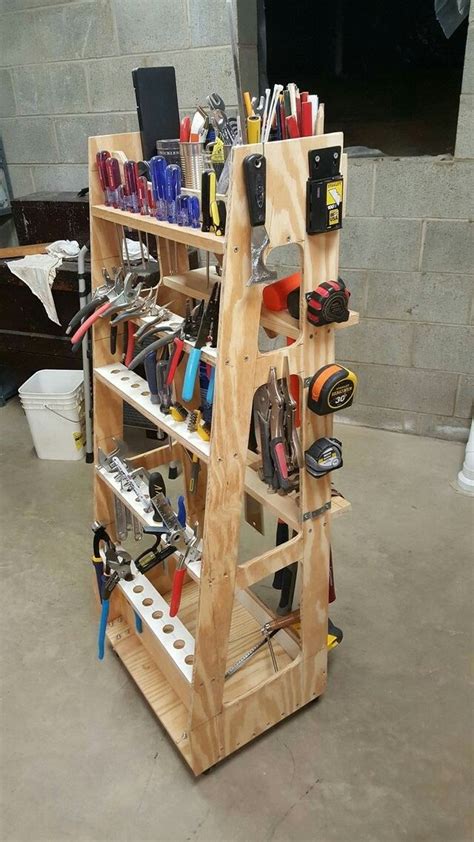
Creating a high-end built-in look does not require expensive hardwoods like walnut or white oak. Many successful DIYers build the core framework using affordable paint-grade materials such as MDF (medium-density fiberboard) for smooth, warp-resistant shelving boards, and standard 1×2 or 1×3 pine boards for face frames and cleats. MDF provides an exceptionally flat surface that accepts paint flawlessly, completely hiding wood grain for a seamless, modern built-in appearance.
Gathering the right tools before starting prevents frustrating mid-project trips to the hardware store. Essential equipment includes a miter saw or circular saw for straight cuts, a reliable power drill, a 4-foot or 6-foot level, a stud finder, clamps, wood glue, and safety gear. You will also need paint supplies, painter’s tape, wood filler, and paintable latex caulk to conceal seams and gaps between the wall and your newly constructed framework.
Step-by-Step Installation Guide for Framework and Shelves
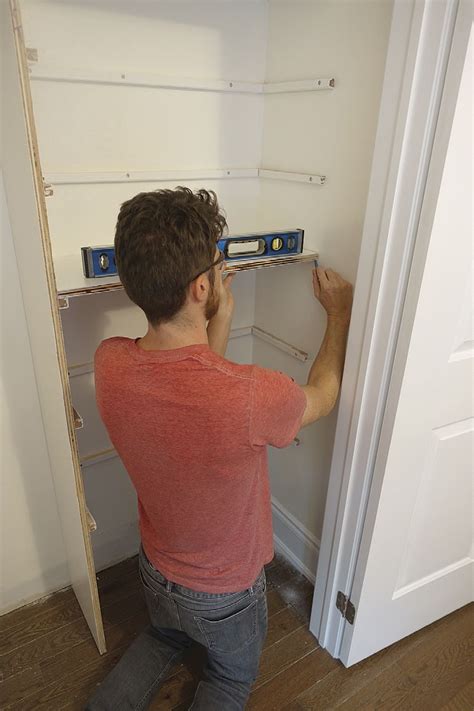
Begin construction by building a robust vertical ladder frame or securing horizontal support cleats directly to the wall studs. Using a spirit level is critical during this step; even slight misalignments will compound over multiple shelves, resulting in a crooked final product. Fasten your cleats securely into the studs using 3-inch wood screws, pre-drilling holes to prevent the wood from splitting.
Once the wall cleats are firmly in place, cut your shelf boards to exact interior measurements. Slide the shelves into position over the support cleats, checking for levelness once more. Secure the shelves from the bottom or sides using countersunk finishing screws so fasteners remain invisible from eye level. If your design includes lower base cabinets, assemble those boxes first as a sturdy foundation before building upper open shelving tiers upward toward the ceiling.
Priming, Painting, and Caulking for a Custom Built-In Finish
The secret differentiator between amateur shelving and custom architectural built-ins lies entirely in the prep and finish work. Start by applying a generous amount of paintable caulk along every seam where the wood meets the drywall, as well as at joint intersections. Smooth the caulk bead with a damp finger or specialized tool to create a flawless transition that makes the shelving look like it was built directly into the house from day one.
Fill all nail holes and screw depressions with high-quality wood filler, allowing it to dry completely before sanding flush with fine-grit sandpaper. Prime the entire assembly using a high-adhesion bonding primer, especially if you are using raw MDF or slick manufactured wood. Finish with two to three coats of a durable semi-gloss or satin interior paint, lightly sanding with fine-grit paper between coats to achieve a velvety, professional factory-like finish.
Creative Styling Tips to Complete Your Living Room Update
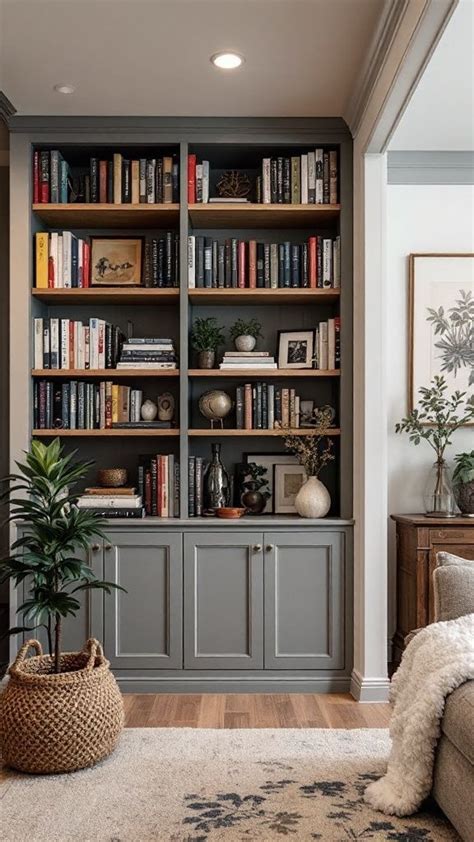
With your new built-in shelves fully painted and cured, you can finally focus on interior styling. Balance heavy items like hardback books, woven baskets, and storage bins on the lower shelves to anchor the visual weight of the entire unit. Use the middle and upper tiers to display curated decor objects, framed photography, trailing pothos plants, and ceramic pottery of varying heights and textures.
Avoid overcrowding every single shelf; negative space is essential for keeping the living room feeling open and breathable. Group objects in odd-numbered clusters and mix vertical and horizontal elements to draw the eye naturally across the display. By combining smart structural planning with intentional styling, your budget DIY built-in shelves will serve as a stunning, functional centerpiece for your home.
Frequently Asked Questions
How much does it cost to build DIY built-in shelves?
A basic DIY built-in shelving unit typically costs between $150 and $400 in materials, depending on the wall width, choice of MDF versus solid wood, and whether you include lower cabinets. This is significantly less than hiring a professional carpenter, which often exceeds $2,000.
Can renters install built-in shelves without damaging walls permanently?
Permanent built-in shelves require screwing into wall studs, which leaves screw holes that must be patched. Renters seeking a non-permanent solution can explore modular freestanding bookcases secured with minimal hardware or tension-mounted shelving units that minimize wall damage.
What tools and materials do I need for a basic built-in shelving unit?
Essential materials include MDF boards, pine support cleats, wood glue, caulk, wood filler, primer, and paint. Necessary tools include a power drill, level, stud finder, miter or circular saw, measuring tape, and safety glasses.
How do I make budget lumber look like custom high-end built-ins?
The key to a high-end look is meticulous preparation. Use paintable caulk to fill all gaps between the wood and the wall, fill all screw holes with wood filler, sand surfaces smooth, and use a roller to apply multiple coats of quality satin or semi-gloss paint.