Updating your home decor does not require an expensive trip to the furniture store or a hefty budget. Often, the most charming and personalized storage solutions are crafted from items you already own, hiding in your garage, closets, or recycling bin. When you embrace a zero-cost design mindset, blank walls become a canvas for creative resourcefulness rather than another expense.
Creating functional wall storage without spending money pushes you to look at everyday objects through a different lens. A forgotten drawer, an old wooden cutting board, or a stack of hardback books can instantly transform into striking architectural details. By utilizing basic household tools and repurposing discarded items, you can refresh your living space, reduce clutter, and showcase a truly unique aesthetic that mass-produced retail shelves simply cannot replicate.
1. The Reused Drawer Ledge
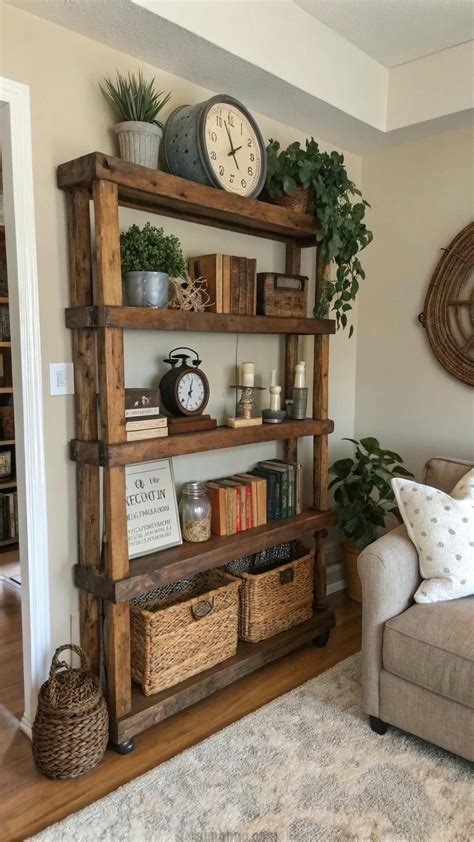
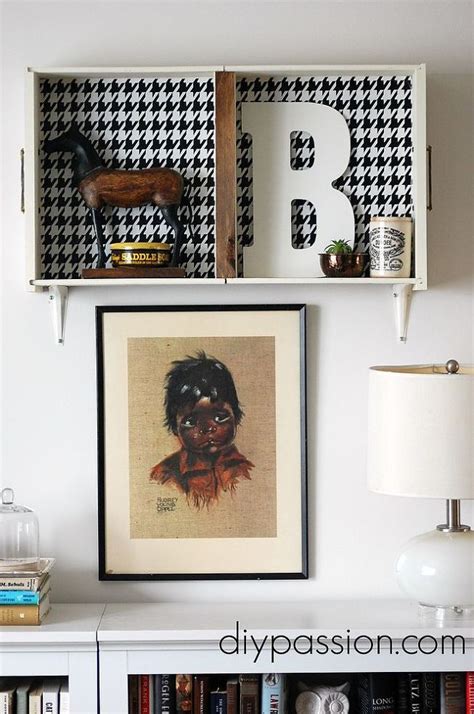
Old wooden drawers from broken nightstands or dressers possess built-in character, complete with corner joints and decorative faces. Instead of discarding an old piece of furniture, remove the drawer entirely and mount the back panel directly to the wall studs using existing screw holes or sturdy toggle bolts. This creates a ready-made shadow box shelf that protects your favorite trinkets while adding unexpected depth to a flat wall.
To ensure this makeshift shelf remains secure, always locate your wall studs before driving screws through the back panel. If studs are unavailable, heavy-duty drywall anchors salvaged from previous hardware collections will help distribute the weight evenly. Inside the drawer cavity, display lightweight items such as framed photographs, small trailing plants, or collected seashells to keep the overall load well within safe limits.
2. Stacked Hardback Book Brackets
Book lovers often accumulate vintage or damaged hardback books that are no longer readable due to missing pages or water damage. You can give these literary castoffs a second life by mounting L-brackets—perhaps salvaged from an old desk or workbench—underneath a sturdy hardcover book. The rigid covers provide a stable surface, while the pages remain firmly compressed against the wall.
When selecting books for this project, choose titles with thick covers and neutral or complementary colors that match your interior palette. Secure the bottom book firmly to the wall-mounted bracket using heavy-duty double-sided mounting tape or discreet screws driven through the inside cover. Stack two or three smaller books on top to create a tiered display surface suitable for small decorative objects or lightweight ceramic figurines.
3. Upcycled Wooden Cutting Board Ledges
Wooden cutting boards and charcuterie platters feature natural wood grains and convenient handles that make them ideal candidates for rustic wall display. By attaching small wooden blocks or salvaged corner brackets to the back, you can transform a kitchen tool into a minimalist floating ledge in your dining room or kitchen space.
The handle of the cutting board can double as a functional hanging hook for lightweight kitchen towels, dried herb bundles, or decorative beads. Because these boards are typically crafted from solid hardwoods like maple or acacia, they offer exceptional durability and natural aesthetic warmth. Sand down any rough edges and apply a coat of leftover cooking oil or beeswax to revive the wood’s natural luster before mounting.
4. Wooden Wine Box Shadow Shelves
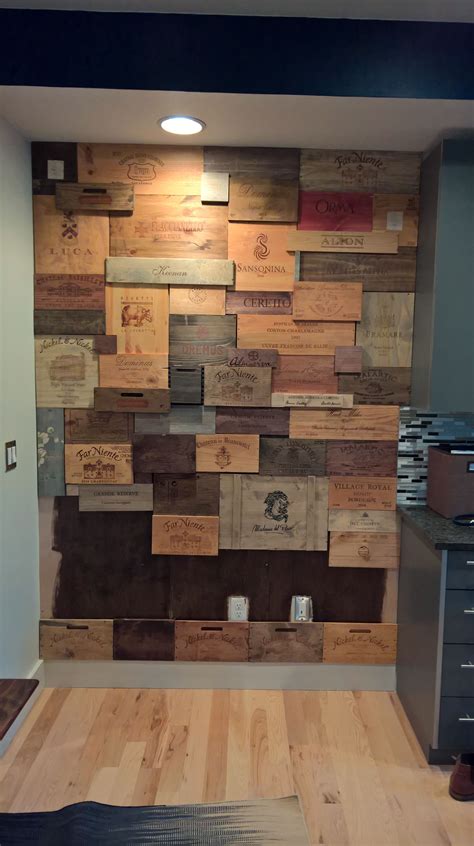
Wooden wine crates and fruit boxes feature authentic stamps, dovetailed corners, and sturdy construction that naturally lend themselves to wall-mounted storage. Instead of recycling these sturdy containers, mount them sideways or flat against the wall to create modular cubbies. You can hang a single box as a statement piece or arrange multiple boxes in an asymmetrical honeycomb pattern.
Before hanging, inspect the joints of the crate to ensure the wood has not dried out or loosened over time. Reinforce the corners with small finishing nails or wood glue if necessary. These compartments work exceptionally well in home offices or bathrooms, offering enclosed storage for extra hand towels, rolled magazines, or small potted succulents that benefit from vertical display.
5. Stretched Canvas Display Ledges
Old or unwanted art canvases stretched over wooden frames can be flipped backward to function as shallow shadow boxes or display ledges. The recessed wooden stretcher bars create a natural lip that keeps small objects from sliding off, while the fabric back can be painted, wallpapered, or left blank to serve as a textured backdrop.
Secure the frame to the wall by driving screws directly through the inner wooden support beam into a wall anchor. This minimalist approach works wonderfully in hallways or bedrooms where deep shelving would obstruct walking paths. Use the narrow ledge to display postcard collections, miniature ceramic plates, or lightweight glass jars filled with dried botanicals.
6. Repurposed Picture Frame Shelves
Deep-profile wooden picture frames found at thrift stores or gathered from your attic can be converted into floating wall boxes with minimal effort. Remove the glass and backing board, then construct a simple interior platform using scrap plywood or leftover cardboard pieces cut to fit the exact inner perimeter of the frame.
Mount the modified frame flush against the wall so that the ornate molding frames whatever objects you place inside. This technique highlights your favorite small sculptures or vintage alarm clocks by framing them like live art installations. Stick to lightweight items to ensure the makeshift interior platform remains stable and secure over time.
7. Sturdy Stair Baluster Ledges
Leftover pieces of wooden balusters or stair spindles from a home renovation project feature classic turned details and decorative millwork. Cut these architectural remnants down to manageable lengths and mount them horizontally across a wall using small wooden cleats screwed into the studs.
The decorative profile of the baluster acts as a natural front barrier, preventing items from rolling off the edge. These narrow shelves are tailor-made for displaying picture frame galleries, allowing you to lean multiple frames against the wall without needing individual hanging hardware for each piece. The traditional woodwork brings instant architectural heritage to modern or transitional interiors.
8. Scrappy Plywood Triangle Shelves
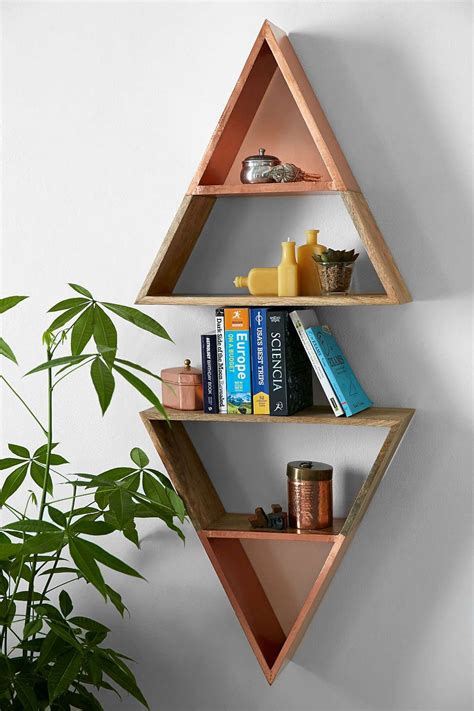
If you have leftover plywood scraps sitting in your garage from an old project, you can cut them into geometric triangle shapes to assemble modern floating shelves. Triangle shelves add dynamic architectural lines to bare walls and provide sturdy surfaces for small potted plants or geometric home accessories.
Use wood glue and small finishing nails to join three triangular pieces together, creating a box with a sloping outer frame and internal division. Mount the structure securely using hidden keyhole fasteners salvaged from old cabinetry or small metal brackets tucked discreetly inside the lower corners. The natural grain of the plywood adds an appealing industrial touch when left raw or sealed with leftover clear polyurethane.
9. Woven Basket Wall Pockets
Flat-backed wicker, rattan, or wire baskets can be hung directly on wall hooks to function as semi-rigid storage pockets. While not a traditional flat shelf, a wall-mounted basket provides vertical storage for items that typically clutter flat surfaces, such as incoming mail, reading glasses, notebooks, or loose craft supplies.
Choose baskets with reinforced flat backs so they sit flush against the wall without tilting forward. This zero-cost organizational trick adds wonderful organic texture and warmth to mudrooms, entryways, or kitchen nooks. You can customize the look by weaving scrap ribbon or leftover yarn through the natural fibers to tie the basket into your room’s color scheme.
10. Architectural Molding Remnant Ledges
Leftover pieces of crown molding, baseboards, or chair rails from past home improvements can be repurposed into elegant picture ledges. Because molding is designed to fit flush against walls and corners, installation is remarkably straightforward using basic finishing nails or construction adhesive if the items are exceptionally light.
Build a simple L-shaped profile by joining a flat piece of scrap wood to the back of the decorative molding piece. Once mounted, this creates a classic channel where you can lean artwork, postcards, or lightweight mirrors. The sophisticated profile of traditional molding elevates the entire wall, making a zero-cost project look like a custom architectural installation.
11. Skateboard Deck Floating Shelves
An old, worn skateboard deck featuring vibrant graphics or scuffed natural wood makes an edgy, modern floating shelf for a teen’s bedroom, den, or creative studio. The pre-drilled truck mounting holes can be repurposed to secure the board directly to heavy-duty wall brackets or makeshift metal supports.
Clean the grip tape and bottom graphics thoroughly before installation to prevent debris from shedding onto the floor below. The curved ends and sturdy multi-ply maple construction provide an inherent lip that keeps displayed items secure. Style the deck with vintage cassette tapes, action figures, or everyday accessories for a youthful, personalized design statement.
12. Vintage Tray Wall Display
Serving trays made of tin, wood, or heavy plastic often feature raised rims and decorative handles that make them ideal for wall-mounted shelving. Secure a vintage tin serving tray to the wall by driving screws through the flat interior base directly into wall anchors, placing small rubber washers behind the screw heads to prevent the metal from warping.
The raised edges of the tray keep small collections safe and contained, creating a vibrant focal point filled with personality. Whether your tray features a faded floral pattern or sleek mid-century metalwork, it brings nostalgic charm and functional vertical storage to dining areas or coffee stations without costing a dime.
Frequently Asked Questions
What can I use as a shelf if I have no money?
You can use sturdy household items and scrap materials you already own, such as old wooden drawers, hardcover books, leftover plywood scraps, wooden cutting boards, wine crates, and even vintage serving trays.
How do I hang a DIY shelf securely without specialized tools?
Always locate wall studs to provide maximum support. If studs are unavailable, reuse heavy-duty drywall anchors from previous hardware collections, or stick to ultra-lightweight items like postcards, small frames, and thin books to prevent wall failure.
Are zero-cost DIY shelves durable enough for heavy items?
Makeshift and upcycled shelves generally lack the structural engineering of commercial hardware. It is best to reserve zero-cost shelving for lightweight decorative objects, small plants, and paper goods rather than heavy ceramics or large book collections.


