Transforming blank walls into functional, beautiful storage does not require an advanced woodworking shop or an expensive timber budget. Pine lumber remains one of the most accessible, budget-friendly, and versatile materials available at any local home improvement center. Whether you are looking to organize a cluttered kitchen, add character to a living room, or build display space for a home office, a simple weekend can yield stunning results.
Across forty-two distinct creative concepts, pine can be shaped, stained, and mounted to suit everything from minimalist modern apartments to cozy rustic farmhouses. Success relies on understanding how to select the right boards, prepare the soft wood grain properly, and anchor your creations securely to drywall or stud framing. This guide breaks down essential preparation techniques and styling categories to help you map out your next weekend workshop.
Selecting and Prepping Pine Lumber for Lasting Quality

Before making a single cut, evaluating your lumber yard selection determines how your finished shelves will look and perform over time. Common white pine or ponderosa pine boards are soft and easy to work with using basic hand tools or a standard circular saw, but they require careful inspection at the store. Look for boards that are straight, flat, and free of deep twists or excessive cupping, as warped timber is notoriously difficult to square up at home.
Knots add wonderful rustic charm to pine, but loose or dead knots can pop out and compromise structural strength under heavy book loads. Choose boards with tight, live knots, and give every surface a thorough sanding starting with 120-grit sandpaper and finishing with 220-grit smoothness. Proper sanding opens the porous grain, which is essential if you plan to apply wood conditioner before staining to prevent blotchy, uneven color absorption.
Preventing Warp and Managing Weight Limits
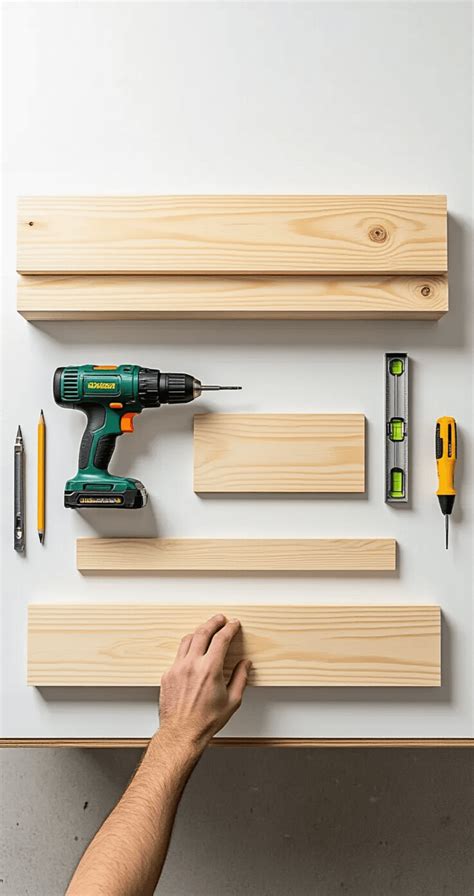
Because pine is a softer softwood, long shelf spans can sag under heavy loads if the board thickness is inadequate. For most decorative or book storage shelves, standard one-inch nominal pine boards (which actually measure three-quarters of an inch thick) work wonderfully if supported every twenty-four to thirty inches. If you are building longer runs, consider upgrading to two-inch dimensional lumber or incorporating under-shelf metal brackets to distribute the weight safely.
Exploring Style Categories: From Modern Minimalist to Industrial Rustic
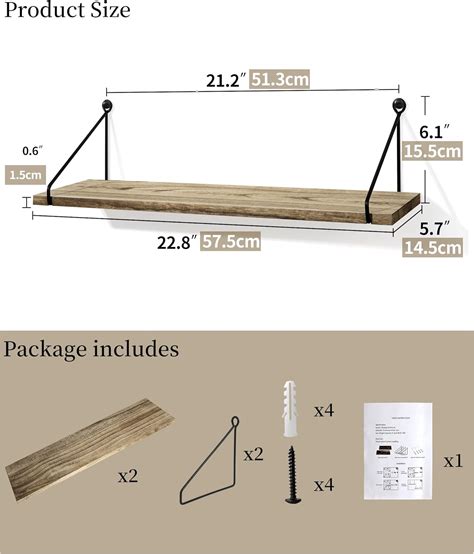
Pine adapts effortlessly to varied interior aesthetics depending on how you cut, join, and finish the wood. Modern minimalist designs often feature thick, squared-off pine blocks mounted on concealed heavy-duty steel rods, creating a clean floating effect that fits seamlessly into contemporary living rooms. To achieve this look, sand the edges crisp and apply a clear matte polyurethane to preserve the natural, light Scandinavian tone of the raw timber without adding artificial yellowing.
For an industrial or urban loft feel, pair rich walnut-stained pine boards with black iron plumbing pipes or heavy steel angle brackets. This rugged combination takes advantage of pine’s natural grain patterns, highlighting growth rings and minor imperfections as design features rather than flaws. Renter-friendly variations of these brackets can be secured using heavy-duty toggle anchors or mounted directly to stud bays with minimal patching required upon moving out.
Creative Corner and Modular Hanging Configurations
When wall space is limited, unconventional layouts like corner floating triangles or modular hanging rope shelves maximize vertical storage without overwhelming a room. Suspending small pine planks with sturdy cotton or leather straps attached to ceiling hooks creates a bohemian display area for trailing houseplants and ceramic decor. These lightweight hanging projects take only a few hours to assemble and require minimal hardware, making them ideal Saturday afternoon projects for beginner DIY enthusiasts.
Finishing Techniques: Staining, Painting, and Sealing Pine
Pine is famous for absorbing wood stain unevenly due to variations in density between its springwood and summerwood rings. Applying a pre-stain wood conditioner before your primary stain coat solves this issue by sealing the softer grain areas and ensuring a rich, professional-grade finish. Alternatively, embrace a whitewash technique using diluted white latex paint to create a breezy coastal cottage vibe that brightens up dark hallways or small bedrooms.
Once your desired color is achieved and fully dried, protecting the wood with multiple thin coats of a clear protective topcoat safeguards against moisture rings, dust, and daily wear. Water-based polyacrylic finishes dry clear and prevent the pine from turning an undesired amber color over time, keeping your custom shelves looking fresh, bright, and professionally crafted for years to come.
Frequently Asked Questions
What makes pine a good wood choice for DIY shelving?
Pine is lightweight, highly affordable, widely available at standard lumber yards, and very easy to cut, sand, and fasten using basic household tools.
How do I prevent pine wood from warping or sagging over time?
Choose straight boards, keep shelf spans under thirty inches for standard three-quarter-inch thickness, and use proper brackets or thicker dimensional lumber for heavy loads.
How can I finish pine so it doesn’t look cheap or yellow?
Use a pre-stain wood conditioner before applying stain to prevent blotchiness, and finish with a water-based clear topcoat to maintain a bright, natural wood tone.
Are these pine shelving projects suitable for renters?
Yes, many lighter designs utilize renter-friendly hanging straps or minimal anchor hardware that can be easily patched with spackle when moving out.


