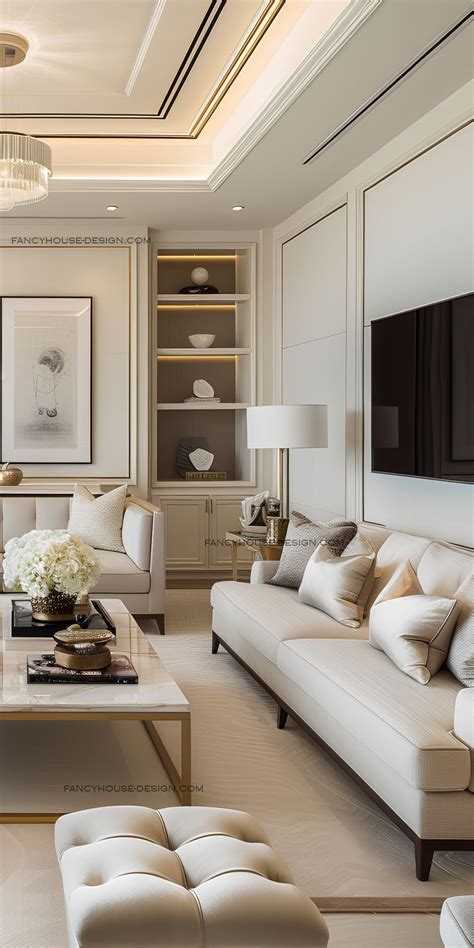
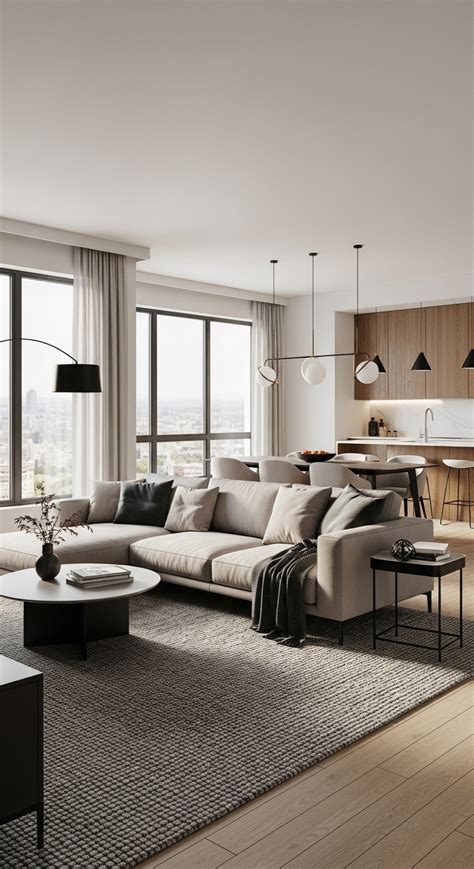
Floating shelves offer a seamless way to maximize wall space while keeping your rooms feeling open and airy. Whether you are looking to display treasured ceramics in the kitchen, organize books in a home office, or add warmth to a blank living room wall, constructing your own shelves allows you to customize dimensions and finishes to match your exact interior style. The challenge often lies in choosing a project that matches your carpentry confidence, understanding structural load limits, and selecting the right mounting hardware to prevent sagging over time.
Successfully installing these minimalist storage solutions requires balancing aesthetic goals with practical safety considerations. Different wall types, from traditional drywall over wood studs to solid masonry, demand specific fasteners and preparation steps. By breaking down 29 distinct concepts into accessible skill tiers, this guide helps you navigate everything from damage-free rental installations to robust woodworking projects, ensuring your finished display is both visually stunning and structurally secure.
Beginner-Friendly Floating Shelf Concepts: Quick Weekend Wins
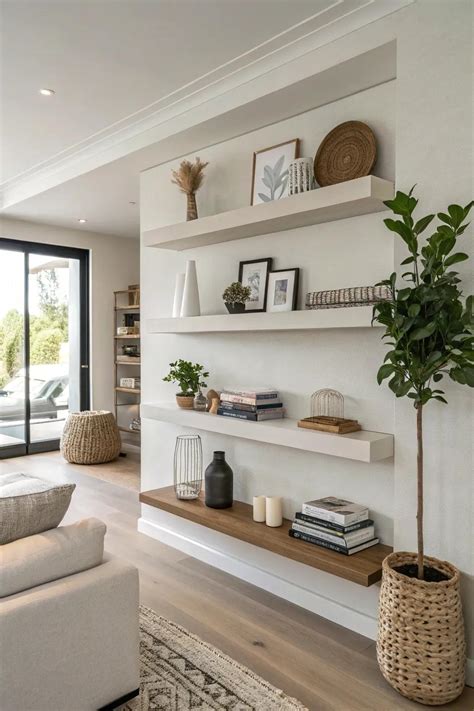
If you are just starting your DIY journey, beginner projects should focus on simplicity, minimal power tool use, and reliable pre-manufactured hardware. The goal at this stage is to master the basics of wall anchoring and leveling without getting bogged down in complex joinery. Pre-cut dimensional lumber, edge-glued pine panels, or even repurposed scaffold boards make exceptional starting materials because they offer clean lines and require very little surface preparation before finishing.
To achieve a true floating look without advanced carpentry, many beginners rely on heavy-duty internal brackets purchased from hardware suppliers. These steel backplates feature protruding rods that slide directly into pre-drilled holes in the back of a thick wooden board. Another fantastic entry-level idea is building a hollow box shelf, which mimics the chunky look of expensive solid timber while remaining lightweight enough to anchor securely into standard drywall anchors if you aren’t storing heavy objects.
5 Simple Beginner Projects to Try This Weekend
- The Pre-Cut Pine Plank: Sand a standard 2×10 pine board, apply a rich dark walnut stain, and mount it using heavy-duty concealed brackets for an instant rustic bookshelf.
- The Scaffold Board Accent: Source a salvaged scaffold plank, clean it thoroughly with a wire brush, and seal it with a matte polyurethane to highlight natural imperfections.
- The Ledge-Style Picture Rail: Construct a shallow narrow shelf with a small lip to safely display rotating art prints without risking slips.
- The Painted MDF Slab: Cut a medium-density fiberboard panel to size, finish the edges with iron-on veneer tape, and paint it a bold accent color to match your room palette.
- The Basket-Supported Hybrid: Pair a simple wooden board with decorative metal brackets if you want the aesthetic of floating shelves with a touch of industrial security.
When tackling these beginner ideas, the most common pitfall is neglecting the spirit level. A shelf that slopes even a fraction of an inch will cause round objects to roll off or make the entire wall arrangement look off-center. Always use a dependable spirit level across the width of the board before marking your final screw locations, and double-check your measurements from the ceiling rather than the floor, as baseboards and ceilings are rarely perfectly level in older residential buildings.
Intermediate Woodworking and Custom Bracket Techniques
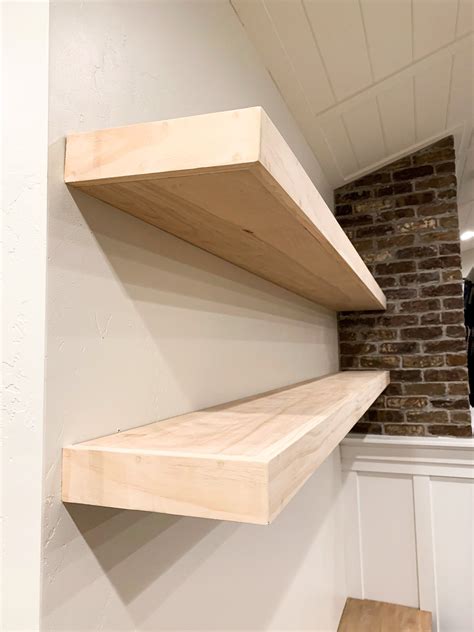
Once you are comfortable operating a circular saw, drill press, and orbital sander, you can step up to intermediate projects that offer cleaner finishes and higher weight capacities. At this level, you begin moving away from basic commercial brackets in favor of integrated french cleats or custom-welded steel supports hidden entirely within the wood structure. These techniques allow you to craft thicker, more substantial shelves that can handle heavy stacks of hardcovers or kitchen pantry essentials.
Building a hollow torsion-box style shelf is a hallmark intermediate project. By constructing an interior ladder-like frame out of scrap plywood and skinning it with thin hardwood plywood, you create a lightweight yet rigid structure that slips snugly over a wall-mounted wooden cleat. This method eliminates the need for expensive specialty hardware and lets you customize the exact thickness and depth of the shelf to suit awkward wall niches or tight architectural corners.
7 Intermediate Projects for Expanding Your Skills
- The French Cleat Hollow Box: Build a custom hollow shelf that locks onto a 45-degree beveled wall cleat for maximum stability and a completely seamless underside.
- The Live-Edge Statement Piece: Source a locally milled hardwood slab, flatten the surfaces, and rout out precise channels in the back to accept heavy metal mounting rods.
- The Corner Wrapping Shelf: Miter two boards at a 45-degree angle to create a continuous floating shelf that wraps cleanly around an interior room corner.
- The Pegboard-Inspired Display: Create a modular wooden wall panel with integrated dowel slots that allow you to reposition your floating shelves without drilling new holes.
- The Integrated Lighting Shelf: Route a shallow channel along the underside of a thick hardwood board to install low-profile LED strip lighting for a dramatic glow.
- The Drawer-Bottom Hidden Compartment: Construct a thicker floating shelf that features a hidden sliding bottom compartment for discreetly storing valuables or small documents.
- The Book-End Notch Shelf: Cut vertical slots directly into the top surface of the wooden shelf to hold books upright without needing separate decorative bookends.
Intermediate projects also introduce the nuance of wood movement. Solid wood expands and contracts with shifts in indoor humidity, particularly in homes with changing seasonal climates. When attaching wooden shelves to rigid metal supports, always drill slightly oversized clearance holes or use slotted brackets to allow the wood to breathe naturally without splitting or warping over time.
Advanced Custom and Heavy-Duty Shelving Solutions
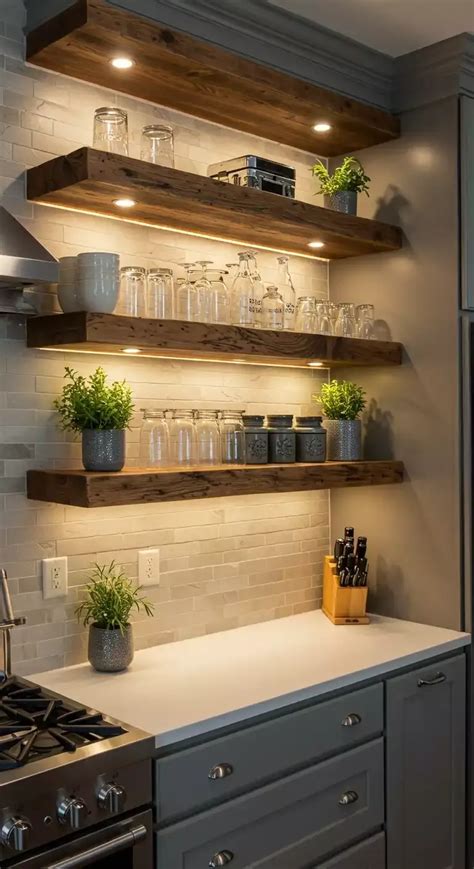
Advanced floating shelf installations are designed for high-impact architectural moments and heavy functional storage. If you need a shelf to support dense collections of stoneware, heavy cooking equipment, or extensive library archives, standard drywall anchors will not suffice. These projects require precise engineering, heavy-duty structural steel fabrication or attachment directly to primary wall framing studs, and meticulous attention to load distribution across multiple anchor points.
One advanced approach involves welding custom steel mounting plates with heavy solid-steel rods that are lag-bolted directly into structural studs before drywall is finished, or retrofitted securely through existing plaster walls. Another sophisticated concept is the cantilevered masonry-look shelf, where a robust internal steel skeleton is concealed inside a lightweight concrete or micro-cement coating, delivering an industrial minimalist aesthetic that defies its apparent weight.
7 Advanced Projects for Maximum Impact
- The Concrete-Wrapped Heavyweight: Fabricate a heavy steel frame, clad it in cement board, and apply a seamless micro-cement finish for a sleek architectural concrete look.
- The Floor-to-Ceiling Floating Tier: Anchor a vertical spine of heavy steel bars to the floor and ceiling, supporting a staggered array of cantilevered walnut planks.
- The Recessed Wall Niche Insert: Open up interior drywall cavities to recess your floating shelves flush into the wall plane for a ultra-streamlined modern gallery effect.
- The Multi-Tiered Bar Display: Construct deep, illuminated floating liquor shelves backed by mirrored glass, anchored securely into double studs to handle heavy glassware and bottles.
- The Oversized Fireplace Mantel: Engineer a massive timber beam to float seamlessly over a brick hearth using concealed threaded rod fasteners embedded deep into the masonry.
- The Angled Display Ledge: Craft custom angled wooden brackets and concealed steel channels to support heavy art display ledges in double-height living room spaces.
- The Structural Oak Bridge: Build a thick, spanning oak shelf that bridges across a wide architectural window opening without blocking natural light.
When executing advanced installations, always verify the weight rating of your mounting hardware and consult a structural professional if you are unsure about load-bearing wall compositions. Never guess when it comes to anchoring heavy loads above seating areas or beds; safety must always take precedence over aesthetic drama.
Rental-Friendly and Damage-Free Mounting Solutions
Renting a home often comes with strict lease restrictions regarding wall damage, making traditional heavy-duty floating shelves seem out of reach. However, renters do not have to abandon vertical storage entirely. By utilizing specialized picture-hanging anchor systems that leave only tiny pinholes, heavy-duty adhesive mounting strips designed for textured surfaces, or tension-fit pole shelving systems, you can achieve a sophisticated display without risking your security deposit upon move-out.
The key to successful temporary shelving lies in managing expectations regarding weight capacity. While adhesive solutions and micro-pin systems are remarkable for lightweight decor, small succulents, and picture frames, they cannot support heavy books or dense ceramics. Choosing lightweight materials like balsa wood, hollow-core laminate boards, or slim acrylic ledges ensures that your temporary mounting hardware remains secure and completely reliable throughout your lease term.
5 Renter-Friendly Concepts for Temporary Spaces
- The Micro-Pin Ledge: Use multi-pin hanging brackets that require only tiny needle-sized holes to support a lightweight display shelf for small frames and trinkets.
- The Command-Strip Acrylic Ledge: Secure clear acrylic picture ledges using heavy-duty stretch-release adhesive strips for a virtually invisible, damage-free wall display.
- The Tension-Pole Shelf System: Install a floor-to-ceiling pressure-fit metal pole system that holds adjustable wooden shelves without requiring a single screw in the wall.
- The Over-the-Door Hanging Shelf: Hang a slim modular shelving unit directly over a standard interior door to instantly add pantry or bathroom storage without wall mounting.
- The Freestanding Leaner Shelf: Build a tall, leaning ladder-style shelf that rests securely against the wall using gravity and rubber footings rather than permanent fasteners.
Before applying any adhesive product to rented walls, test a small hidden area behind a door or near a baseboard to ensure the paint finish will not peel when removed. When it is time to move out, a small dab of lightweight spackle and matching touch-up paint will easily erase any micro-pin holes, leaving the apartment looking pristine.
Styling and Finishing Tips for Floating Shelves
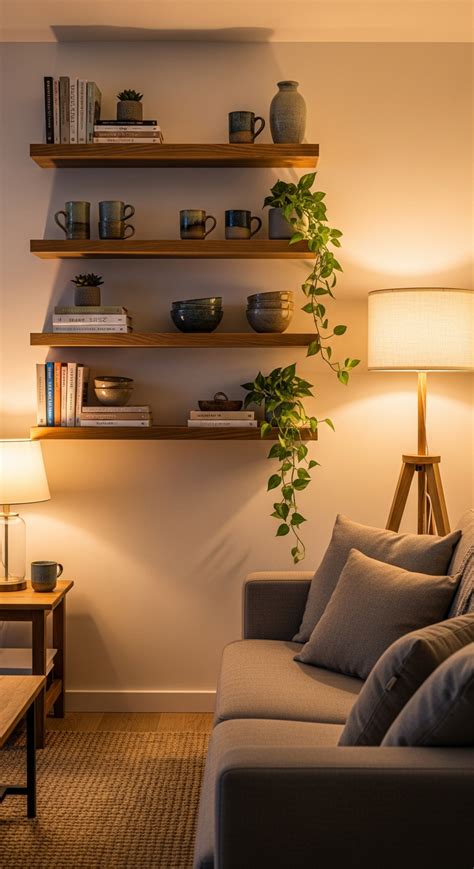
Once your floating shelves are securely mounted, the final step is styling them to create a balanced, cohesive focal point in your room. Avoid the temptation to overcrowd every square inch; negative space is essential for letting individual decorative objects breathe. Start by grouping items in odd numbers, such as clusters of three, and vary the height and texture of your objects by combining tall vertical elements like vases with horizontal stacks of books and organic touches like trailing plants.
Finishing touches also play a critical role in the overall aesthetic. If you used raw or unfinished lumber for your DIY project, take the time to properly sand, condition, and seal the wood. A good quality wood conditioner prevents blotchiness when applying stains, while a satin polyurethane or natural beeswax finish protects against moisture and everyday dust accumulation, ensuring your handmade shelves look professionally crafted for years to come.
5 Essential Styling and Finishing Guidelines
- The Triangle Rule: Arrange items in loose triangular groupings to guide the viewer’s eye naturally across the entire width of the shelf arrangement.
- Varying Textures: Balance smooth glass ceramics with rough woven baskets, metallic accents, and natural wood grains to add visual depth.
- Practical Book Styling: Stack some books horizontally to act as risers for smaller objects while standing others vertically with decorative bookends.
- Trailing Greenery: Incorporate trailing plants like pothos or ivy to soften the hard, geometric lines of the shelves and wooden boards.
- Proper Edge Sealing: Apply multiple thin coats of clear protective finish, sanding lightly between coats with fine-grit paper for a silky, touchable surface.
Frequently Asked Questions
What materials are best for DIY floating shelves?
The best materials depend on your project’s style and weight requirements. Solid hardwoods like oak, walnut, and maple offer incredible durability and a high-end look for advanced projects. Pine and Douglas fir are affordable, easy to cut, and great for rustic or stained finishes. For lightweight or renter-friendly shelves, MDF, plywood, or even clear acrylic provide clean lines without excess weight.
How much weight can floating shelves actually hold?
Weight capacity depends almost entirely on your mounting hardware and how the shelf is anchored into the wall. Shelves anchored directly into wooden wall studs using heavy-duty steel brackets or internal rods can easily support 50 to 100 pounds or more. Conversely, shelves mounted solely into drywall using basic plastic anchors are generally limited to 10 to 15 pounds of lightweight decor.
How do you install floating shelves without visible brackets?
Invisible floating shelves are typically installed using one of two methods: concealed steel bracket rods that slide into pre-drilled holes in the back of a thick wooden board, or a wooden wall-mounted cleat (often cut at a 45-degree angle) that fits snugly inside a hollow box shelf.
What are some renter-friendly ways to hang shelves?
Renters can use micro-pin hanging systems that leave minimal holes, heavy-duty adhesive strips designed for smooth surfaces, tension-pole systems that use floor-to-ceiling pressure, or freestanding leaning shelves that rely on gravity rather than wall fasteners.
How do you style floating shelves once installed?
Create a balanced display by leaving negative space and grouping items in odd numbers. Combine varied heights and textures by mixing vertical objects like vases or framed art with horizontal book stacks and organic elements such as trailing plants.