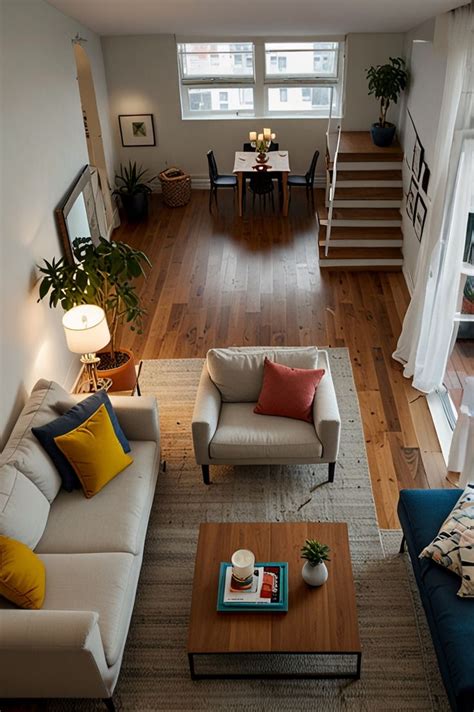
Crafting your own bookshelf is one of the most rewarding home improvement projects you can undertake. Whether you live in a suburban house with sprawling wall space or a compact urban apartment where every square inch matters, building custom storage allows you to maximize your layout while expressing your personal style. Store-bought shelving often misses the mark, either failing to fit awkward alcoves or relying on flimsy particleboard that sags under the weight of a heavy book collection. By taking matters into your own hands, you control the dimensions, the materials, and the final aesthetic.
However, the approach to building and installing a bookshelf changes dramatically depending on your housing situation. Homeowners can anchor units directly into wall studs or build permanent built-ins that become valuable architectural features. Renters, on the other hand, face strict lease restrictions regarding wall damage, making clever modular designs, freestanding units, or heavy-duty adhesive systems essential. This guide breaks down the entire process from concept to styling, ensuring that both homeowners and renters can create a secure, beautiful shelving unit tailored to their unique living spaces.
Planning Your Space and Assessing Weight Needs
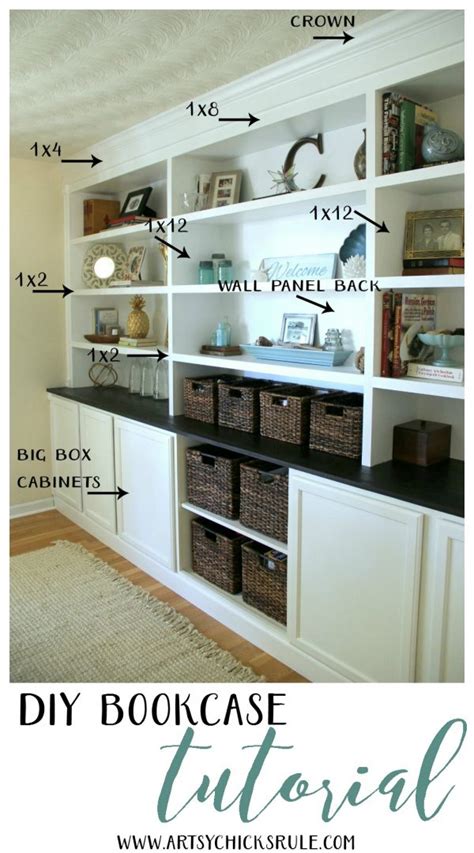
Before purchasing a single board of lumber or opening a toolbox, careful planning prevents costly mistakes. Begin by measuring your available wall space with a tape measure, noting not just the height and width, but also potential obstructions like baseboards, electrical outlets, and heating vents. In many American homes, walls are not perfectly plumb, and floors may slope slightly, meaning exact measurements taken at multiple points along the wall will save you from frustrating installation gaps later.
Next, consider what you actually plan to put on the shelves. Hardcover novels, heavy art books, and ceramic decor require significantly more structural support than paperback novels, picture frames, or lightweight plants. If you are building long spans of shelving—anything over thirty-six inches without a central vertical divider—you must account for wood sag over time. Solid hardwoods like oak, maple, or poplar offer incredible strength for permanent setups, while budget-friendly plywood or dimensional pine works wonderfully for lighter loads if supported correctly.
Essential Tools and Materials for Beginners
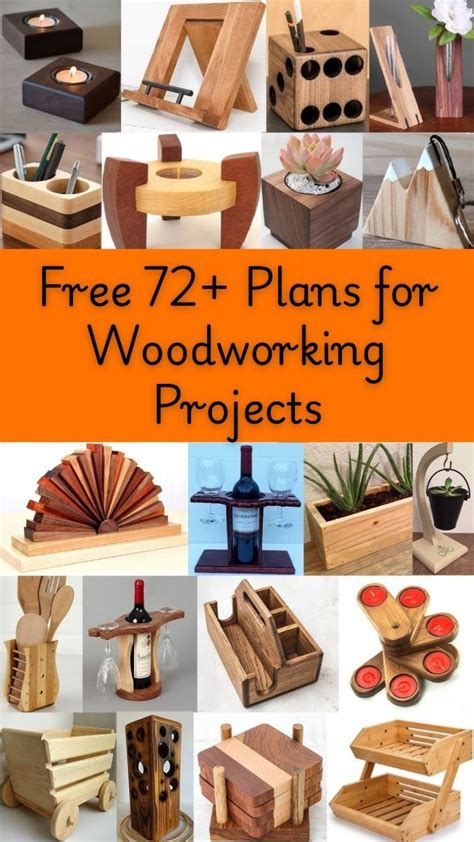
Gathering the right equipment before starting ensures a smooth workflow. For a basic wooden bookshelf, your material list typically includes select pine boards or birch plywood, shelf brackets or vertical standards, wood glue, medium-grit sandpaper, and your choice of wood stain or water-based paint. If you do not own a table saw, most home improvement warehouse stores in the United States will make initial straight cuts for you free of charge or for a nominal fee, which is a massive help for beginners working in small garages or apartments.
Your basic tool kit should feature a reliable tape measure, a pencil, a combination square for checking 90-degree angles, a power drill with drill bits and driving bits, and a spirit level. Safety gear is non-negotiable; always wear safety glasses when cutting or sanding wood, and use a dust mask. While having a miter saw or circular saw expands your creative freedom, starting with pre-cut wood and simple hand tools keeps the learning curve manageable and keeps your workspace clean.
Mounting Options: Tailoring for Renters vs. Homeowners
The method you choose to secure your bookshelf dictates its safety and its legality under your lease agreement. Homeowners have the freedom to drive heavy screws directly into wall studs, utilizing heavy-duty L-brackets or French cleats to support hundreds of pounds of books safely. Anchoring tall units to wall studs is an essential safety practice to prevent tipping hazards, particularly in households with children or pets. Always locate your studs using an electronic stud finder before drilling permanent holes into drywall.
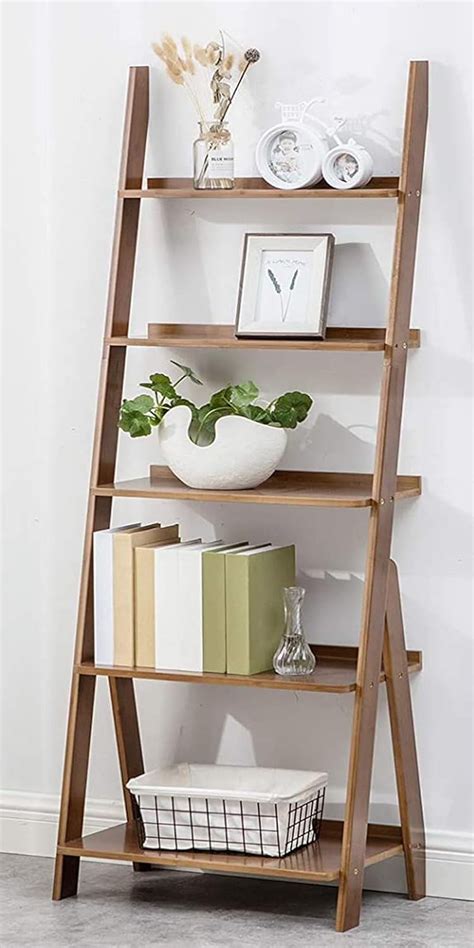
Renters face a different challenge, but modern hardware innovations offer fantastic workarounds. Freestanding bookshelves that utilize tension poles or leaning ladder designs require zero wall attachment while offering impressive stability. If you must mount floating shelves, inquire with your landlord about filling small anchor holes upon move-out, or utilize heavy-duty commercial mounting strips designed for temporary installations. Keep in mind that renter-friendly hanging systems generally have lower weight capacities, so you may need to distribute your book collection across multiple smaller units rather than one massive wall-hanging shelf.
Step-by-Step Assembly and Installation
Once your wood is cut, sanded, and finished, assembly begins. Lay your vertical side panels flat on a protected workbench or floor, and mark your shelf placement lines using a square to ensure they are level. Apply a thin bead of wood glue along the joints where the shelves meet the sides, then secure the pieces using pre-drilled pilot holes and wood screws. Pilot holes are crucial because they prevent the wood from splitting, especially near the ends of boards.
If you are installing a wall-mounted shelving unit, transfer your measurements meticulously to the wall. Hold your mounting brackets or cleats against the wall, check them with your spirit level, and mark the screw locations. For homeowners, drive screws firmly into the wooden studs. For renters using freestanding or modular systems, assemble the base strictly according to the manufacturer instructions, ensuring all leveling feet are adjusted so the unit sits flush against the floor without wobbling.
Styling and Finishing Touches
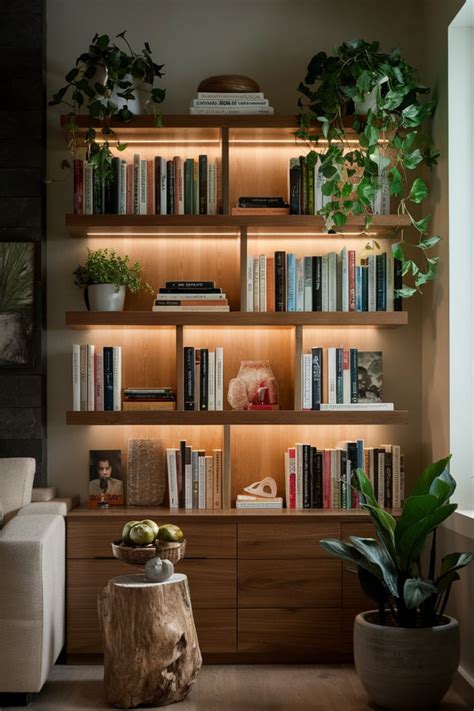
The final phase transforms your raw wooden build into an intentional piece of interior design. Apply two coats of a protective clear polyurethane finish, a rich wood stain, or a durable latex paint depending on your room’s aesthetic. Allow the finish to cure completely in a well-ventilated area before loading your books onto the shelves to prevent pages from sticking to uncured surfaces.
When it comes time to style your new bookshelf, balance is key. Mix vertical stacks of books with horizontal piles to create visual rhythm. Break up solid blocks of text by incorporating decorative objects such as framed photos, small sculptures, trailing plants, or woven storage baskets for loose items. Leave some negative space empty so the shelf feels curated rather than cluttered, allowing the natural grain of your handmade woodwork to truly shine.
Frequently Asked Questions
How can renters build a bookshelf without damaging walls?
Renters can build freestanding bookcases, leaning ladder shelves, or tension-pole shelving units that require no drilling or wall attachment. If wall mounting is necessary, check your lease agreement regarding small hole repairs or consult property management about approved hardware.
What kind of wood is best for a sturdy DIY bookshelf?
Solid hardwoods like oak, maple, and poplar offer exceptional strength and durability. For a more budget-friendly approach, high-grade cabinet plywood or dimensional pine works wonderfully, provided you include intermediate supports for longer shelf spans to prevent sagging.
What tools do beginners need for a basic bookshelf project?
A beginner tool kit should include a tape measure, pencil, spirit level, combination square, power drill with driving bits, safety glasses, and medium-grit sandpaper. Many home improvement stores will make initial lumber cuts for you.
How do you safely anchor a bookshelf to drywall or studs?
Homeowners should always locate wall studs using a stud finder and drive heavy-duty screws through mounting brackets directly into the wood framing. For drywall without stud alignment, use heavy-duty toggle bolts or drywall anchors rated specifically for the expected weight load.
How much does it typically cost to build your own bookshelf?
A basic DIY wooden bookshelf typically costs between $40 and $150 in materials, depending on whether you choose economical pine, MDF, premium hardwood, or specialized hardware brackets.