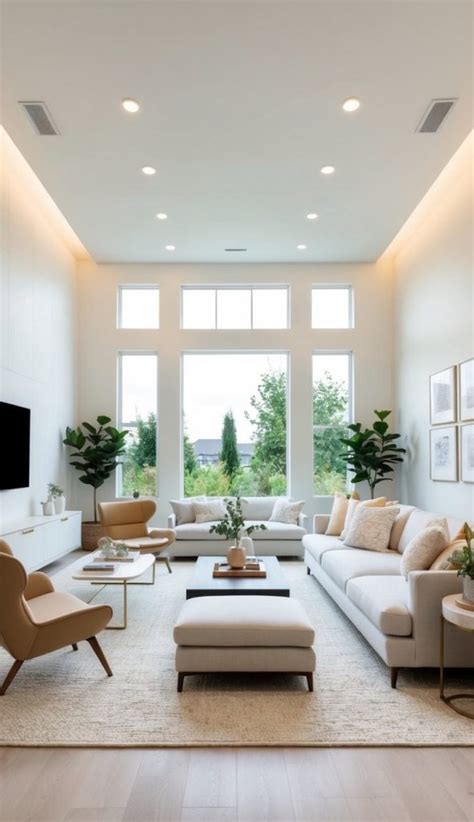
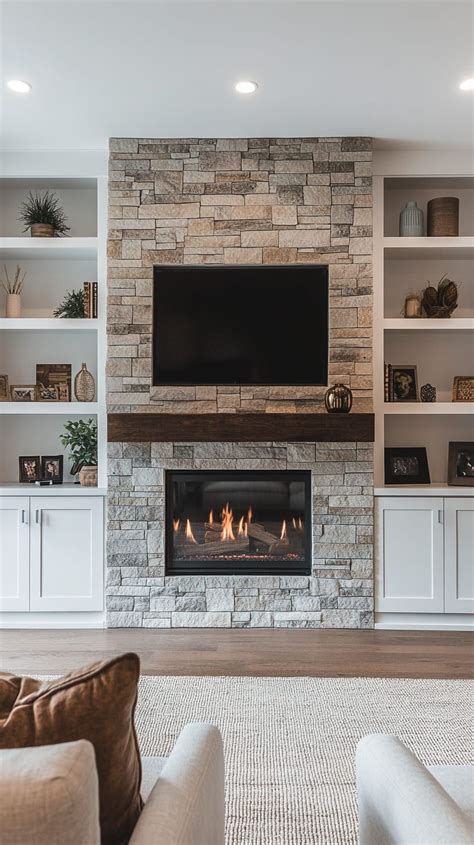
Transforming an empty wall into a custom storage feature is one of the most rewarding home improvement projects you can undertake. Whether you want to showcase a growing collection of family books, organize toys, or create a sophisticated display area in your living room, crafting your own built-in shelving allows you to maximize every square inch. Unlike freestanding furniture, custom built-ins integrate seamlessly with your home’s architecture, creating a high-end, bespoke look without the custom-cabinetry price tag. By sourcing standard dimensional lumber from major American hardware retailers and planning your cuts carefully, you can achieve professional-grade results over a standard weekend.
However, undertaking a custom shelving project requires thoughtful preparation, especially when working within the structural parameters of typical U.S. residential construction. American homes often feature standard drywall over wood or metal framing spaced on 16-inch centers, which dictates how you anchor your framework safely. This guide walks you through every phase of the process, from initial design and material selection to sturdy frame construction and flawless paint finishes, ensuring a stable and beautiful addition to your living space.
Assessing Your Space and Designing the Layout
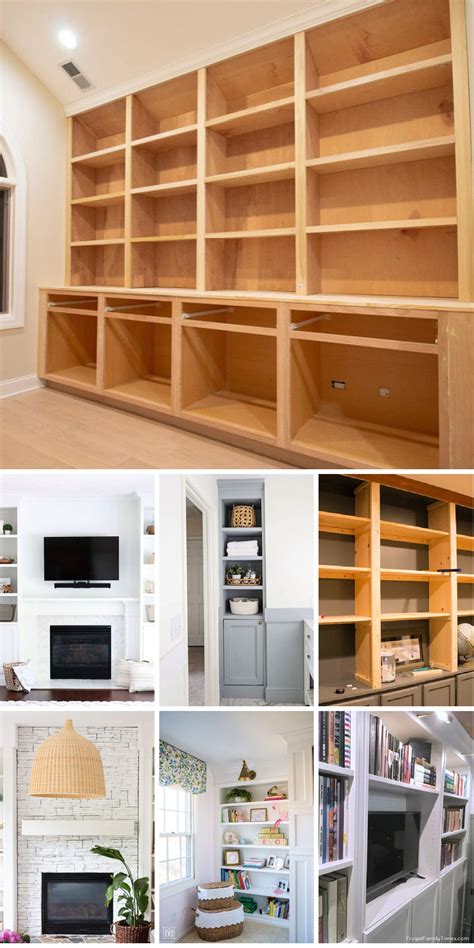
Before purchasing a single board or picking up a saw, evaluating your target wall requires careful attention to detail. Measure the height, width, and depth of the space multiple times, keeping in mind that older homes in the United States often have walls that are not entirely plumb or floors that are slightly level. Note the locations of baseboards, crown molding, and electrical outlets so you can plan your cuts around them rather than discovering clearance issues midway through assembly.
Sketching your design on graph paper or using digital modeling tools helps visualize proportions and shelf spacing. Standard bookshelf depths usually range between 10 to 12 inches for novels and decorative objects, while lower cabinets or media consoles might extend up to 16 or 18 inches deep. Consider your family’s daily needs when determining shelf heights; spacing lower shelves wider accommodates heavy storage bins or large art books, while upper tiers can remain narrower for lighter decor and picture frames.
Sourcing Materials and Selecting the Right Lumber
Choosing the correct lumber is critical for achieving a clean, professional finish, particularly if you plan to paint your built-ins. For painted projects, cabinet-grade plywood (such as ¾-inch Birch or MDF) offers excellent stability and minimizes warping compared to standard construction pine. Plywood provides wide, smooth surfaces for side panels and upright dividers, while solid pine or poplar boards work exceptionally well for the actual face-framing and horizontal shelf lips.
When visiting your local U.S. home improvement center like The Home Depot or Lowe’s, inspect boards individually for straightness and knot content. Avoid warped or bowed pieces, as trying to force crooked lumber into a built-in frame creates gaps and uneven joints that are extremely difficult to conceal later. Make a comprehensive cut list before heading to the store, and take advantage of panel-cutting saws if available to break down large plywood sheets into manageable transport sizes.
Preparing Walls and Locating Studs Safely
Safety is paramount when building any large wall unit, particularly in households with children or pets. Built-ins must be anchored securely to structural wall studs to prevent tipping hazards under heavy loads. Use a reliable electronic stud finder to locate and mark the center of every stud along your installation wall, transferring these marks to painter’s tape placed at the height levels where your framing cleats will sit.
Once studs are marked, inspect the wall surface for any irregularities or bumps in the drywall. If you are running your built-ins from floor to ceiling, you may need to remove baseboard sections so that the vertical side panels sit flush against the drywall. Preparing a clean, flat surface ensures that your foundational frame remains square and true, preventing compounding alignment errors as you build upward.
Building the Framework and Securing Supports

The structural integrity of your built-in unit relies entirely on a solid foundational base and secure ledger boards. Begin by constructing a low toe-kick platform or base frame out of 2x4s if your design includes lower cabinets or raises the shelving off the floor. Level this base carefully using wood shims underneath, driving structural screws directly through the back frame members and into the previously marked wall studs.
Next, install the vertical upright dividers and horizontal ledger supports that will carry the weight of your shelves. Pre-drill screw holes to prevent the plywood or solid wood from splitting, and use a carpenter’s square frequently to verify that all uprights remain at a perfect 90-degree angle to the wall. Solidly attaching these supports ensures that your finished unit distributes weight evenly across the structural framing of the house rather than relying on drywall alone.
Finishing, Caulking, and Painting
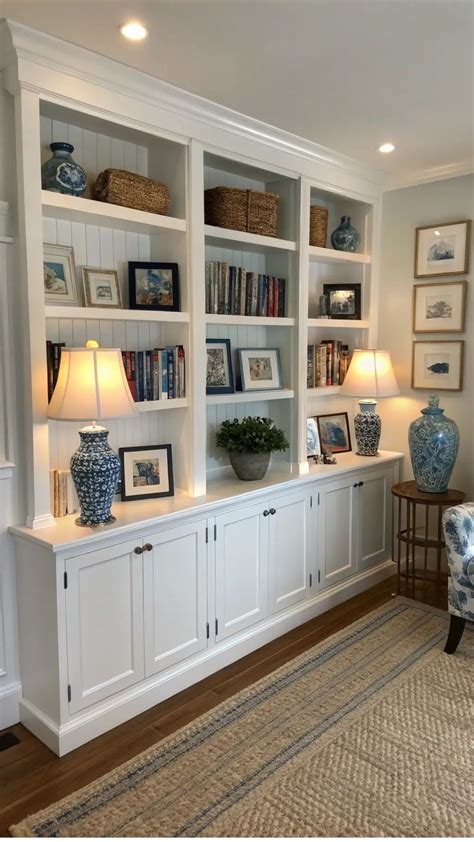
Once the physical assembly is complete, the transformation truly begins during the finishing stage. Fill all nail holes, gaps, and screw depressions with high-quality wood filler, allowing it to dry thoroughly before sanding the entire unit smooth with fine-grit sandpaper. Apply a flexible acrylic latex caulk along all seams where wood meets the wall or adjacent trim; this simple step bridges minor gaps and gives the illusion that the shelves were built directly into the house.
Prime the raw wood and MDF surfaces using a bonding primer designed to seal porous wood fibers and provide a uniform base for your topcoat. After the primer cures, apply two coats of a durable semi-gloss or satin enamel paint using a fine-nap foam roller and a high-grade synthetic brush. Enamel paints provide a hard, scrubbable finish that resists scuffs from books and decorative items, ensuring your handmade built-ins maintain their pristine look for years to come.
Frequently Asked Questions
How much does it cost to build DIY built-in shelves?
The cost typically ranges from $150 to $500 depending on the size of the wall, the choice of lumber (plywood vs. solid hardwood), and whether you need to purchase specialized tools. Standard cabinet-grade plywood and trim boards from major U.S. home centers keep material expenses relatively low compared to hiring a professional carpenter.
What tools do I need for a built-in bookshelf project?
Essential tools include a circular saw or table saw, a power drill and driver set, a stud finder, a level, a caulk gun, clamps, a sander, and safety gear. Having a miter saw also helps immensely for cutting trim and face-frame pieces accurately.
How do I anchor heavy shelves safely to U.S. wall studs?
Always locate wall framing members using an electronic stud finder and drive structural screws through your support cleats directly into the center of the studs. For freestanding vertical units, use anti-tip brackets anchored securely to the wall studs at the top of the unit.
Can renters install built-in looking shelves without damaging walls permanently?
Renters can achieve a similar aesthetic by building modular, heavy-duty shelving units that secure to the wall minimally with standard anchors, or by constructing pressure-fit bookcase towers that wedge securely between the floor and ceiling without permanent structural alterations.
What type of wood is best for painted built-ins?
Cabinet-grade birch or maple plywood is ideal for large vertical panels and shelf boards because it resists warping. Poplar boards are widely recommended for face frames and trim because they have a smooth grain pattern that takes paint exceptionally well without bleeding sap.