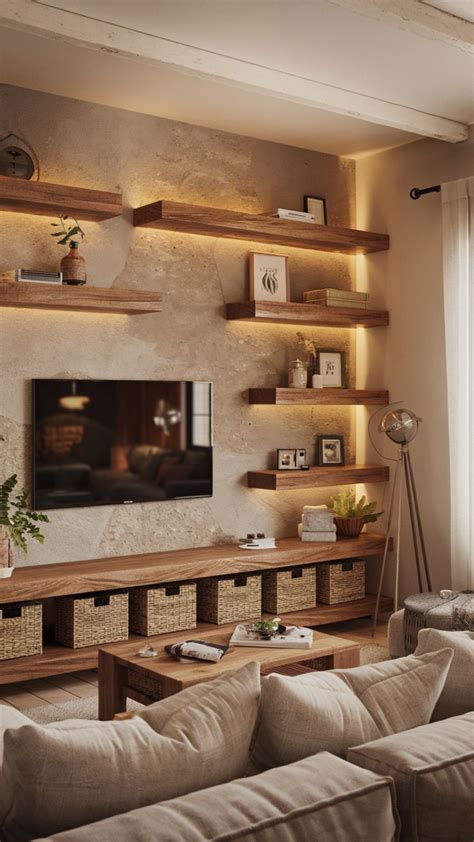
Updating your living room walls does not require investing in expensive retail furniture or hiring professional carpenters. Crafting your own floating shelves offers a deeply satisfying way to inject personality into your living space while keeping your wallet remarkably intact. Whether you live in a sprawling suburban home or a compact urban apartment, clever vertical storage changes the entire dynamic of a room by drawing the eye upward and freeing up valuable floor space for seating and textiles.
Achieving a high-end look on a modest budget comes down to smart material choices, careful preparation, and thoughtful arrangement. From rustic reclaimed timber to sleek modern designs, everyday hardware store supplies can easily be transformed into stunning architectural features. Reviewing these sixteen budget-friendly ideas will help you find a shelving project that perfectly matches your skill level, aesthetic preferences, and practical household needs.
Category One: Upcycled and Repurposed Wood Ideas
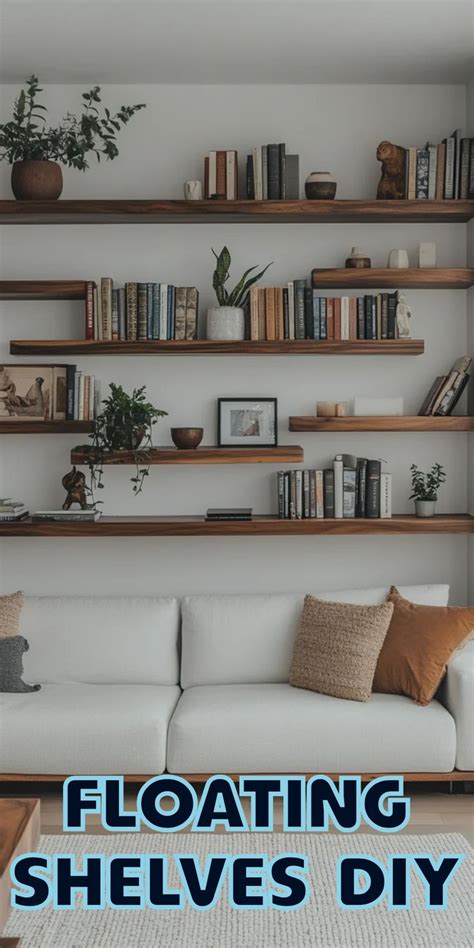
Giving discarded materials a second life is one of the most cost-effective ways to craft unique living room shelving. Instead of buying pristine, expensive hardwoods from a specialty lumberyard, look for character-rich alternatives that cost very little or nothing at all. Upcycling reduces environmental waste while adding instant historical depth and narrative to a contemporary living room design scheme.
Working with salvaged elements requires patience during the preparation phase, but the finished results far outweigh standard commercial options. Here are the first four budget-friendly ideas utilizing repurposed wood:
- Scrap Construction Lumber: Leftover pine or fir boards from home renovation projects make a fantastic starting point for rustic floating shelves. A simple pass with an orbital sander removes splinters, while a coat of dark walnut stain elevates humble timber into a rich focal point.
- Reclaimed Barn Wood: Authentic weathered planks featuring natural knots and old nail holes add immediate historical charm to modern or transitional living rooms without requiring artificial distressing techniques.
- Upcycled Cabinet Doors: Old solid-wood cabinet doors cut down to precise dimensions can function as shallow display ledges for framed family photographs and lightweight art pieces.
- Architectural Salvage Window Sills: Architectural salvage yards frequently sell old wooden stair treads or chunky window sills for a fraction of retail prices, providing deep, sturdy surfaces with unique vintage profiles.
Category Two: Minimalist Budget Lumber Solutions
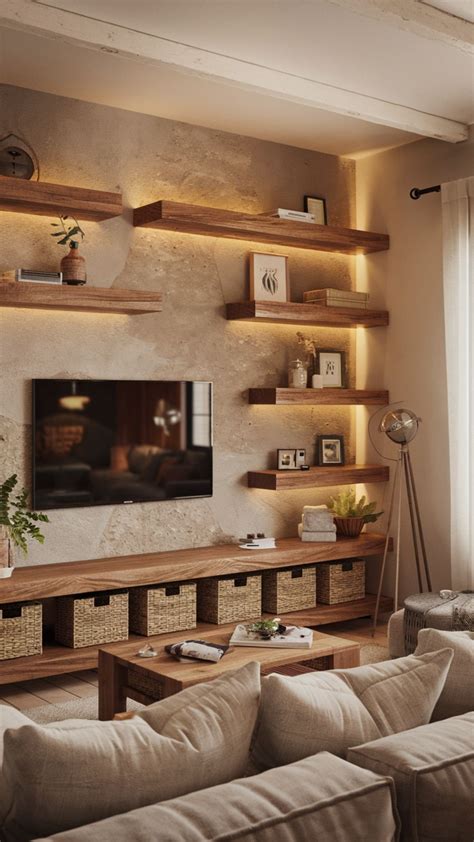
For a clean, contemporary aesthetic, standard dimensional lumber purchased from local home improvement centers provides an affordable canvas. The secret to achieving a high-end floating look with inexpensive wood is choosing the right board thickness and cleanly concealing the mounting hardware underneath or inside the structure.
Standard wood choices allow you to customize finishes completely through paint matching or clear protective sealants. Consider these four approachable lumber solutions for your walls:
- Deep 2×10 Pine Boards: Common construction-grade pine boards offer deep shelf surfaces ideal for stacking heavy coffee table books, potted plants, and substantial decorative items.
- Hollow Box Cleat Shelves: Constructing a hollow box shelf around a sturdy interior wooden cleat anchored directly to wall studs creates the illusion of a solid, heavy timber shelf without the crushing weight or high cost.
- Edge-Banded Plywood Strips: Ripping sheets of hardwood-veneered plywood into strips and gluing them into a sturdy box formation achieves a sleek, mid-century modern profile that resists warping.
- MDF Floating Ledges: Medium-density fiberboard offers an ultra-smooth, flawless surface that takes matte paint exceptionally well, making it ideal for sleek, monochrome living rooms.
Category Three: Renter-Friendly and Low-Impact Options
Renters often struggle to find shelving solutions that do not violate lease agreements or leave unsightly craters in drywall. Fortunately, clever engineering and alternative mounting strategies make it entirely possible to enjoy floating shelves without heavy drilling or permanent structural modifications.
Low-impact alternatives prioritize lightweight display capabilities over heavy book storage, ensuring your security deposit remains secure. Explore these four renter-friendly shelving approaches:
- Adhesive-Mounted Ledges: Heavy-duty adhesive mounting strips combined with lightweight balsa wood boards work wonderfully for displaying small succulents and paperbacks above a sofa.
- Tension-Rod Shelving Systems: Wedging a sturdy vertical support pole between the floor and ceiling behind your furniture layout allows you to attach floating brackets at any height without anchoring into drywall.
- Command-Hook Hanging Shelves: Small wooden display trays suspended from heavy-duty damage-free wall hooks offer temporary charm and easy reconfiguration when redecorating.
- Freestanding Leaner Shelves: While technically not wall-mounted, leaning narrow ladder shelves against the drywall mimics the clean lines of floating units with zero wall penetration.
Category Four: Creative and Unconventional Materials
When traditional lumber does not align with your design vision, stepping outside the box opens up fascinating textural possibilities. Using unexpected materials as shelf supports or surfaces infuses an eclectic, curated feel into your living room.
Unconventional shelving projects often spark wonderful conversation starters while remaining surprisingly gentle on household budgets. Finish your exploration with these final four creative ideas:
- Leather Strap Shelving: Suspending a simple wooden board from heavy-duty leather straps attached securely to wall studs creates an effortless bohemian aesthetic.
- Industrial Pipe Brackets: Pairing inexpensive stained boards with galvanized plumbing pipes creates robust industrial shelving capable of supporting heavy loads.
- Crate-Wall Floating Modules: Mounting wooden wine or apple crates directly to the wall on their sides provides both top display space and interior cubbies for storage.
- Ceramic Tile Surfaces: Tiling the top of a basic wooden bracket shelf with leftover decorative tiles introduces a vibrant pop of color, pattern, and easy-to-clean durability.
Mastering the Installation and Safety Basics
No matter how clever your shelf design looks, structural safety remains paramount in any living room environment. Neglecting weight limits or failing to locate wall studs properly can result in disastrous accidents, damaged drywall, and ruined decorative objects. Taking time during the preliminary installation phase guarantees long-term stability and peace of mind for your household.
Always invest in a reliable electronic stud finder to locate the wooden framing behind your drywall before driving any fasteners. Whenever possible, drive your mounting screws directly into the center of these structural studs rather than relying solely on plastic drywall anchors. If a stud does not align with your preferred placement, use heavy-duty toggle bolts rated for the specific weight load you intend to display on the shelf.
Leveling is another critical step that separates amateur results from professional finishes. Always place a spirit level on top of your mounting bracket or board before driving final fasteners, as even a millimeter of tilt becomes glaringly obvious once books and decor objects are added. Taking these structural precautions ensures your budget-friendly shelving remains secure and functional for years to come.
Styling Your Budget Shelves Like a Pro
Once your shelves are securely mounted to the wall, the styling phase brings your entire living room design together harmoniously. Avoid the temptation to overcrowd every square inch of available surface area; negative space is essential for letting individual decorative pieces truly shine and command attention.
Create visual triangles by grouping objects of varying heights, textures, and finishes across different shelves. Pair vertical items, such as tall taper candles or framed prints, with horizontal elements like stacked vintage books and ceramic bowls. Incorporating living greenery, such as a trailing pothos plant or a small potted fern, softens the hard lines of the wood and brings vibrant natural energy into the room.
Stick to a cohesive color palette that complements your existing living room textiles, area rugs, and throw pillows. Repeating accent colors across different shelves creates a harmonious visual rhythm that makes inexpensive DIY shelving look curated, intentional, and expensive.
Frequently Asked Questions
How do I build floating shelves on a budget?
Building cheap floating shelves involves using affordable dimensional lumber like pine or repurposed wood, combined with a simple hidden interior cleat system. Sanding the wood and applying a quality stain or paint delivers an expensive look for very little money.
What materials are cheapest for DIY floating shelves?
Standard 2×8 or 2×10 construction grade pine boards, MDF, and hardwood plywood sheets are among the most budget-friendly materials available at local home improvement stores.
How can renters install floating shelves without damaging walls?
Renters can use heavy-duty command strips for very lightweight display ledges or utilize tension-rod systems that hold shelves securely between the floor and ceiling without drilling holes.
How do I style floating shelves to look expensive?
To achieve a high-end look, balance vertical and horizontal items, use a cohesive color palette that matches your room decor, incorporate plants for texture, and leave plenty of negative space.
What weight can DIY floating shelves hold?
The weight capacity depends entirely on how securely they are anchored. Shelves screwed directly into wall studs using heavy-duty steel brackets or sturdy internal wooden cleats can easily support twenty to forty pounds or more.