When organizing a garage, basement, or deep pantry in an American home, commercial wire shelving units often buckle under heavy rubber storage bins and bulk pantry items. Constructing your own heavy-duty wooden shelving provides a custom fit and superior load-bearing capacity. However, unlike built-ins anchored directly to wall studs, free-standing units lack automatic structural stabilization. Without proper mechanical design, independent frames are susceptible to lateral sway and structural racking under uneven loads.
Creating a truly rigid independent shelving system requires treating the project like light framing rather than simple furniture assembly. By utilizing standard dimensional lumber, strategic corner bracing, and smart load distribution, you can build a sturdy storage station capable of handling hundreds of pounds per tier. This guide breaks down the structural mechanics, material selection, and fabrication steps needed to build safe, rock-solid free-standing shelves tailored to standard U.S. residential spaces.
Understanding Weight Capacity and Load Requirements
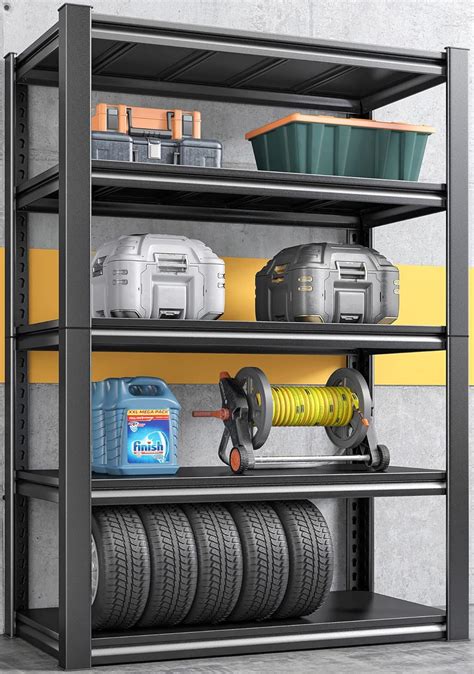
Before purchasing lumber or planning shelf dimensions, you must calculate your actual storage needs. In typical U.S. households, heavy storage involves large plastic bins filled with seasonal decor, cast-iron cookware collections, or bulk cases of canned goods. A standard span of plywood or dimensional lumber will sag over time if it is not properly supported relative to the weight it holds. Designing for real-world loads means balancing shelf span against thickness to eliminate deflection.
For heavy-duty applications, aim for a maximum shelf span of 36 to 48 inches when using nominal 3/4-inch plywood or solid boards. If you stretch spans beyond 48 inches without a center support runner, even thick wood will eventually bow under persistent weight. Furthermore, distribute your heaviest items on the lower and middle shelves to naturally lower the center of gravity. Keeping the heaviest storage near the floor significantly enhances the overall physical stability of any independent furniture piece.
Selecting the Right U.S. Dimensional Lumber and Hardware

Choosing the correct timber is the foundation of structural integrity. Standard U.S. framing lumber, such as Douglas fir or Southern yellow pine available at local home centers, offers incredible compressive strength at a reasonable cost. For the vertical corner posts, nominal 2×4 boards provide a massive safety margin compared to thin 1×1 or 1×2 hobby strips. For shelf framing and support ledgers, 2×4 or 2×3 stock creates robust internal frames that easily accept heavy screw fasteners without splitting.
Hardware selection is equally critical for long-term durability. Avoid standard drywall screws for structural connections, as their hardened steel is brittle and prone to snapping under shear stress. Instead, opt for engineered structural wood screws featuring corrosion-resistant coatings and certified shear ratings. Pair these with high-quality wood glue at every joint to distribute load forces across the entire contact surface rather than relying solely on the fasteners.
Engineering Stability Against Tacking and Sway
The single greatest challenge with free-standing shelving units is lateral sway, often referred to as racking. Because the unit is not tied into wall studs, side-to-side forces can cause rectangular frames to distort into parallelograms, eventually leading to structural collapse. To counteract this, you must introduce diagonal bracing or rigid back panels. Simply nailing thin hardboard to the back of the frame transforms a wobbly skeleton into a rigid box girder capable of resisting incredible lateral forces.
If you prefer an open shelving look where a solid back panel is not ideal, you can install diagonal wooden braces or steel tension cables across the rear frame. Creating an ‘X’ pattern using 1×3 boards screwed into the back posts arrests lateral movement completely. Additionally, ensure the base of your upright posts are perfectly square and level. Even a slight wobble at the floor level becomes dangerously amplified at the top shelf of a six-foot-tall storage tower.
Step-by-Step Assembly and Joinery Techniques
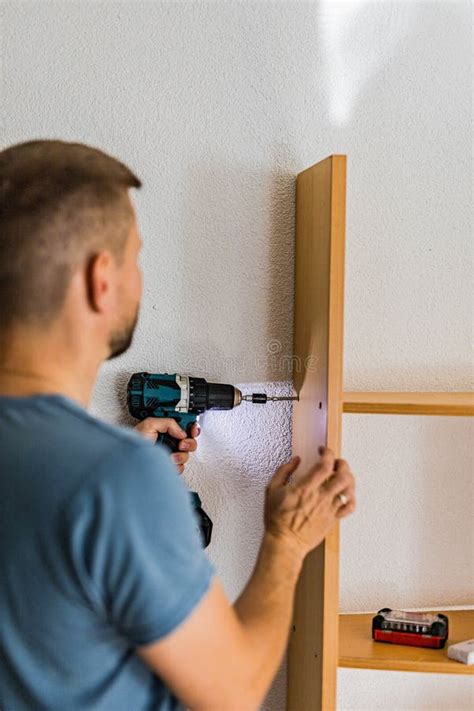
Begin your build by cutting all vertical corner posts and horizontal shelf supports to exact dimensions using a miter saw or circular saw with a straight-edge guide. Assemble the front and back ladder frames flat on your garage floor, pre-drilling screw holes to prevent the lumber from splitting. Check for squareness by measuring diagonally from corner to corner in both directions; your frame is truly square when opposing diagonal measurements match down to the sixteenth of an inch.
Once your individual ladder frames are complete, connect them using side stretcher rails at your predetermined shelf heights. Secure each shelf ledger with at least two structural screws per post, complemented by generous amounts of exterior-grade wood glue. If your design utilizes inset plywood shelves rather than surface-mounted slats, cut rabbets or add interior cleats to support the shelf panels flush with the surrounding frame, creating a clean, professional finish.
Finishing, Leveling, and Safe Placement
Before loading your new shelves with heavy gear, address the realities of uneven residential flooring. Garages and basements frequently feature sloped concrete slabs designed for drainage, which will cause any rigid free-standing frame to rock. Install adjustable leveling feet or wedge shims beneath the upright posts until a bubble level reads true across both the horizontal and vertical planes. A level shelf distributes weight evenly across all four vertical legs.
Finally, consider home safety and tip-over prevention. Even a well-engineered free-standing shelf can become hazardous if a small child attempts to climb it or if heavy upper items are pulled forward improperly. In earthquake-prone regions or homes with active children and pets, always secure the top frame to a wall stud using a discreet anti-tip strap or heavy-duty metal bracket. This simple safety measure preserves the free-standing nature of the build while providing ultimate peace of mind.
Frequently Asked Questions
How do I keep a free-standing shelf from wobbling?
To eliminate wobble, you must prevent lateral racking by installing a rigid back panel, diagonal wooden braces, or an ‘X’ cable system across the rear of the unit. Additionally, ensure the frame is built perfectly square and use adjustable shims beneath the feet to compensate for uneven floors.
What size lumber should I use for heavy-duty shelves?
For heavy-duty storage in garages and basements, use nominal 2×4 boards for all vertical corner posts and major frame supports. For shelf decks, 3/4-inch CDX plywood or solid dimensional boards provide maximum sag resistance when spans are kept under 48 inches.
Do I need to anchor a free-standing shelf to the wall in the U.S.?
While free-standing shelves are designed to stand independently, anchoring them to a wall stud with an anti-tip strap is strongly recommended for safety, especially in households with children, pets, or in active earthquake zones across the United States.