Building custom wall shelves is one of the most rewarding home improvement projects you can tackle. Whether you live in a modern suburban house with standard drywall or an older urban apartment with plaster walls, adding handmade wooden shelving introduces warmth, personality, and much-needed storage to any room. Unlike mass-produced flat-pack furniture, creating custom shelves allows you to match your exact room dimensions and aesthetic preferences.
To achieve a professional result, careful planning matters just as much as quality woodwork. Many beginner projects run into trouble not from poor cutting, but from mismatched hardware, unlevel brackets, or failing to anchor into structural framing. This comprehensive guide walks you through the entire process, from choosing the right lumber at your local U.S. hardware store to securing your finished boards safely onto the wall.
Gathering Tools and Standard U.S. Materials
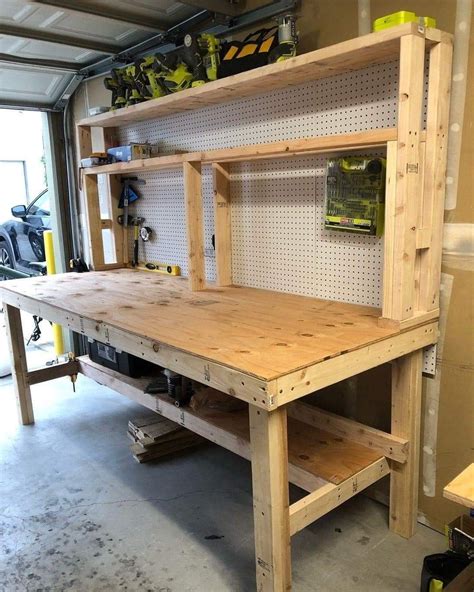
Successful woodworking projects begin with the correct supplies. When visiting a typical American home improvement center, you will find dimensional lumber sold in standard nominal sizes. For most decorative wall shelving, a nominal 1×8 or 1×10 board provides an ideal depth while maintaining a sleek profile. Pine, oak, and poplar are widely available choices, with pine offering an affordable, easy-to-sand option for beginners.
Alongside your wood selection, assembling a reliable toolkit ensures your workflow remains smooth and accurate. You will need a cordless drill, a stud finder, a spirit level, a miter saw or circular saw for cutting boards, sandpaper in various grits, and your preferred wood finish. Investing in heavy-duty metal brackets or sturdy internal floating shelf hardware guarantees that your finished shelves safely support books, plants, and decorative ceramics without sagging over time.
Assessing Your Wall Type and Locating Studs
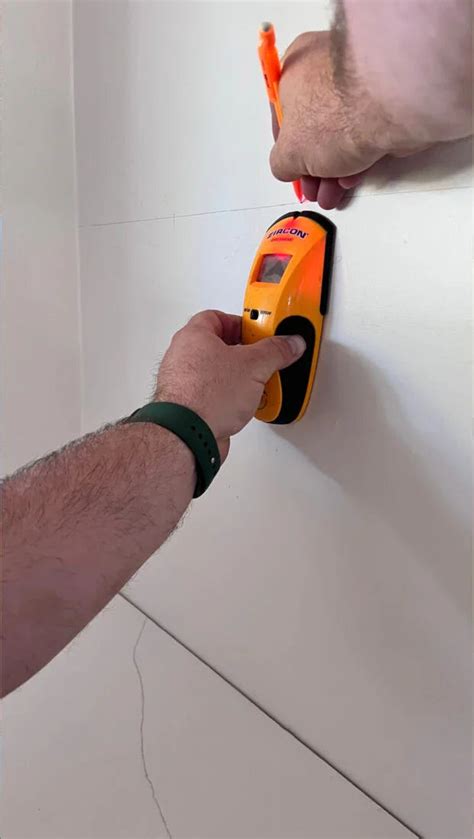
Before driving a single screw into your wall, understanding your home’s interior construction is critical for safety. The vast majority of modern American residential walls feature wood or metal studs spaced either 16 inches or 24 inches apart behind a layer of drywall. Older homes may feature plaster over wood lath, which requires different handling to prevent crumbling during the installation phase.
Using an electronic stud finder is the most reliable way to locate structural framing behind drywall. Mark the center of each stud lightly with a pencil, and double-check your readings by looking for baseboard nail heads or using a fine finish nail to test if needed. Whenever possible, drive your shelf brackets directly into these structural wood studs rather than relying solely on drywall anchors, as stud mounting provides the highest possible weight capacity for your custom build.
Measuring, Planning, and Cutting the Wood
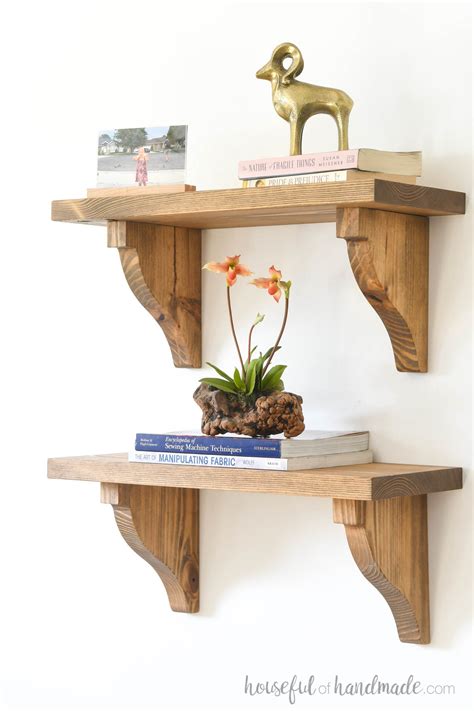
Accurate measuring separates amateur-looking shelves from custom architectural features. Decide on the height and span of your shelving layout using painter’s tape to outline the shelf dimensions directly on the wall. Standard desk-height shelves are usually placed around 28 to 30 inches off the floor, while display or accent shelves above furniture often look best mounted with 18 to 24 inches of vertical clearance between tiers.
Once you confirm your measurements, transfer those dimensions to your lumber and make your cuts. If you do not own a saw, many local lumber yards and home improvement stores will make a few initial crosscuts for you. Take time to inspect the grain and choose the most visually appealing side of the board to face outward into the room once installed.
Sanding, Staining, and Finishing the Boards
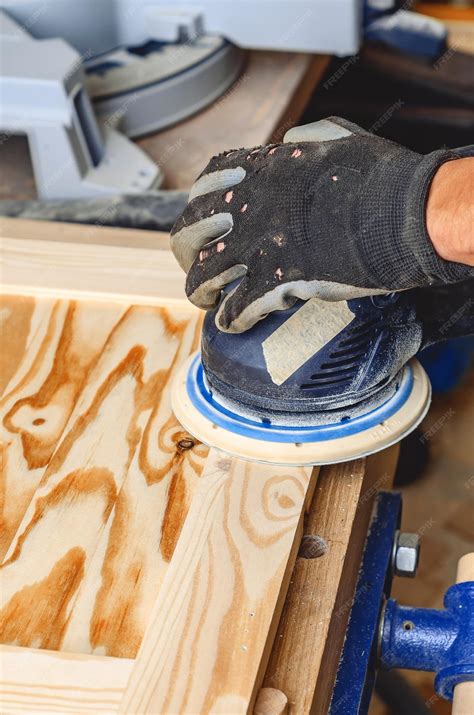
Raw lumber straight from the rack often bears minor surface scratches, stamp marks, or rough edges that demand attention. Begin your finishing process by sanding the boards with medium-grit sandpaper (around 120-grit) to smooth out imperfections, followed by a finer grit (220-grit) for a silky, touchable surface. Wipe away all sawdust completely with a tack cloth before applying any liquid finish.
Your choice of finish depends entirely on your interior style. A clear polyurethane or wood oil highlights the natural grain of oak or maple, while water-based stains let you customize pine to mimic richer hardwoods like walnut or espresso. Apply thin, even coats using a clean brush or lint-free cloth, allowing adequate drying time between coats according to the manufacturer’s instructions for a durable, professional-grade luster.
Mounting Brackets and Securing Shelves Safely
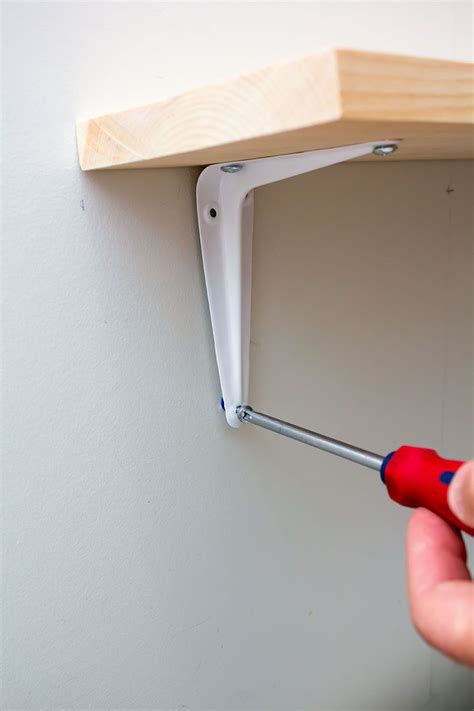
The final step brings all your preparation together. Hold your first bracket against the wall at your predetermined pencil mark, aligning one screw hole over a verified stud location. Use your spirit level across the top edge of the bracket to verify it is completely level before driving the first screw partially in. Check the alignment of the second bracket to ensure both mounting points sit on the exact same horizontal plane.
Secure all screws tightly, then place your finished wooden board across the brackets. Depending on your design, you can secure the wood to the underside of the brackets using short wood screws that do not pierce through the top surface. Double-check the weight distribution and stability of each shelf before styling them with your favorite books, framed art, and trailing houseplants.
Frequently Asked Questions
What tools do I need to build custom shelves?
At a minimum, you will need a cordless drill, a stud finder, a spirit level, sandpaper, wood finish, brackets, mounting screws, and a saw to cut the lumber to your desired length.
How do I find wall studs in a U.S. home?
Use an electronic stud finder to locate the vertical framing members hidden behind your drywall. In standard U.S. construction, studs are typically spaced 16 or 24 inches apart center-to-center.
What is the standard height and depth for wall shelves?
Shelf depth typically ranges from 8 to 10 inches for books and decor. Mounting heights vary by room function, but accent shelves are often placed at eye level or with 18 to 24 inches of vertical spacing between tiers.
How much weight can custom shelves hold?
Weight capacity depends heavily on whether your brackets are anchored directly into wooden wall studs and the structural rating of the brackets themselves. Stud-mounted brackets easily hold heavy loads like books and ceramics.
How do I finish the wood for a professional look?
Sand the wood thoroughly using progressive grit sandpaper, remove all dust, and apply a quality wood stain or clear protective sealer using thin, even coats for a smooth, durable finish.