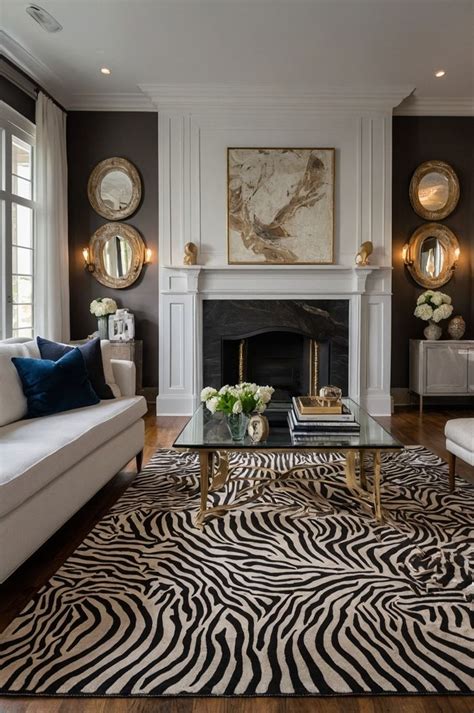
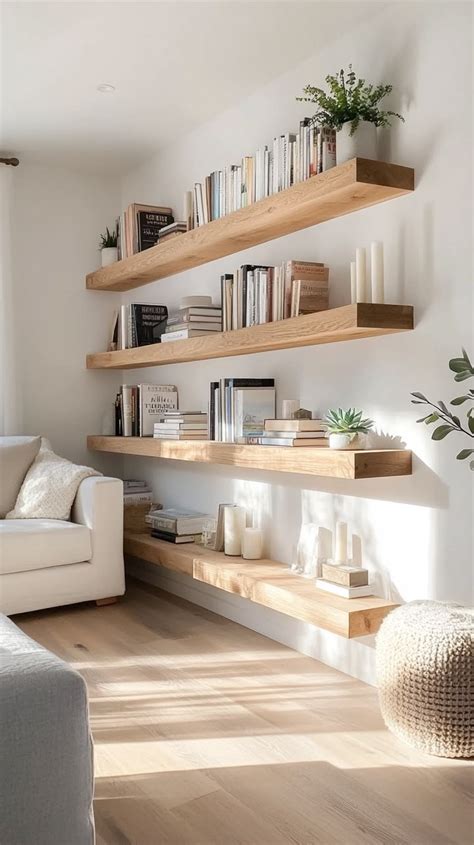
Transforming a blank living room wall into a functional display space remains one of the most rewarding home improvement projects you can undertake. Built-in shelving introduces permanent architectural character while solving chronic clutter issues, accommodating everything from heavy book collections to curated art pieces. While hiring a professional cabinetmaker can quickly strain your budget, constructing your own system allows you to customize every vertical inch to fit your specific layout. Whether you live in a historic house with sloping floors or a modern apartment requiring modular setups, approaching the project with a clear structural plan guarantees a polished end result.
Assessing Your Living Room Space and Storage Needs
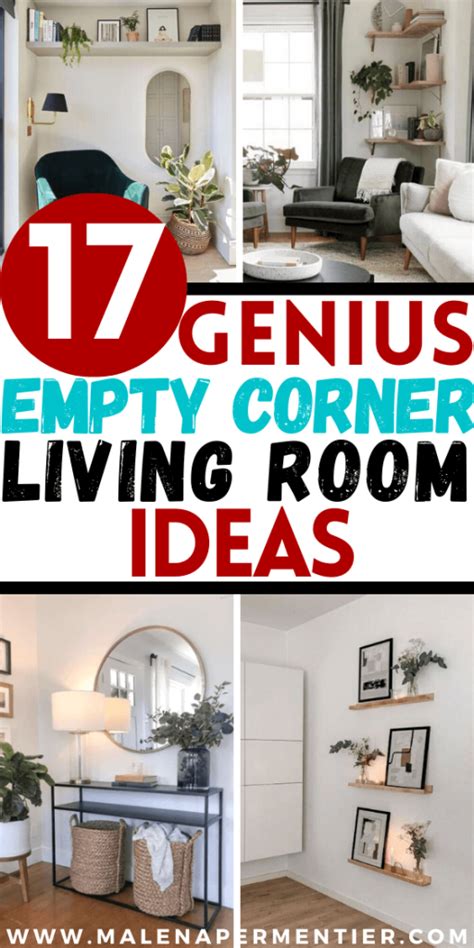
Before purchasing lumber or plugging in a power saw, take time to evaluate how your living room functions on a daily basis. Identify whether the primary goal is displaying decorative objects, hiding electronics, or housing an extensive personal library. Measure the target wall multiple times at various points—floor height, mid-wall, and ceiling height—because older homes rarely feature perfectly square corners or plumb walls. Documenting electrical outlet locations and heating vent placements early ensures your design will not accidentally block vital room utilities or violate local building codes.
Consider the psychological weight of the furniture arrangement as well. Tall floor-to-ceiling units draw the eye upward, making standard-height ceilings feel grander, while lower console-style built-ins keep sightlines open and airy. For renters or those hesitant to anchor massive wooden frames directly into drywall, modular bookcases secured with heavy-duty anti-tip brackets offer a brilliant compromise. These semi-permanent solutions mimic the custom appearance of traditional built-ins while remaining completely removable when moving day arrives.
Choosing the Right Materials and Structural Style
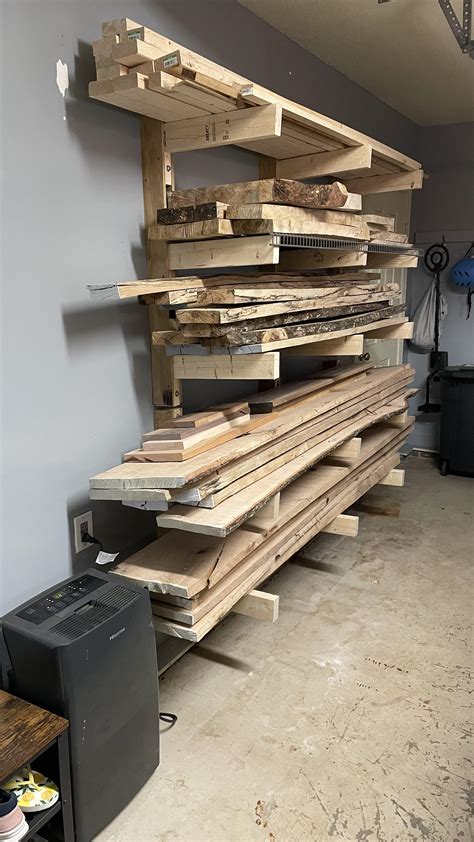
Selecting durable materials is the foundation of any successful shelving project. Solid hardwoods like oak or maple offer incredible strength and rich grain patterns, but they come with a substantial price tag and heavy weight. For most DIYers, cabinet-grade plywood—such as birch or MDF (Medium Density Fiberboard)—provides the ideal balance of dimensional stability, smooth painting surfaces, and budget-friendly pricing. Plywood resists warping across wide spans much better than cheap dimensional lumber from big-box home improvement stores.
When planning your structure, decide between fixed frame shelves, floating box shelves, or a hybrid design featuring lower closed cabinets with open shelving above. Cabinet-backed units save you from repairing textured drywall while providing a clean, professional backdrop that can be painted a contrasting accent color. Always verify the thickness of your chosen boards; three-quarter-inch stock is generally mandatory for shelves spanning longer than thirty inches to prevent unsightly sagging under the weight of heavy books.
Step-by-Step Installation and Wall Anchoring
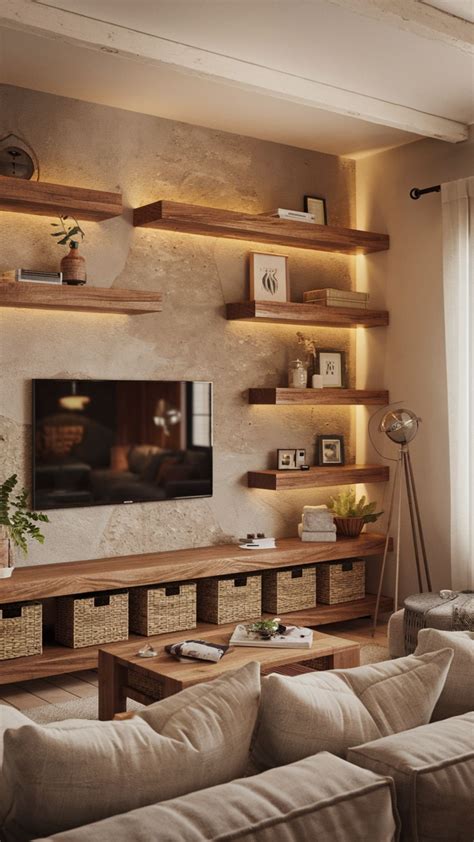
The secret to professional-looking built-ins lies in careful framing and secure wall anchoring. Begin by locating every wall stud within your workspace using an electronic stud finder, marking their vertical centerlines clearly on painters tape. Construct a sturdy face frame or ledger board skeleton using two-by-fours or heavy-duty plywood strips, screwing directly into the exposed studs to ensure the framework can bear substantial weight loads safely.
Leveling is your most critical milestone during assembly. Use a long spirit level across every horizontal member, shimming the base frame where necessary to compensate for uneven subfloors. Once the skeleton is rigidly attached to the wall, install your shelf supports—whether using traditional wood cleats, concealed steel brackets, or adjustable shelf tracks. Double-check all fasteners before loading any items onto the shelves, ensuring that toggle bolts or heavy structural screws have been utilized wherever studs were unavailable.
Achieving a Seamless Finish Through Trim and Paint
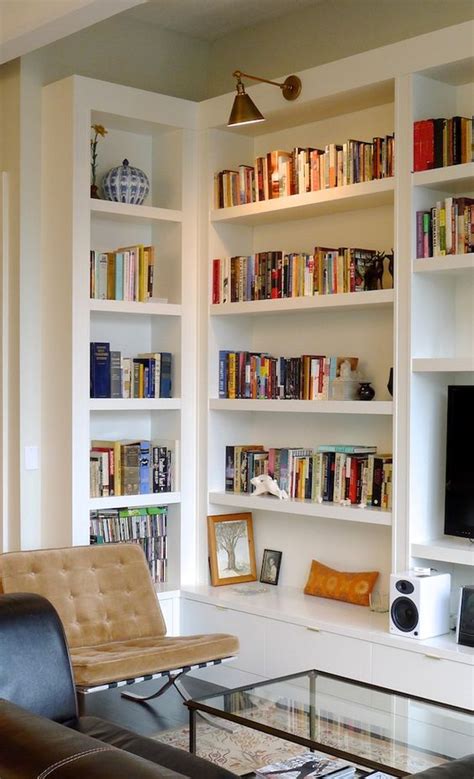
The transition between your handmade shelving unit and the existing walls separates amateur work from high-end custom carpentry. Fill all nail holes, screw recesses, and minor joint gaps with high-quality wood filler, allowing adequate drying time before sanding everything smooth with fine-grit sandpaper. Apply a generous coat of shellac-based or water-based primer to seal raw wood and MDF edges, which tend to absorb paint unevenly if left bare.
For the final coats, select a durable semi-gloss or satin enamel paint that resists scuffs and cleans easily. Applying paint with a foam roller on flat surfaces combined with a high-grade synthetic brush for corners produces a factory-like finish without visible brush strokes. Finally, seal the perimeter joints where the shelving meets the wall and baseboards with paintable latex caulk, creating a clean, integrated shadow line that makes the entire structure look like it was built directly into the home’s original architecture.
Frequently Asked Questions
How do you build built-in shelves from scratch?
Building built-in shelves involves measuring your wall space, constructing a wooden ledger or frame secured to wall studs, installing interior shelf supports or cleats, and adding face frames and trim for a polished finish.
What materials are best for DIY living room shelving?
Cabinet-grade plywood, such as birch or MDF, is widely considered the best material for DIY shelving because it resists warping, provides a smooth painting surface, and handles weight better than cheap softwoods.
Can renters create temporary built-in shelving solutions?
Yes. Renters can use modular bookcases anchored securely to the walls with heavy-duty anti-tip straps, or build tension-fit shelving units that minimize wall damage while delivering a custom built-in aesthetic.
How much does it cost to DIY built-in shelves versus hiring a professional?
DIY built-in shelves typically cost between $150 and $500 in raw materials and hardware, whereas hiring a custom carpenter or professional cabinetmaker can easily range from $2,000 to $6,000 or more depending on complexity.
How do you safely anchor heavy shelving to living room walls?
Always locate wall studs using an electronic stud finder and drive structural screws directly through the framework into the studs. For areas without stud alignment, use heavy-duty toggle bolts rated for high weight capacities.