Finding adequate storage in a typical American home or apartment often feels like solving a complex puzzle. Whether you are battling cramped kitchen cabinets in an urban rental or organizing a garage in a suburban house, vertical space is your best asset. Store-bought organizational furniture can quickly become expensive and rarely fits unusual room dimensions or awkward alcoves perfectly. Taking matters into your own hands with simple, budget-friendly DIY shelving allows you to customize every inch of your living environment while keeping costs remarkably low.
Building your own storage solutions does not require a professional workshop or decades of woodworking experience. By taking advantage of standard lumber dimensions found at major U.S. home improvement centers like The Home Depot or Lowe’s, you can construct functional, attractive shelves using basic tools such as a cordless drill, a level, and sandpaper. This guide outlines nine practical DIY shelving projects tailored to different skill levels, spatial requirements, and housing situations, helping you transform chaotic clutter into structured style.
Understanding Your Space: Homeowner vs. Renter Considerations
Before purchasing lumber or driving a single screw into a wall, evaluating your living situation is essential for choosing the right shelving strategy. Homeowners generally have the freedom to anchor heavy, permanent units directly into wall studs and plaster, maximizing weight capacity for heavy book collections, kitchen stoneware, or garage equipment. These permanent installations prioritize maximum load-bearing security and seamless architectural integration, often utilizing heavy-duty steel brackets or ledger boards screwed directly into structural framing.
Apartment renters face unique limitations, primarily centered around security deposits and lease agreements that restrict large holes in drywall. Fortunately, modern DIY culture offers brilliant workarounds that avoid permanent wall damage. Renter-friendly shelving relies on heavy-duty adhesive anchors, tension systems, or leaning ladder designs that transfer the weight of your belongings downward to the floor rather than outward onto drywall anchors. Understanding these structural distinctions ensures you select a project that delivers maximum organization without risking lease violations or unexpected repair fees upon moving out.
1. The Classic 1×10 Floating Pine Shelf
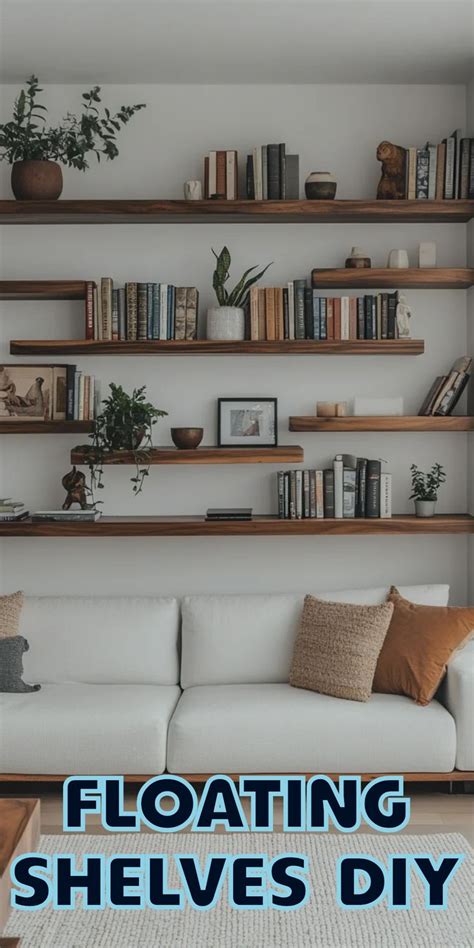
For a clean, minimalist aesthetic that works beautifully in living rooms or home offices, standard dimensional lumber offers an unbeatable combination of affordability and classic charm. Using a 1×10 pine board cut to your desired length, you can create a sturdy floating shelf that conceals its hardware entirely. Pine is lightweight, easy to sand, and readily accepts wood stains or matte paints to match your existing interior color palette.
Installation requires heavy-duty steel bracket supports screwed directly into at least two wall studs to ensure stability. Once the hidden or semi-concealed brackets are securely fastened, the wooden board slides over or rests upon the supports, creating a sleek profile. This project typically costs under twenty dollars in materials and takes less than an hour to complete, making it an ideal weekend afternoon project for beginner DIYers looking for an immediate visual and functional upgrade.
2. Renter-Friendly Tension Rod Shelf for Kitchens
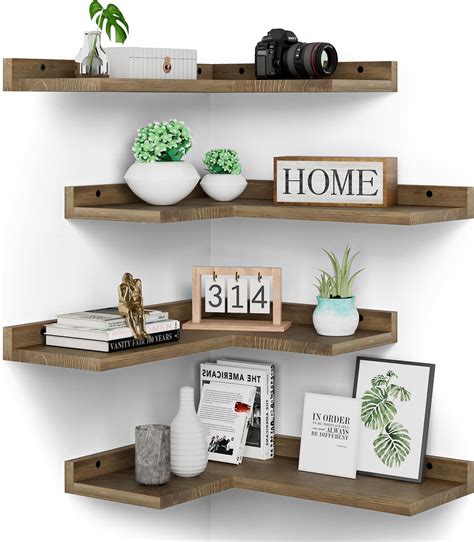
Kitchen storage in rental apartments is notoriously scarce, particularly when it comes to organizing spices, small jars, or everyday coffee mugs. Building a tension-based or lightweight resting shelf that utilizes vertical cabinet dead space or empty backsplash areas provides an ingenious solution without drilling a single hole in the wall.
By combining lightweight craft boards with heavy-duty tension rods or adhesive-backed support tracks, you can create a removable staging shelf that stays firmly in place through friction and vertical pressure. When your lease ends, simply twist the rods loose, remove the boards, and patch any minor scuffs with a dab of toothpaste or spackle, leaving the apartment pristine and securing your full security deposit refund.
3. Industrial 2×4 and Pipe Utility Shelves for Pantries or Garages
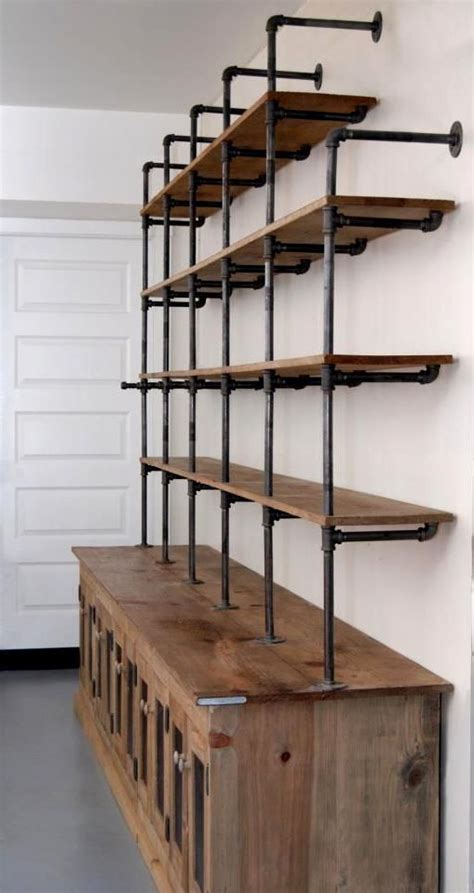
When maximum weight capacity and rugged durability are your top priorities, nothing beats the industrial combination of structural 2×4 lumber and black iron plumbing pipes. This heavy-duty utility shelf is tailor-made for suburban garage workshops, basement pantries, or utility closets where you need to store heavy bins of seasonal gear, bulk groceries, or heavy toolboxes.
The upright supports are constructed from standard threaded steel pipes screwed into floor flanges and ceiling plates, while the shelves themselves utilize thick 2×10 or 2×12 pine boards resting securely across the pipe crossbars. Although this project requires slightly more muscle and a trip to the hardware store plumbing aisle, the result is an indestructible storage system that handles heavy loads with ease while bringing an authentic industrial aesthetic to utilitarian spaces.
4. The Lean-To Ladder Shelf for Living Rooms
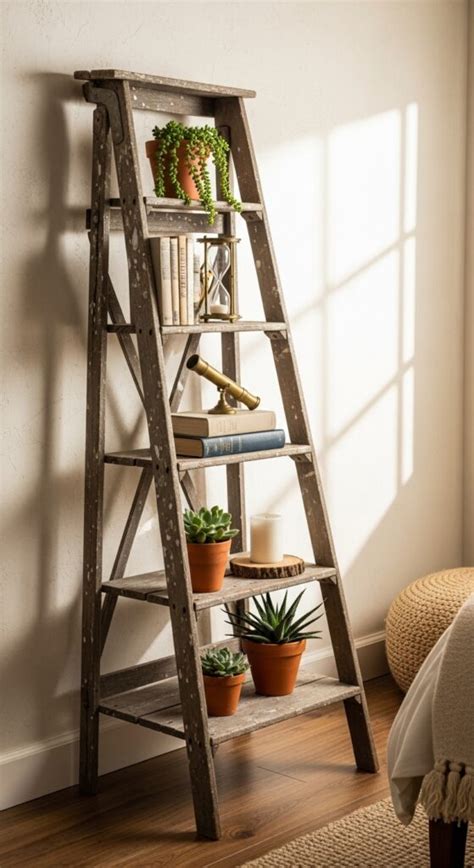
Free-standing furniture that requires zero wall anchoring is a renter’s best friend and a homeowner’s dream for flexible room layouts. A leaning ladder shelf utilizes angled vertical uprights that rest securely against the wall while graduating in depth from bottom to top, creating a stable triangular footprint that prevents tipping.
Constructed primarily from 1×3 and 1×10 boards, this project requires simple straight cuts and pocket-hole joinery to attach the horizontal shelves to the slanted side rails. Because it leans naturally under its own weight, you can place it in a living room corner to display houseplants, framed photographs, and paperback books without ever touching a drill to your drywall.
5. Upcycled Wooden Crate Stack
Upcycling wooden crates sourced from craft stores or local markets is one of the fastest routes to rustic, modular storage. By arranging wooden wine or apple crates in various configurations—such as a vertical bookcase or a sprawling media console—you create instant cubbies for organizing books, toys, or folded textiles.
To ensure structural safety, especially in homes with active toddlers or pets, secure the individual crates to one another using wood screws or small metal brackets from the inside. For added peace of mind, anchor the top rear crate to a wall stud using a discreet furniture safety strap, ensuring the entire modular stack remains completely stable during everyday use.
Frequently Asked Questions
What are the easiest storage shelves to build for beginners?
The easiest storage shelves for beginners are floating pine boards mounted on pre-made steel brackets or leaning ladder shelves. These projects require minimal straight cuts, standard lumber sizes, and basic tools like a cordless drill and sandpaper.
How can I install shelves in a rented apartment without losing my security deposit?
Renters can use tension-based shelving systems, leaning ladder shelves, or heavy-duty adhesive anchors designed for temporary use. If small mounting holes are necessary, patch them cleanly with spackle and touch-up paint before moving out.
What tools and materials do I need for basic DIY shelving?
Basic DIY shelving typically requires a cordless power drill, a spirit level, sandpaper (120-grit and 220-grit), safety glasses, dimensional lumber (like pine 1x10s or 2x4s), and appropriate wall anchors or brackets matched to your wall type.
How do I ensure heavy shelves are safely anchored to drywall and studs?
Always use an electronic stud finder to locate wooden wall framing studs whenever possible. Drive heavy-duty wood screws directly into the studs for maximum weight support. When studs are inaccessible, use rated toggle bolts or heavy-duty drywall anchors specifically rated for your shelf’s expected load.